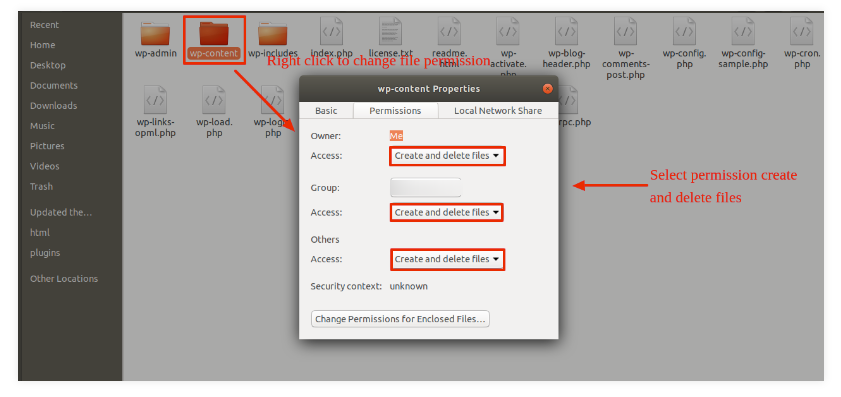
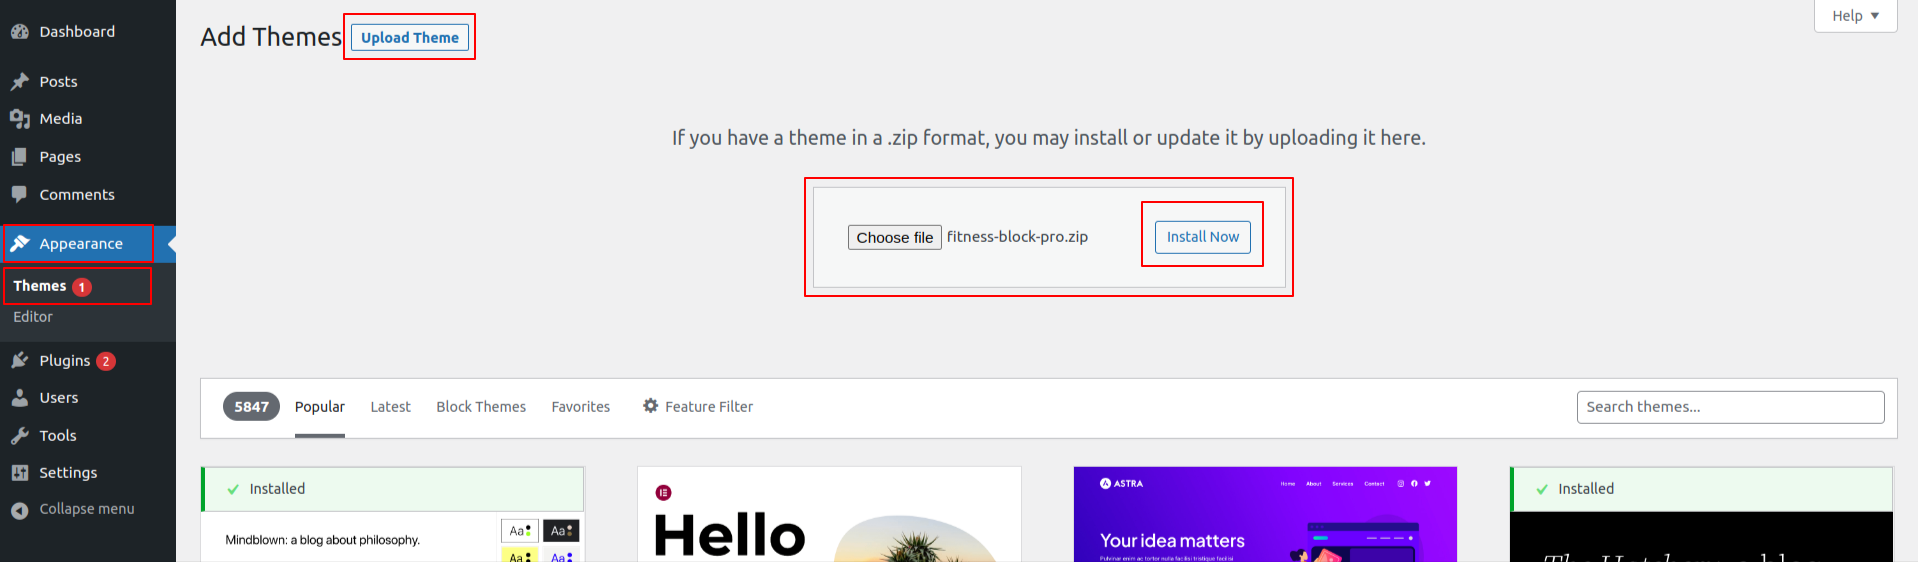
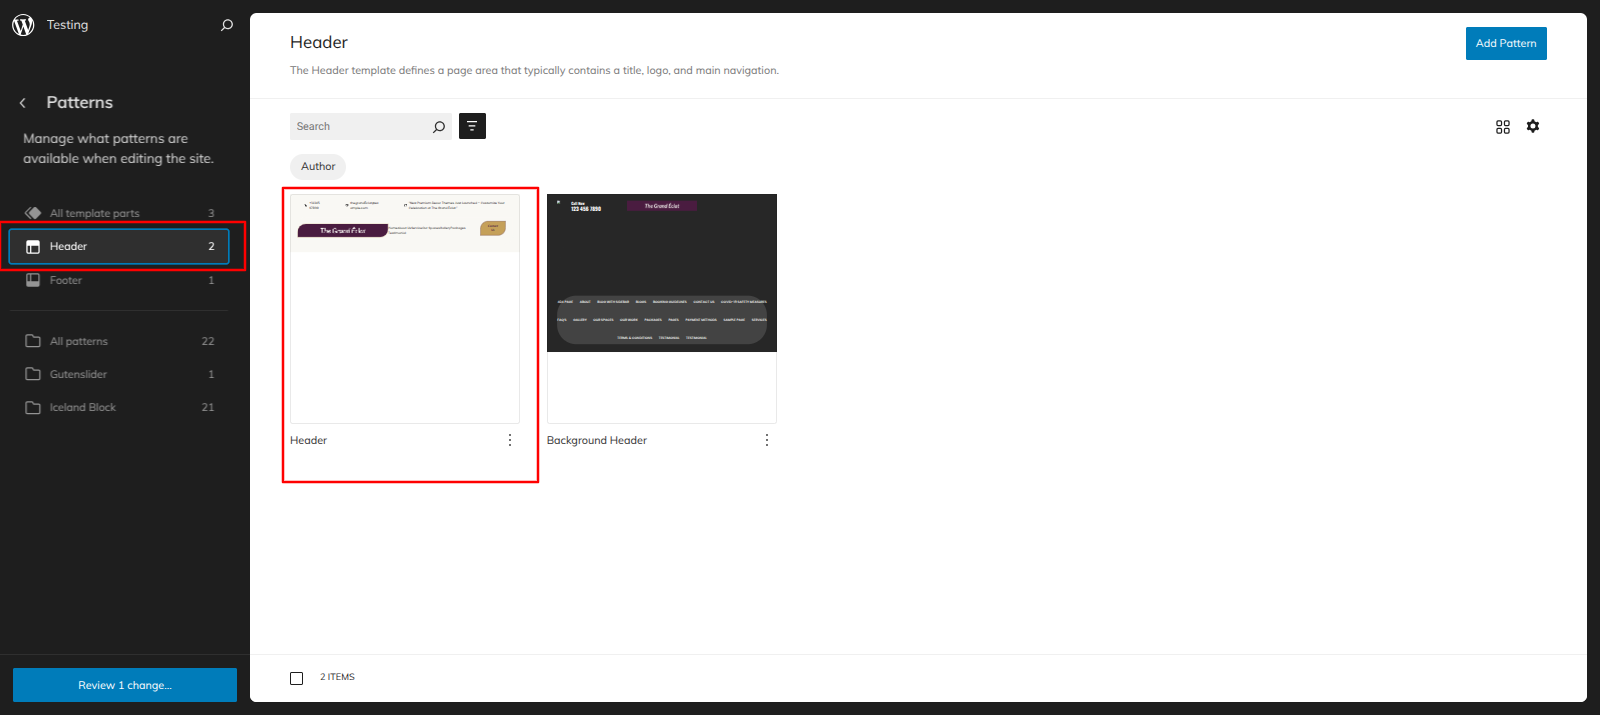
THEME IMPLEMENTATION
HOW TO SET UP HOMEPAGE
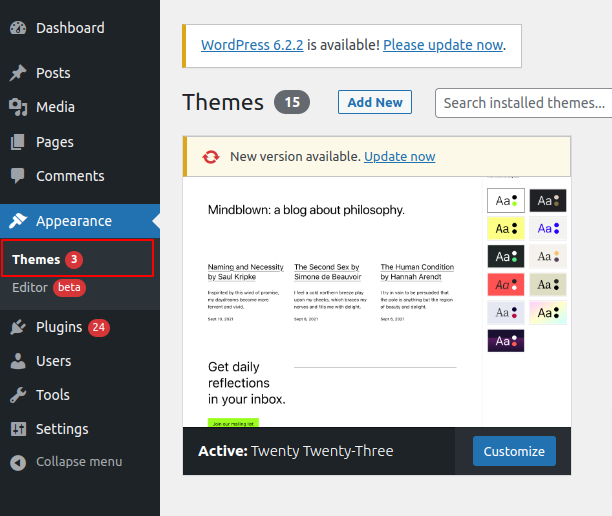
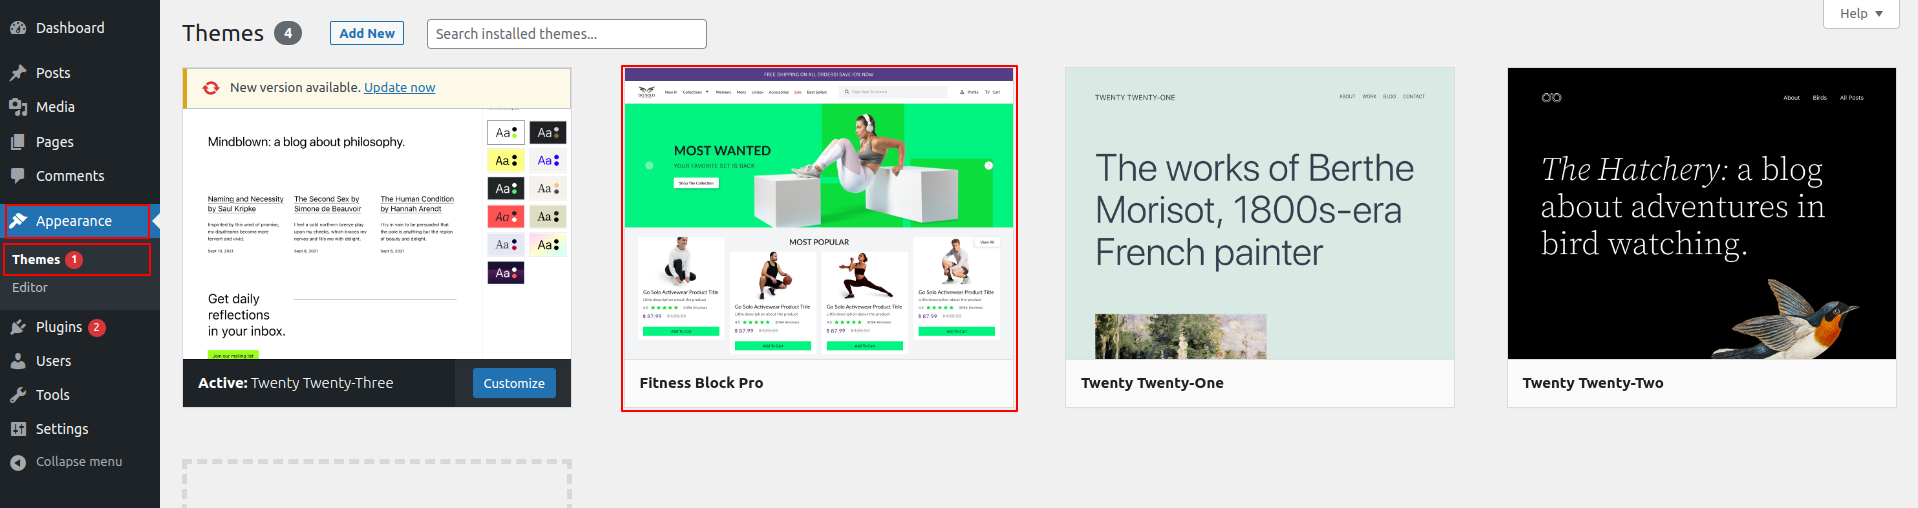
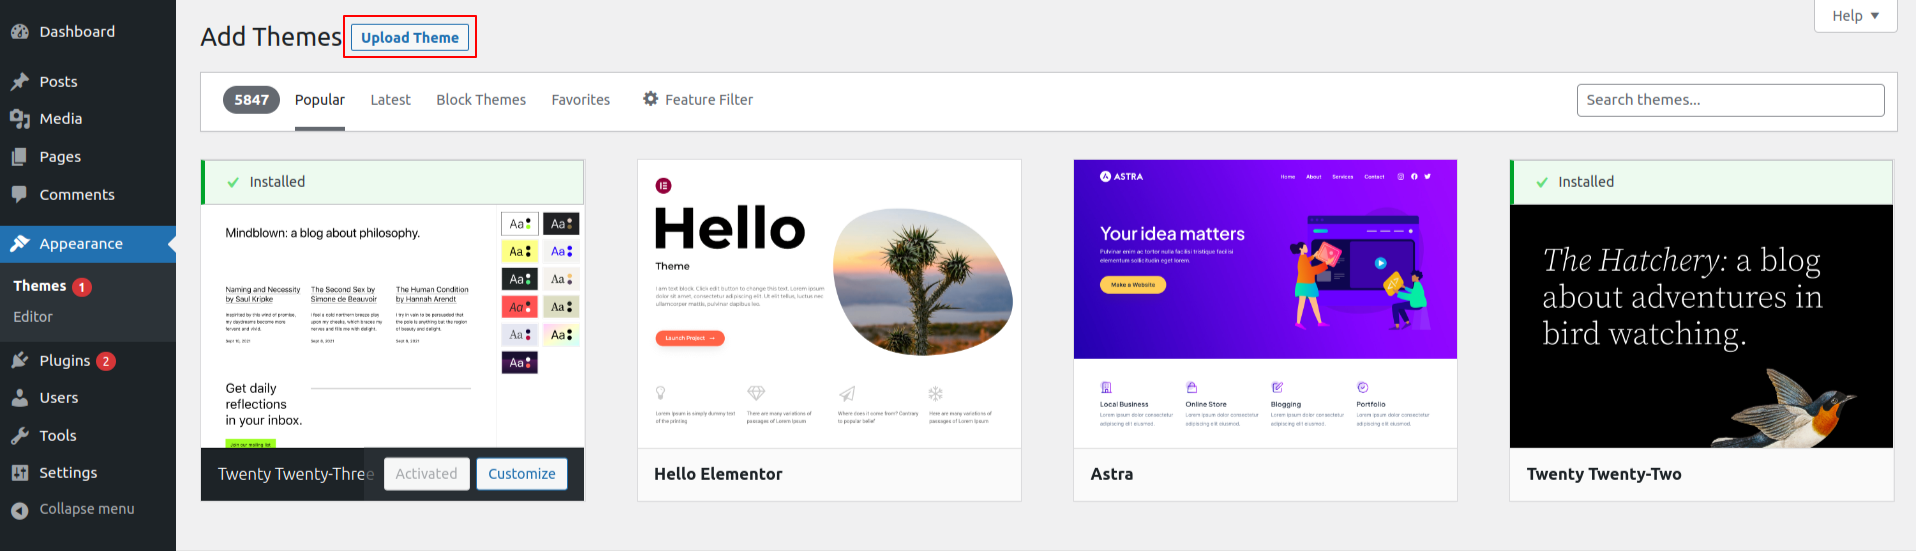
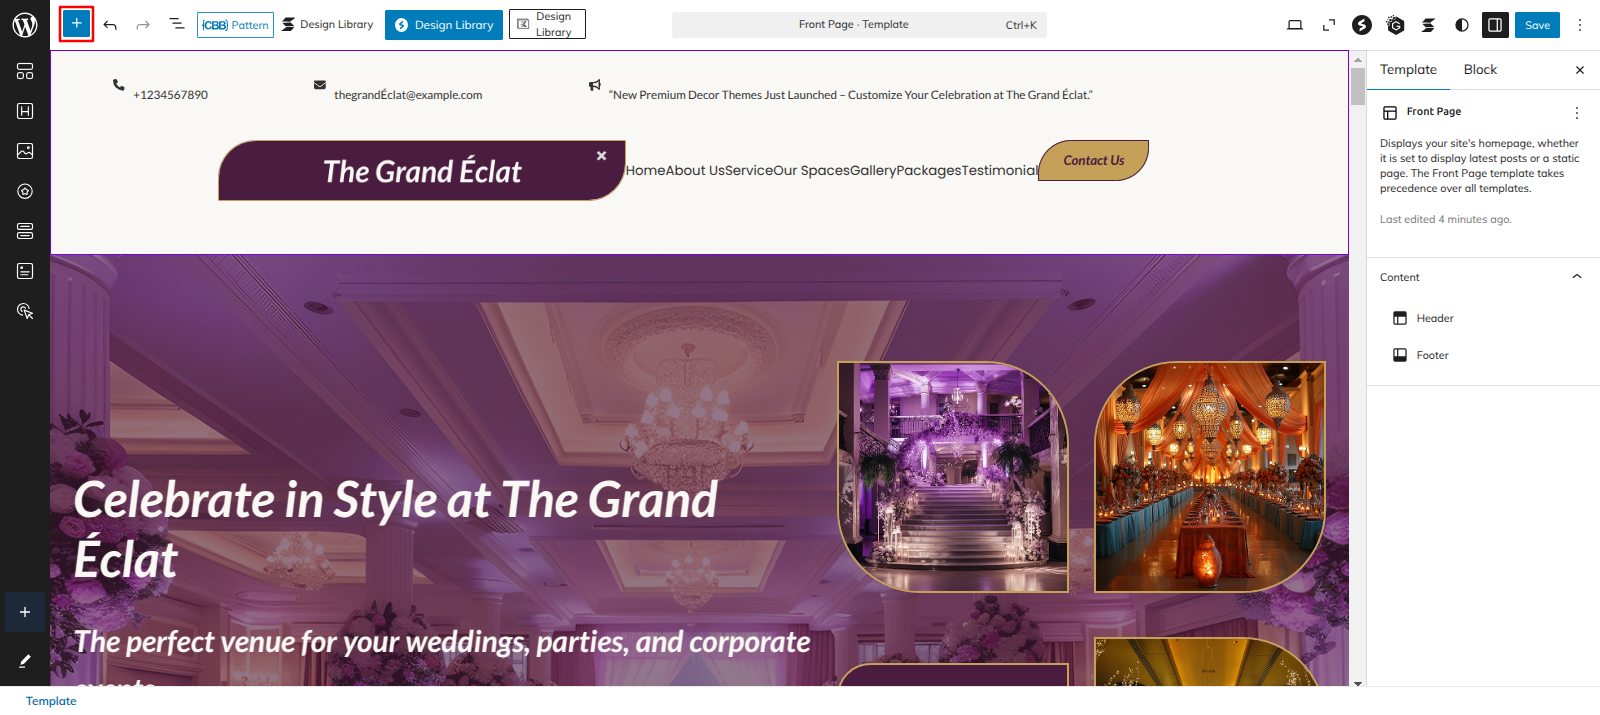
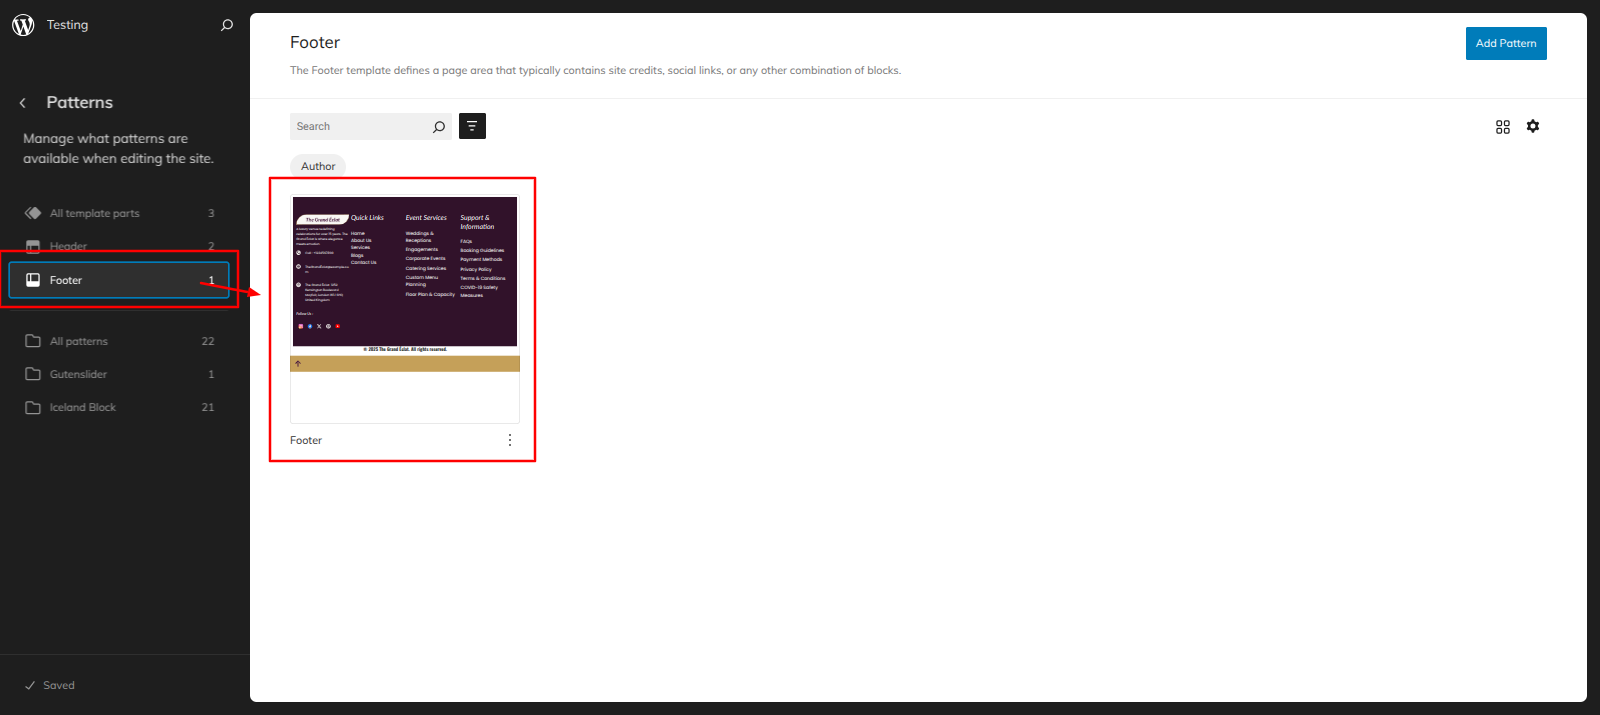
Go to the Dashboard Appearance Editor.
HOW TO INCLUDE PATTERNS AND BLOCKS IN A PAGE
Please click the "Plus" icon as displayed in the screen below in order to add patterns and bocks.
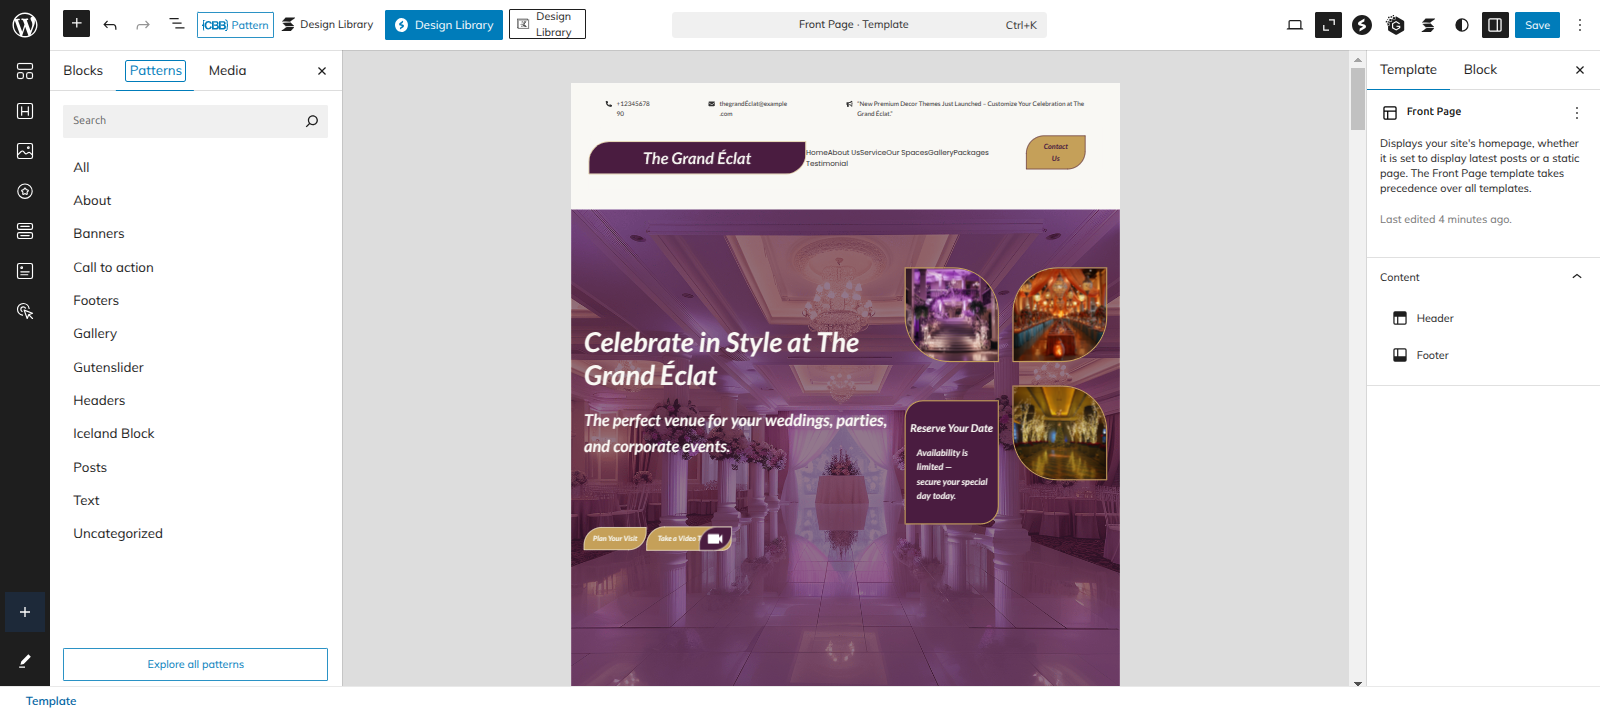
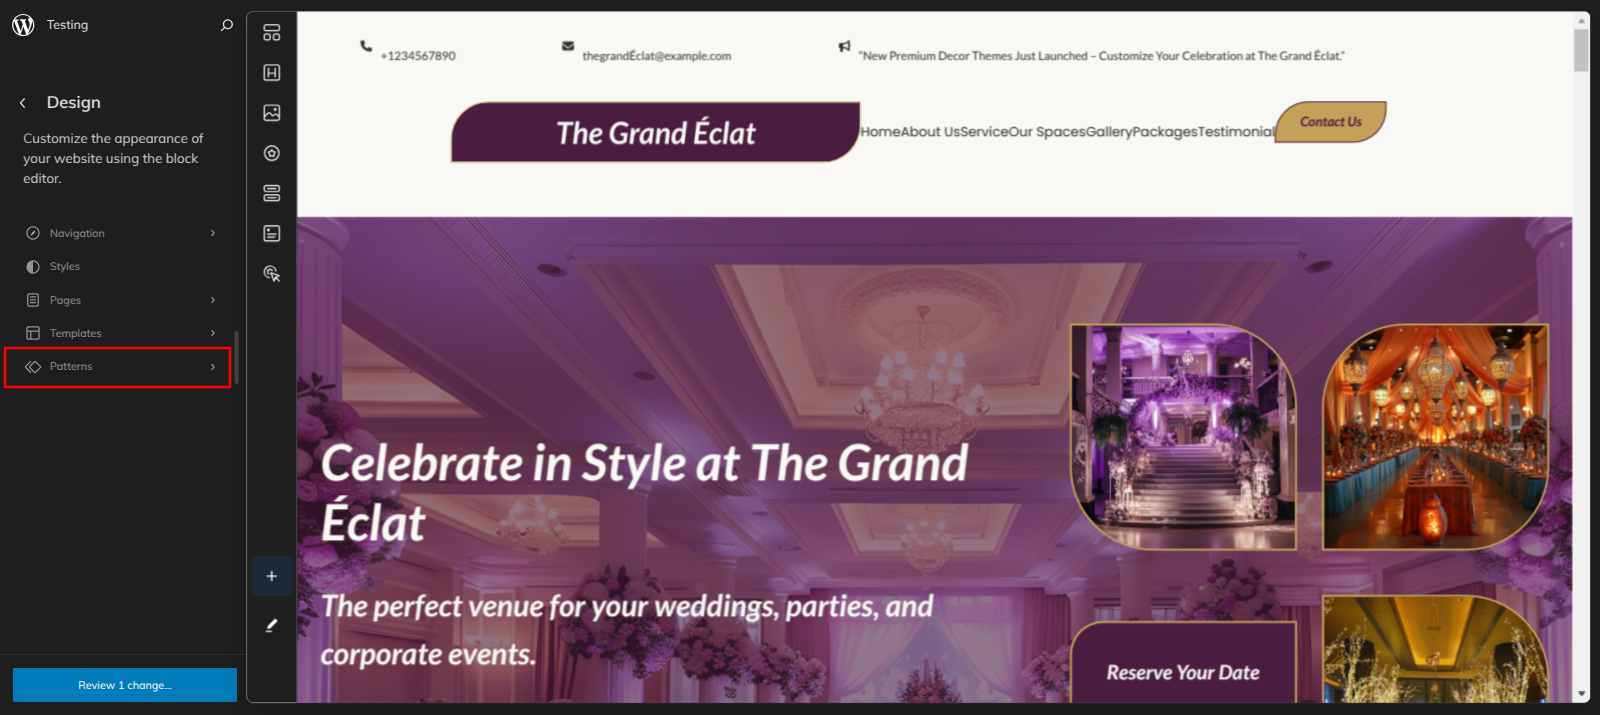
Select " Banquet Hall Pro" from the dropdown as displayed in the screen below once a sidebar has opened.
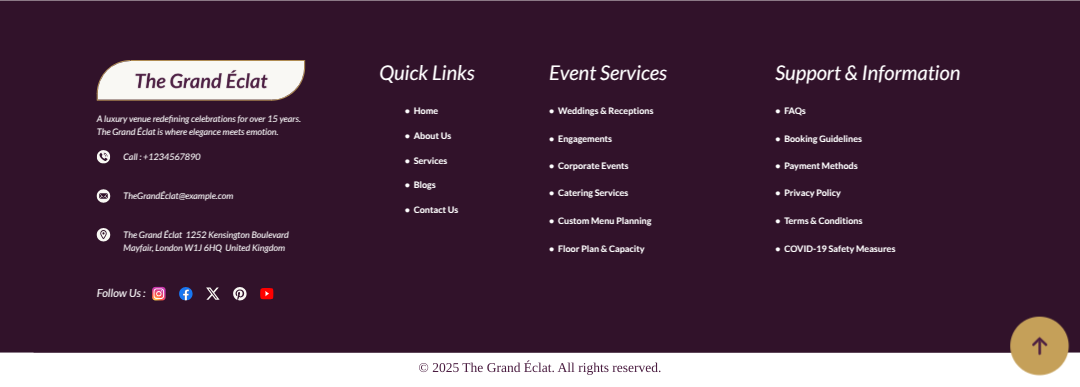
All of the theme patterns are now displayed here, and you may use them on any page.
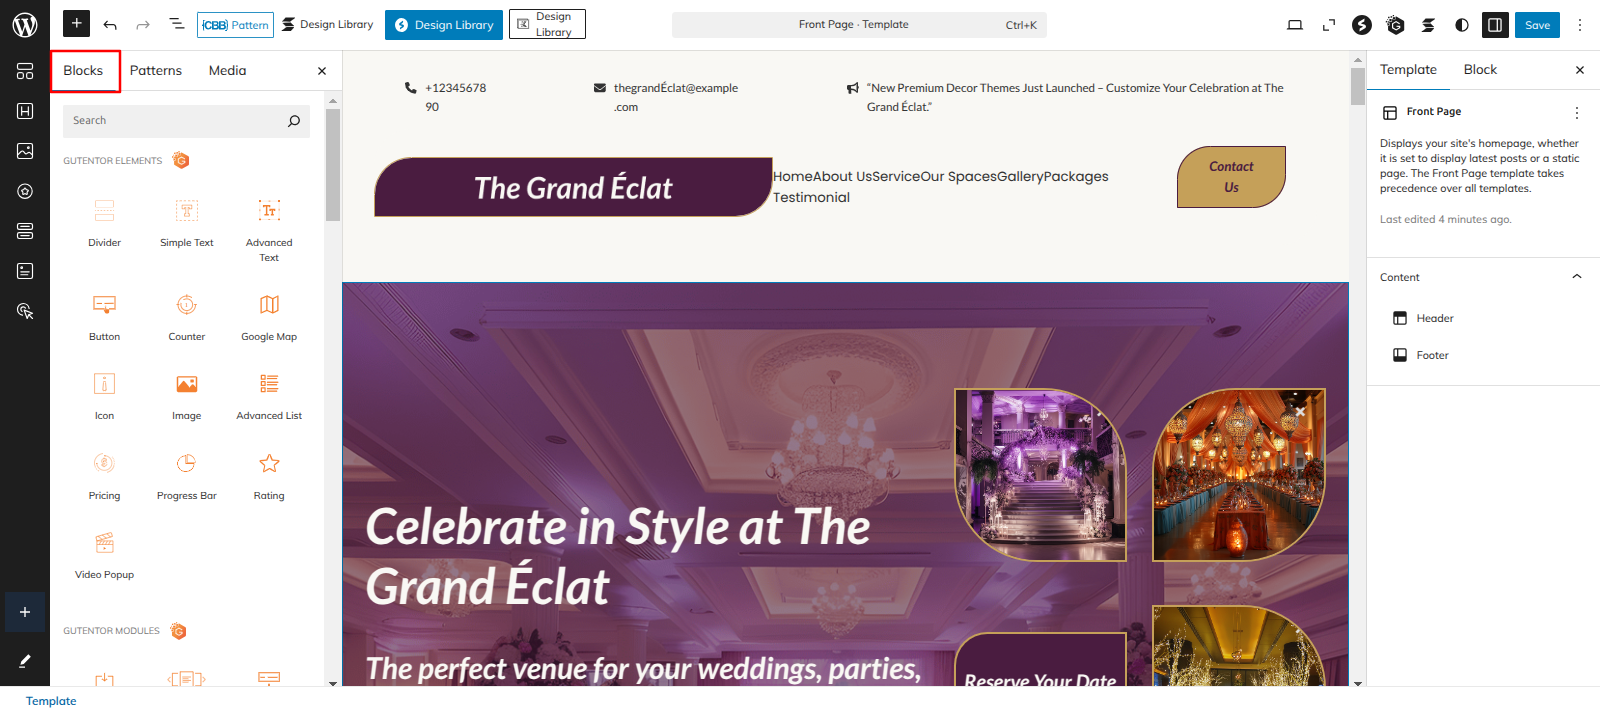
All of the blocks are now displayed here, and you may use them on any page.
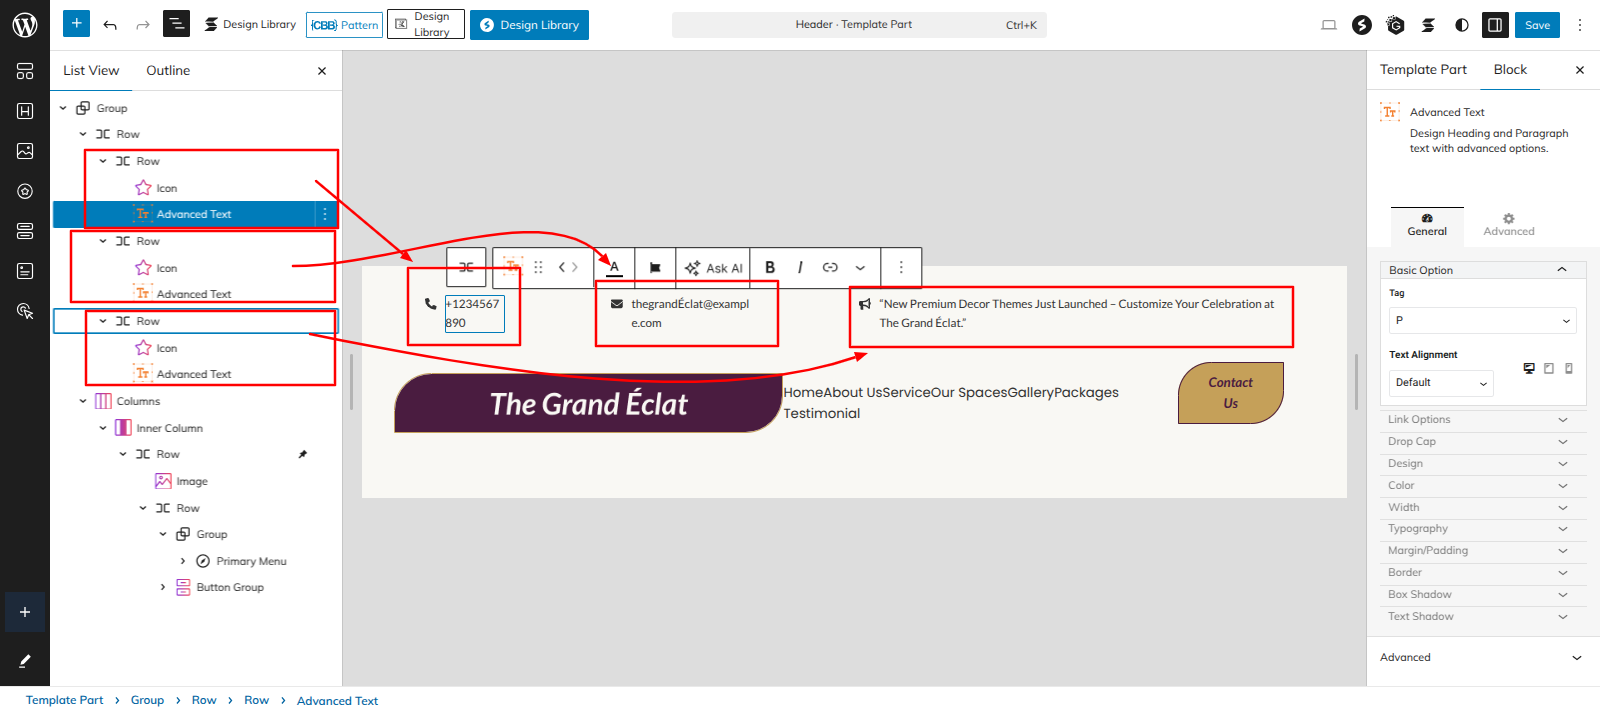
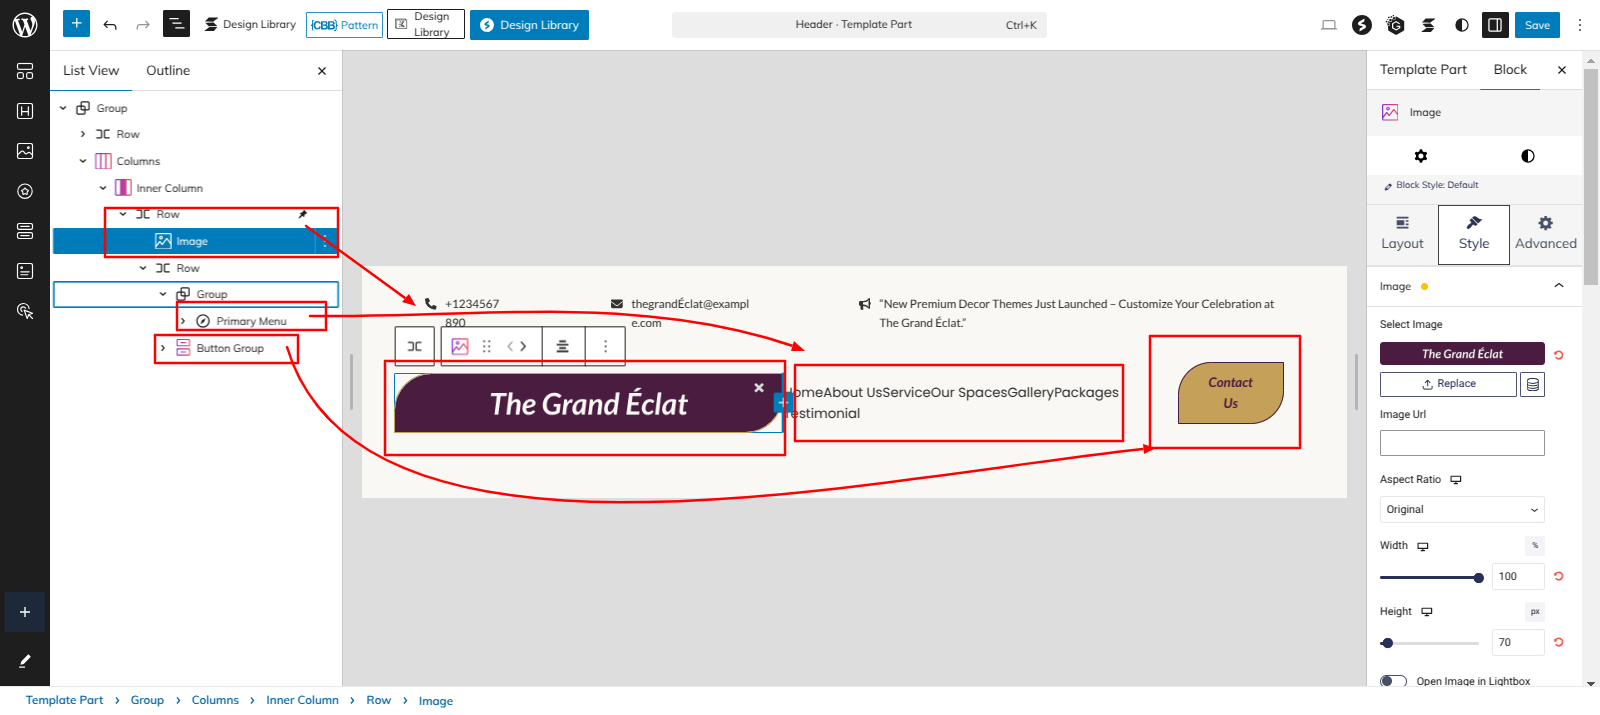
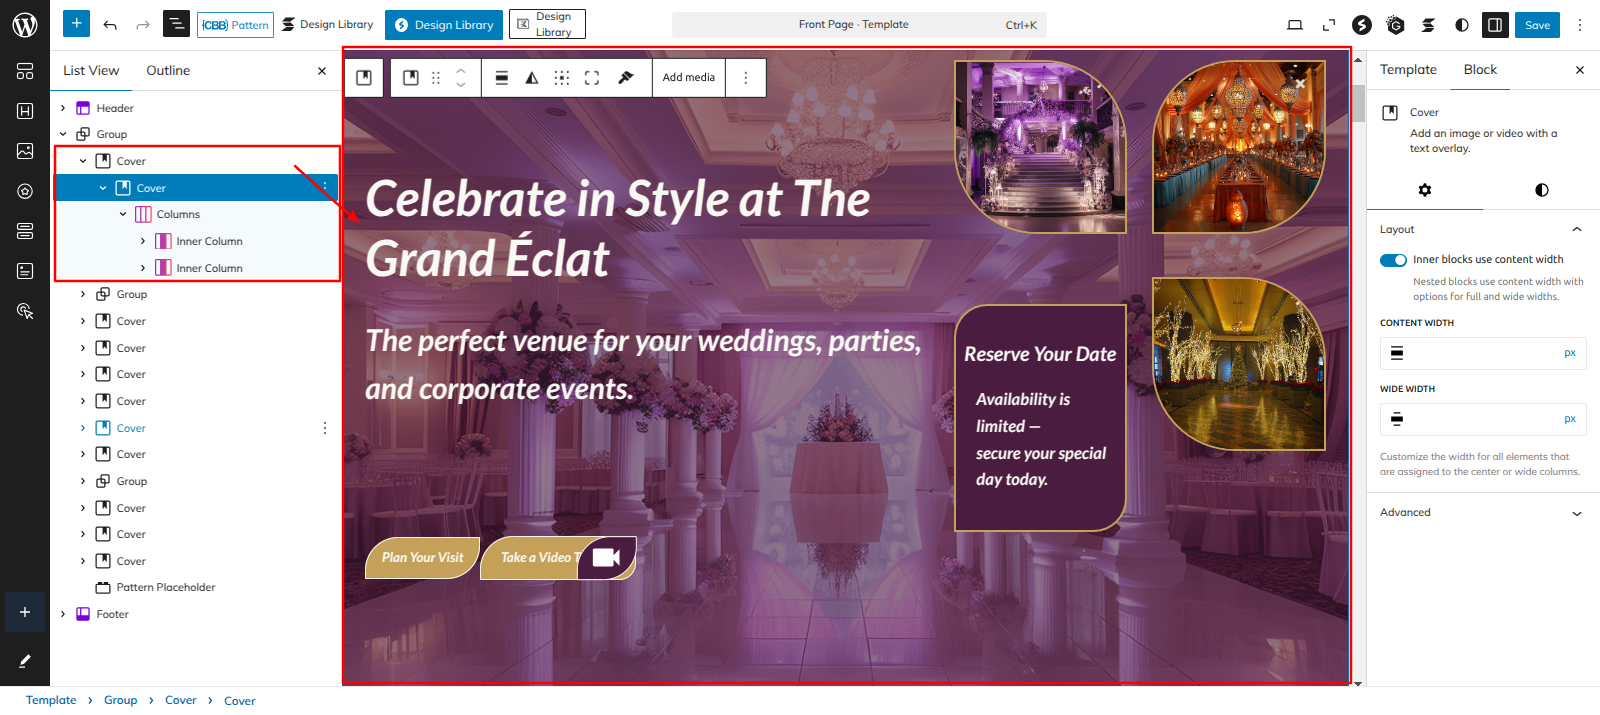
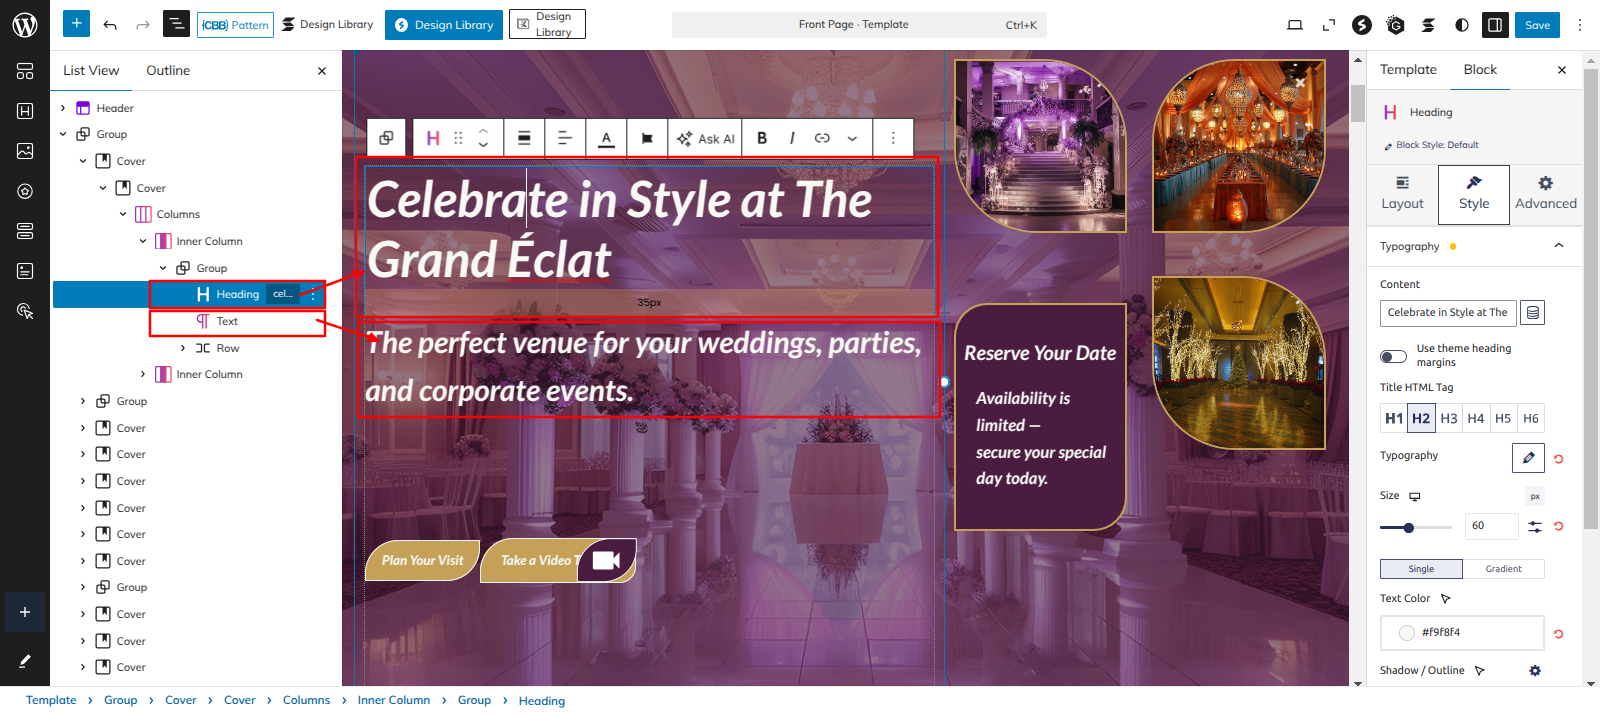
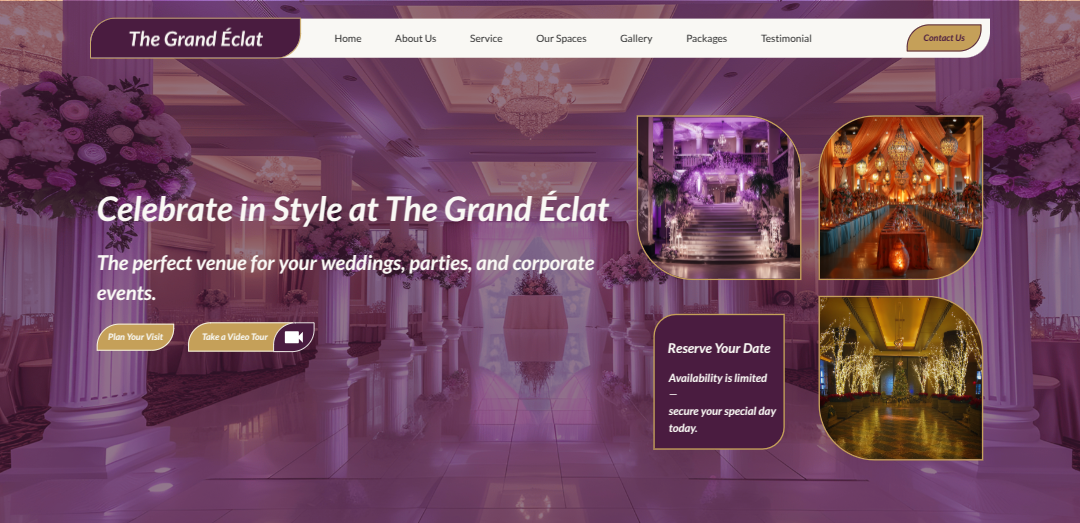
Setup Banner Section
Set up the Banner Section according to the instructions below.
Go to the Dashboard Appearance Editor.
This is how you may set up and add the Banner Section.
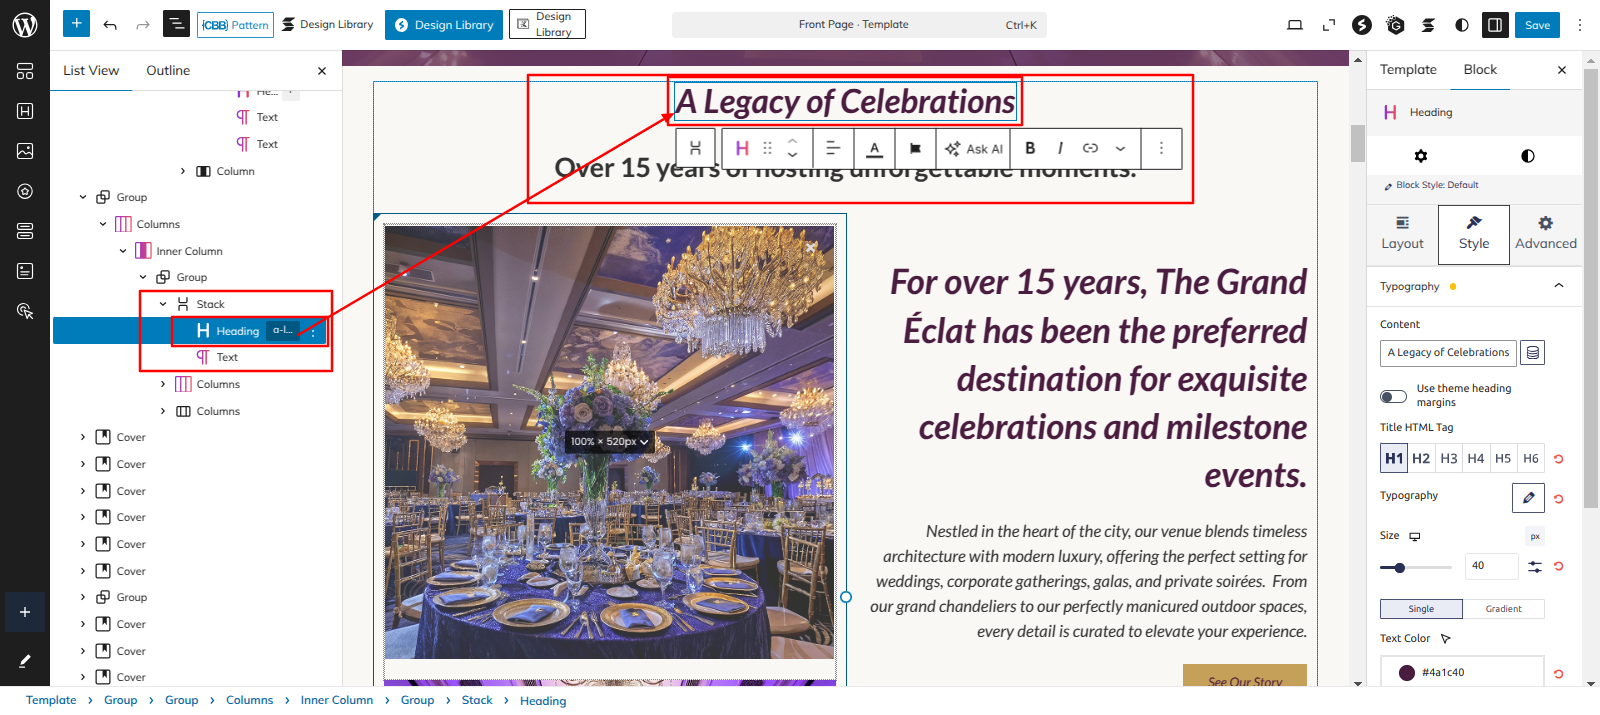
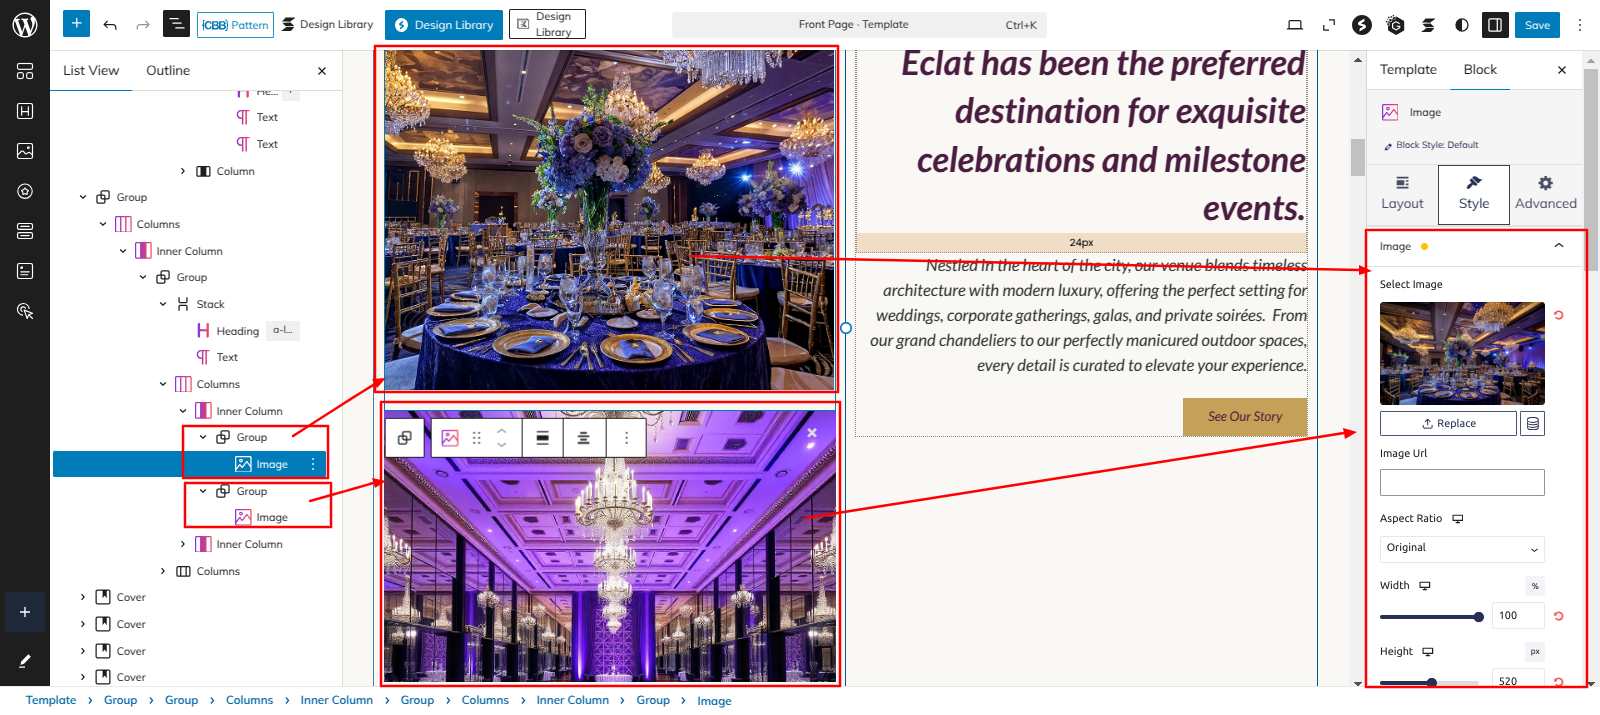
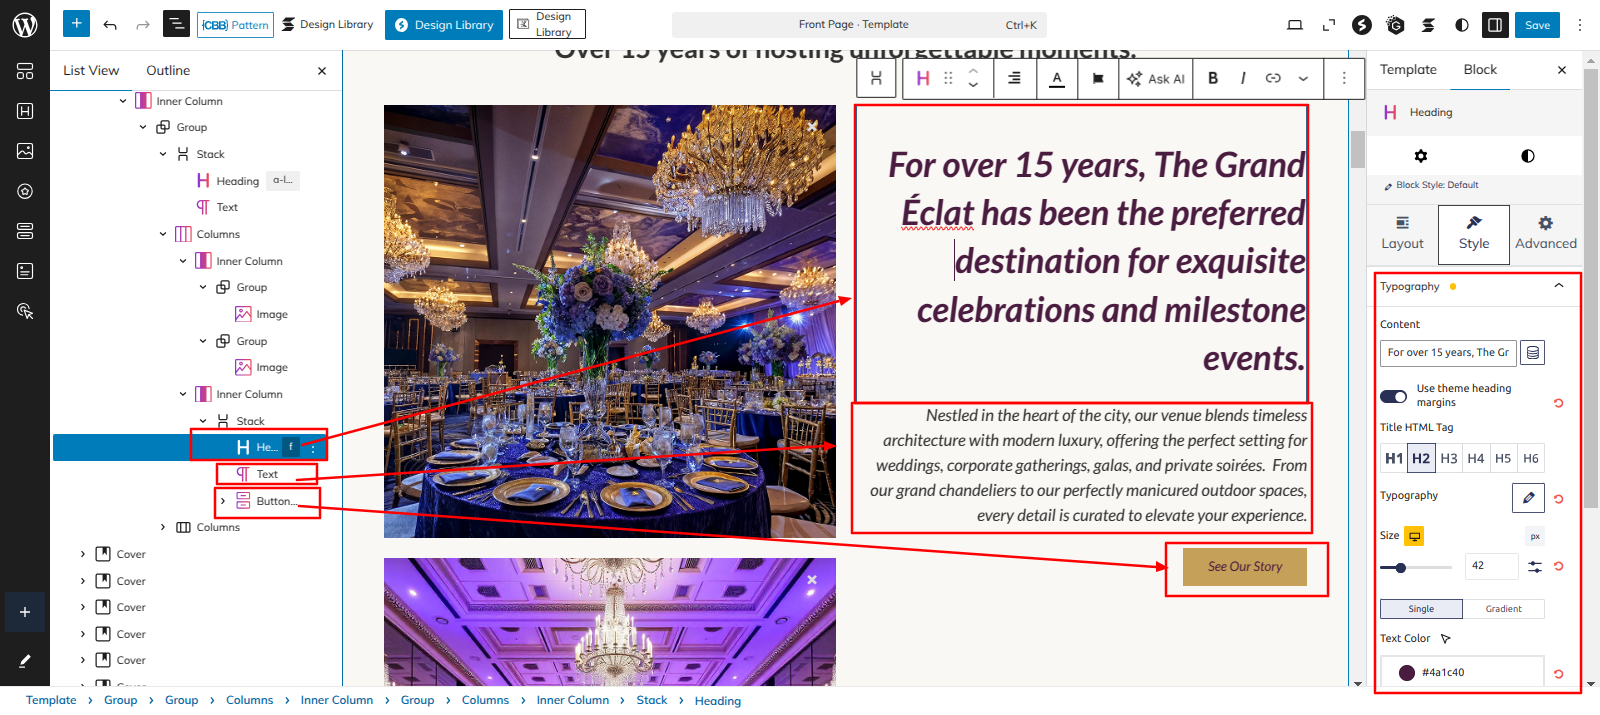
Setup A Legacy of Celebrations Section
Set up the A Legacy of Celebrations Section according to the instructions below.
Go to Dashboard Appearance Editor.
This is how you may set up and add the A Legacy of Celebrations Section.
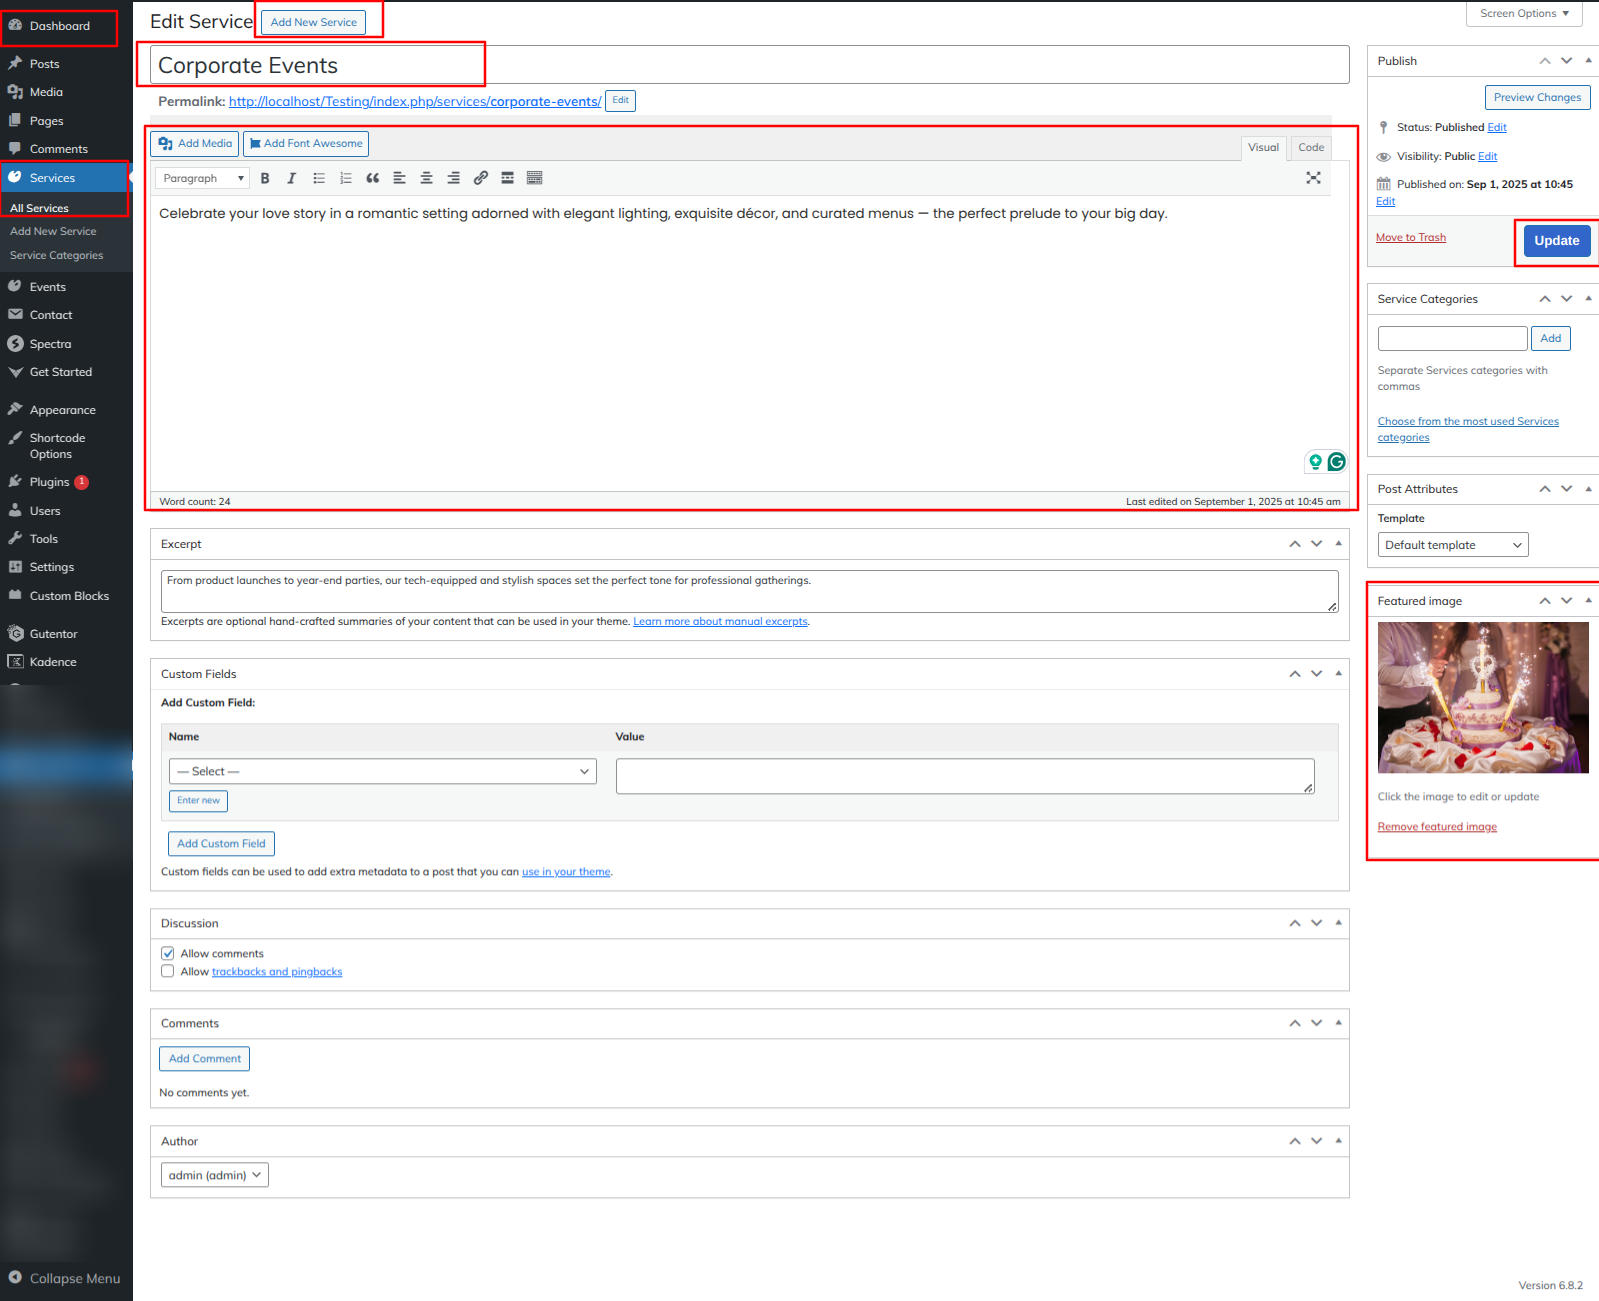
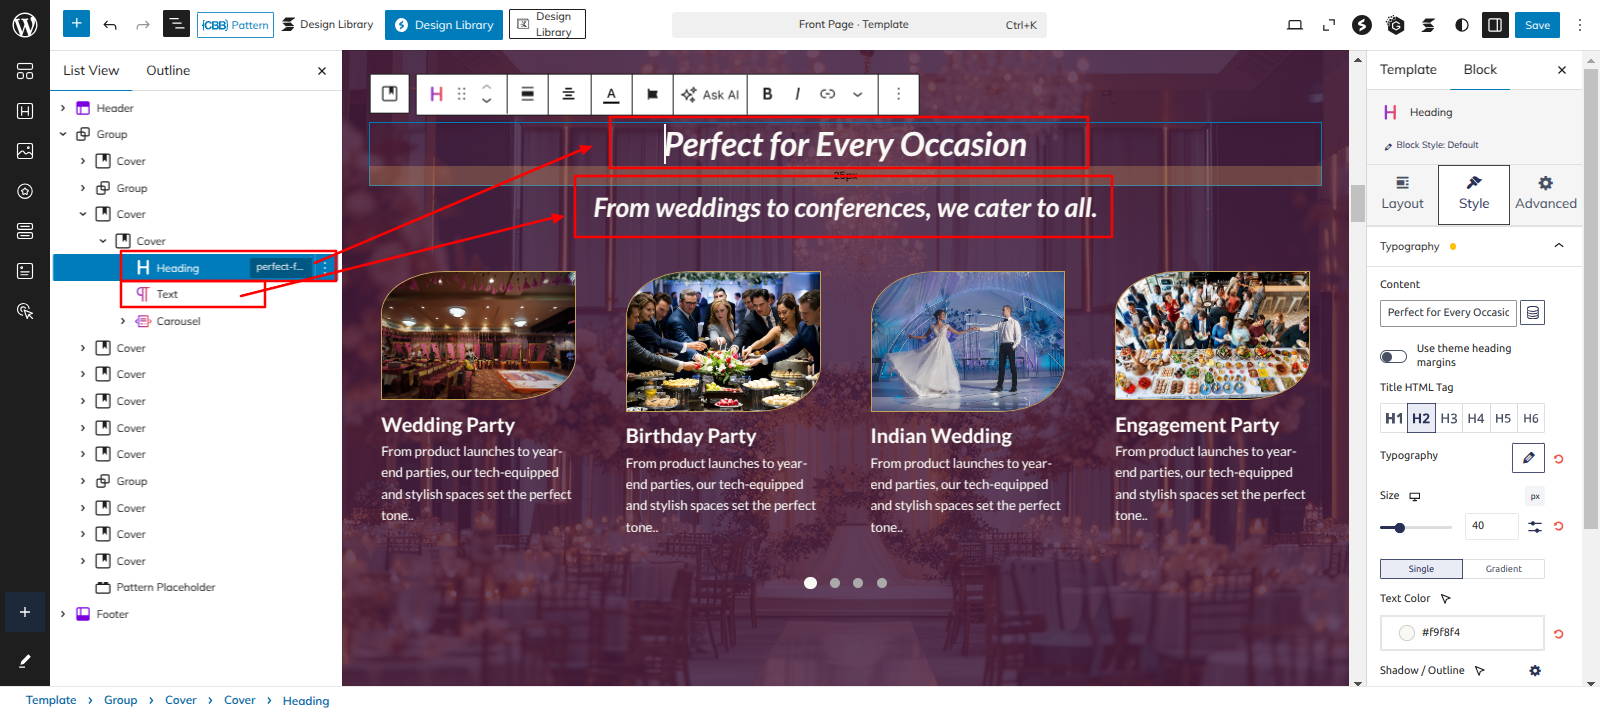
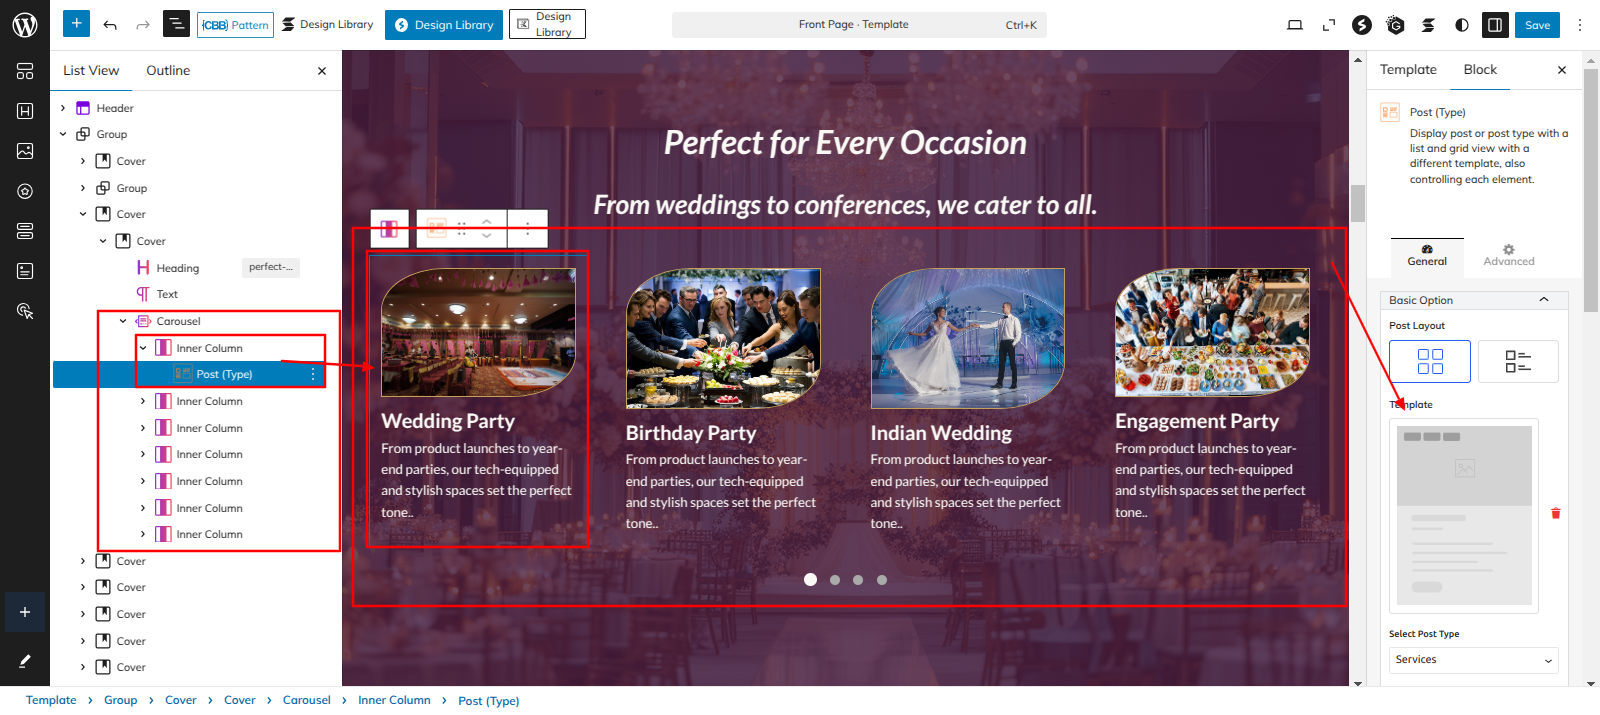
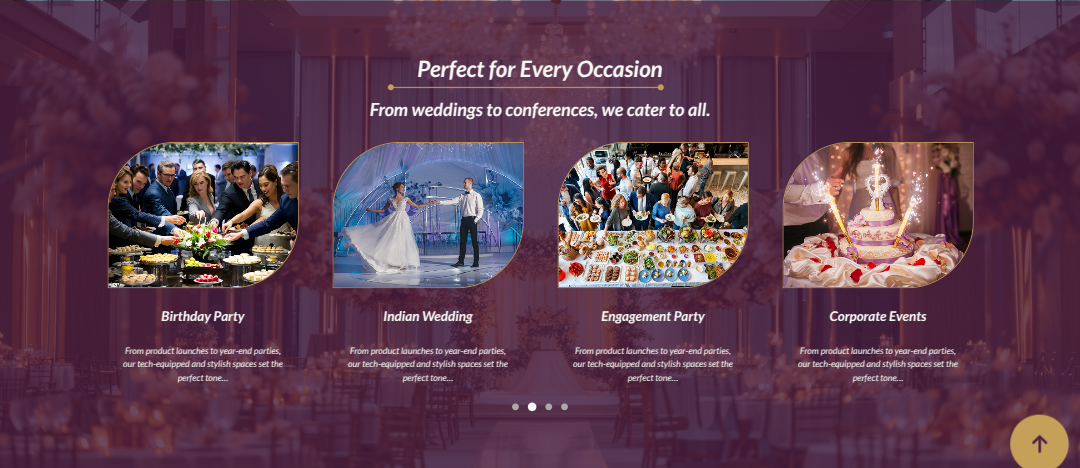
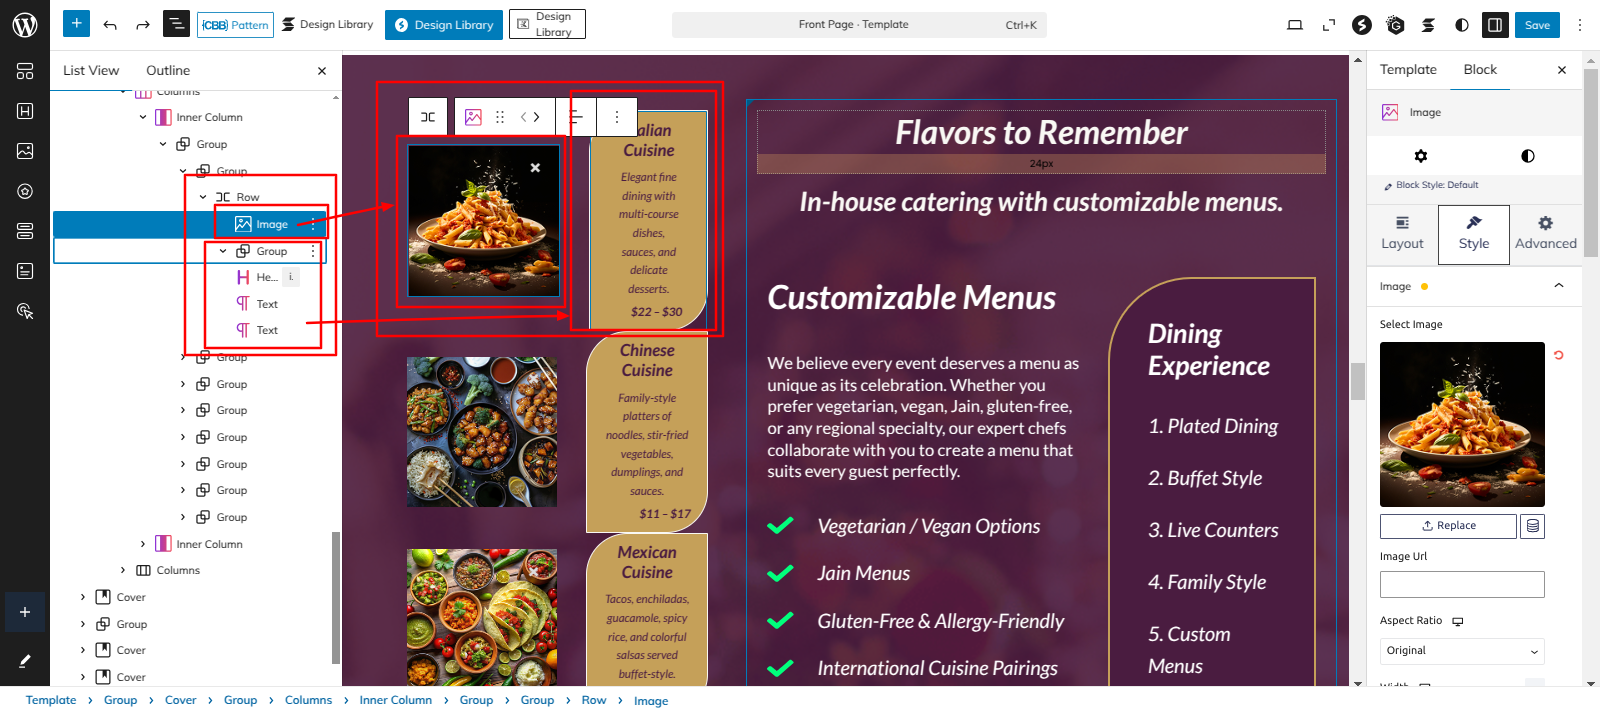
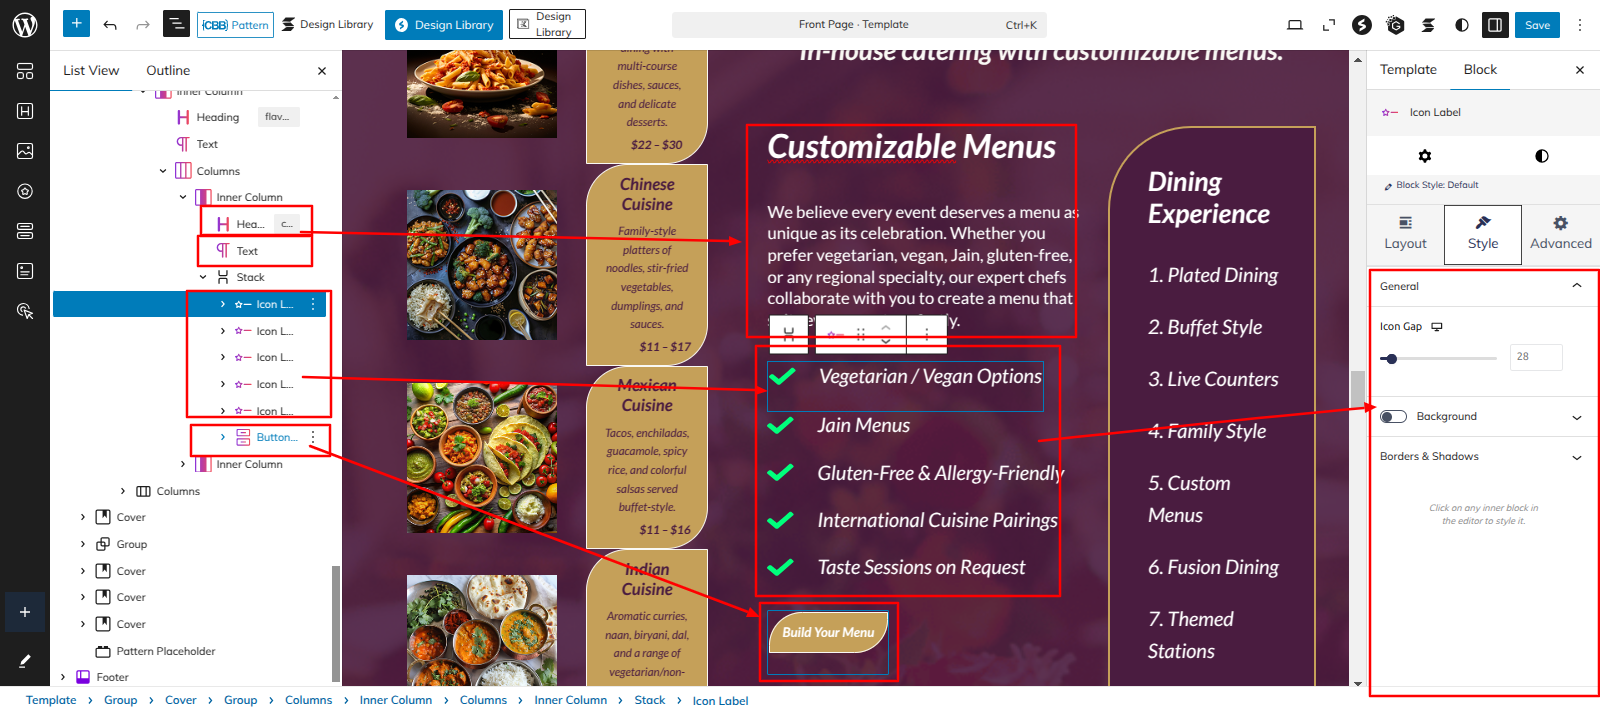
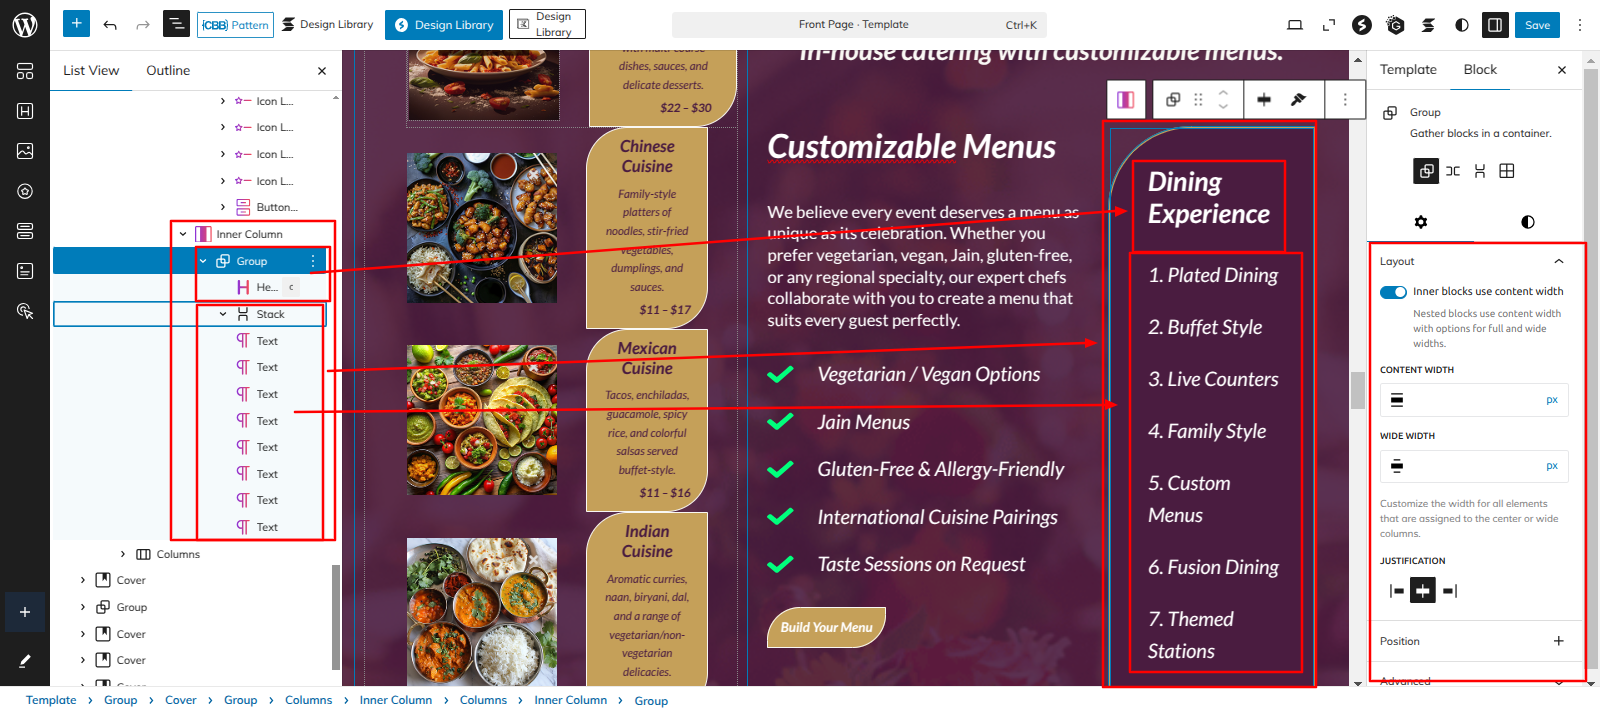
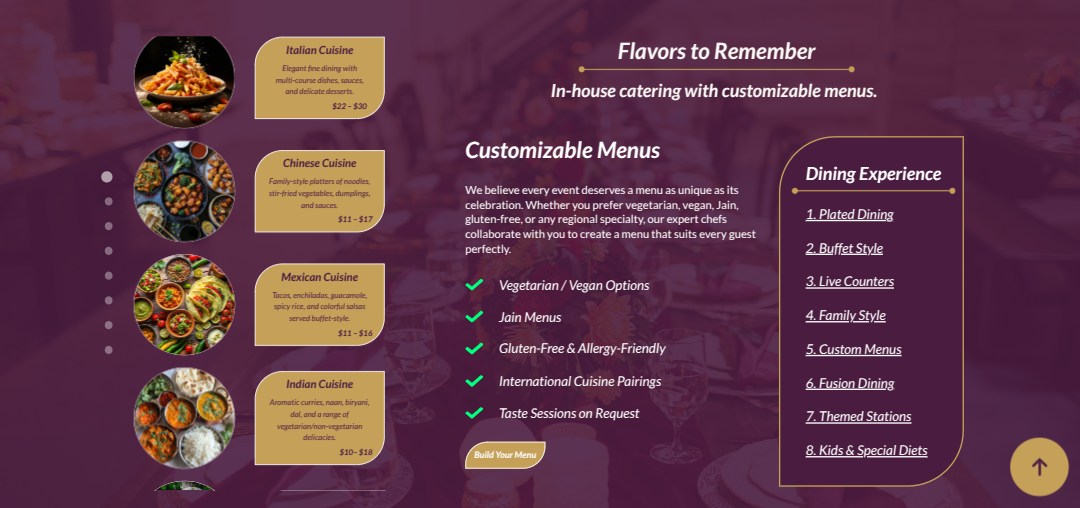
Setup Perfect for Every Occasion Section
Set up the Perfect for Every Occasion Section according to the instructions below.
Go to the Dashboard Prroducts Add New.
As seen in the screenshot, enter the title, Description, Shot Description, Image, Gallery, Price and Category for the Product.
Go to Dashboard Appearance Editor.
This is how you may set up and add the Perfect for Every Occasion Section.
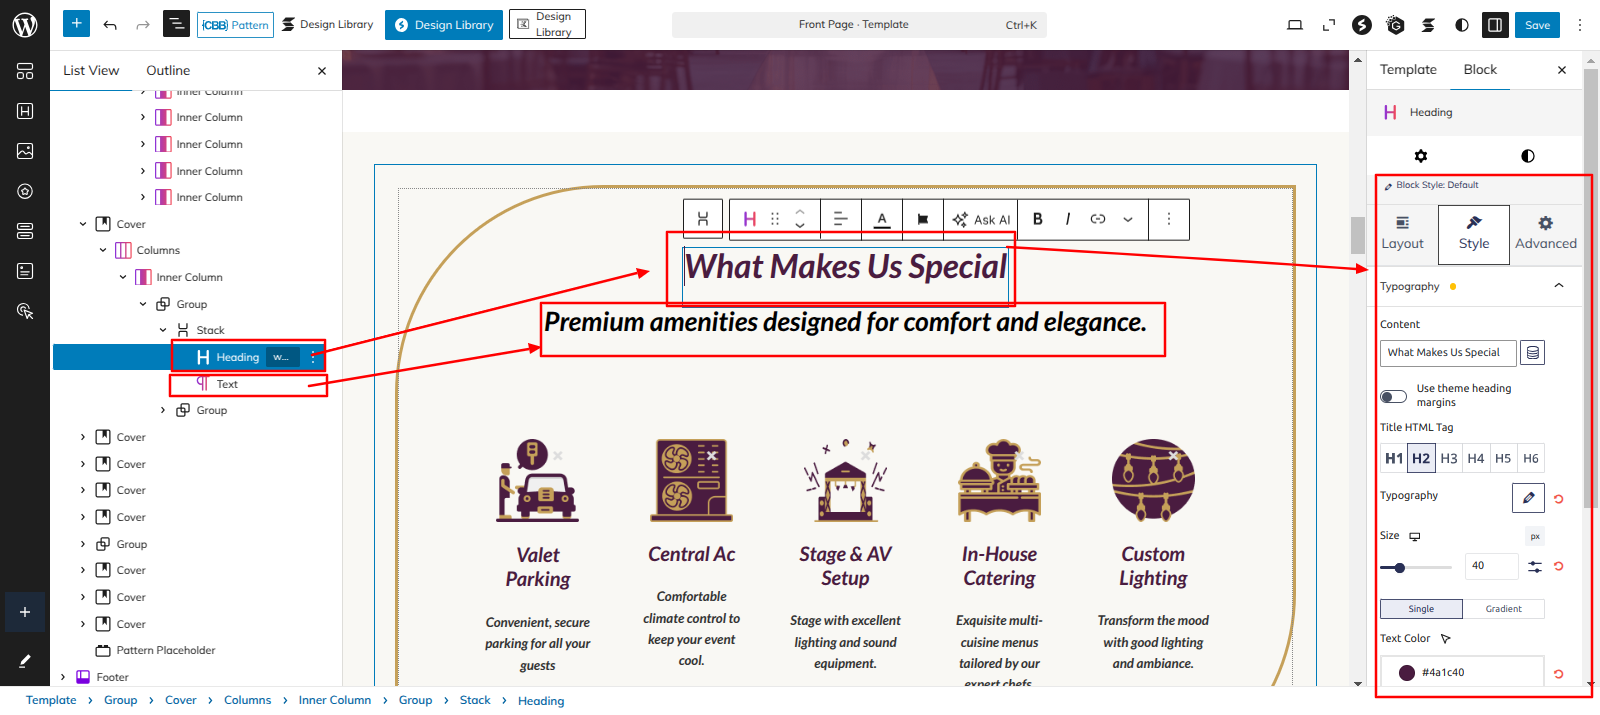
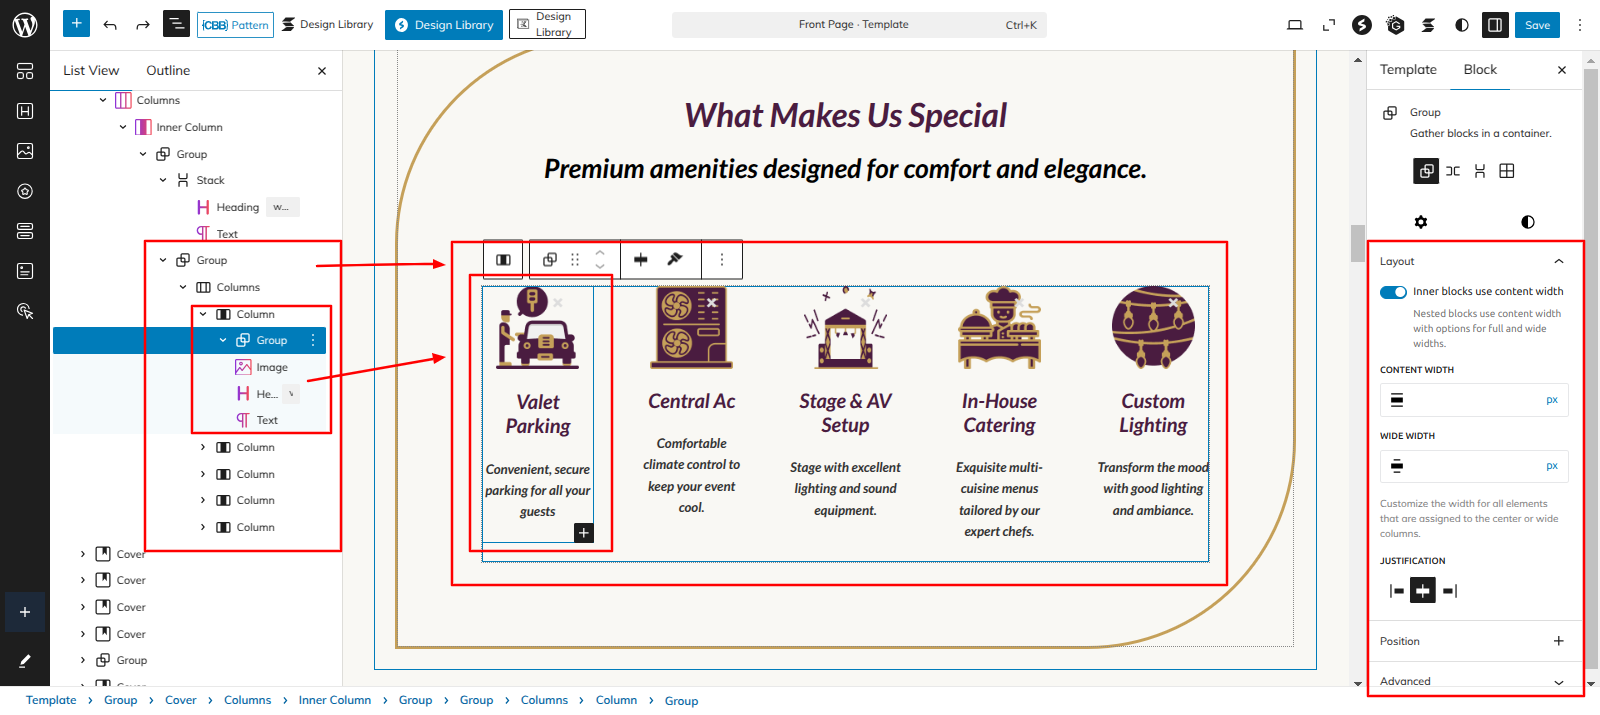
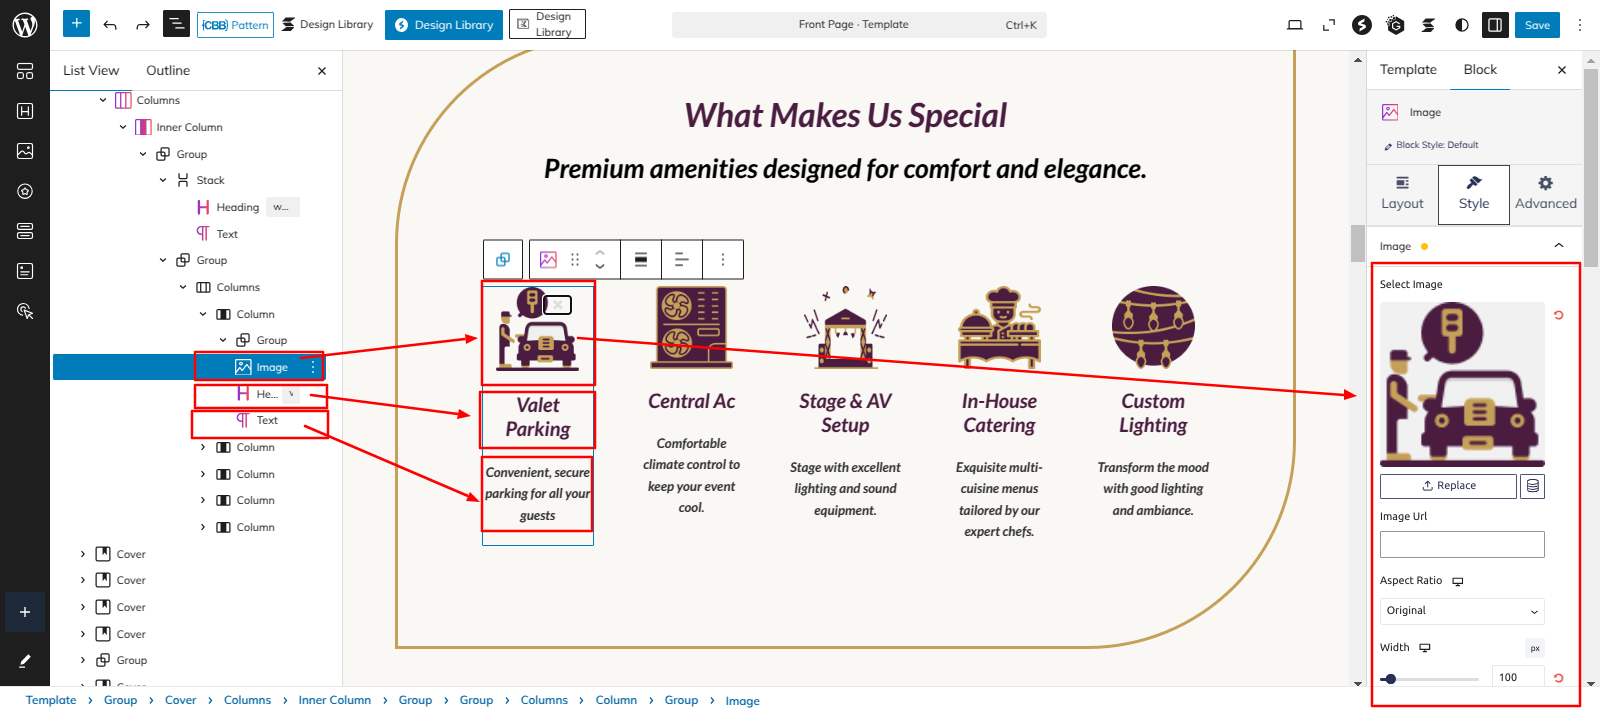
Setup What Makes Us Special Section
Set up the What Makes Us Special Section according to the instructions below.
Go to Dashboard Appearance Editor.
This is how you may set up and add the What Makes Us Special Section.
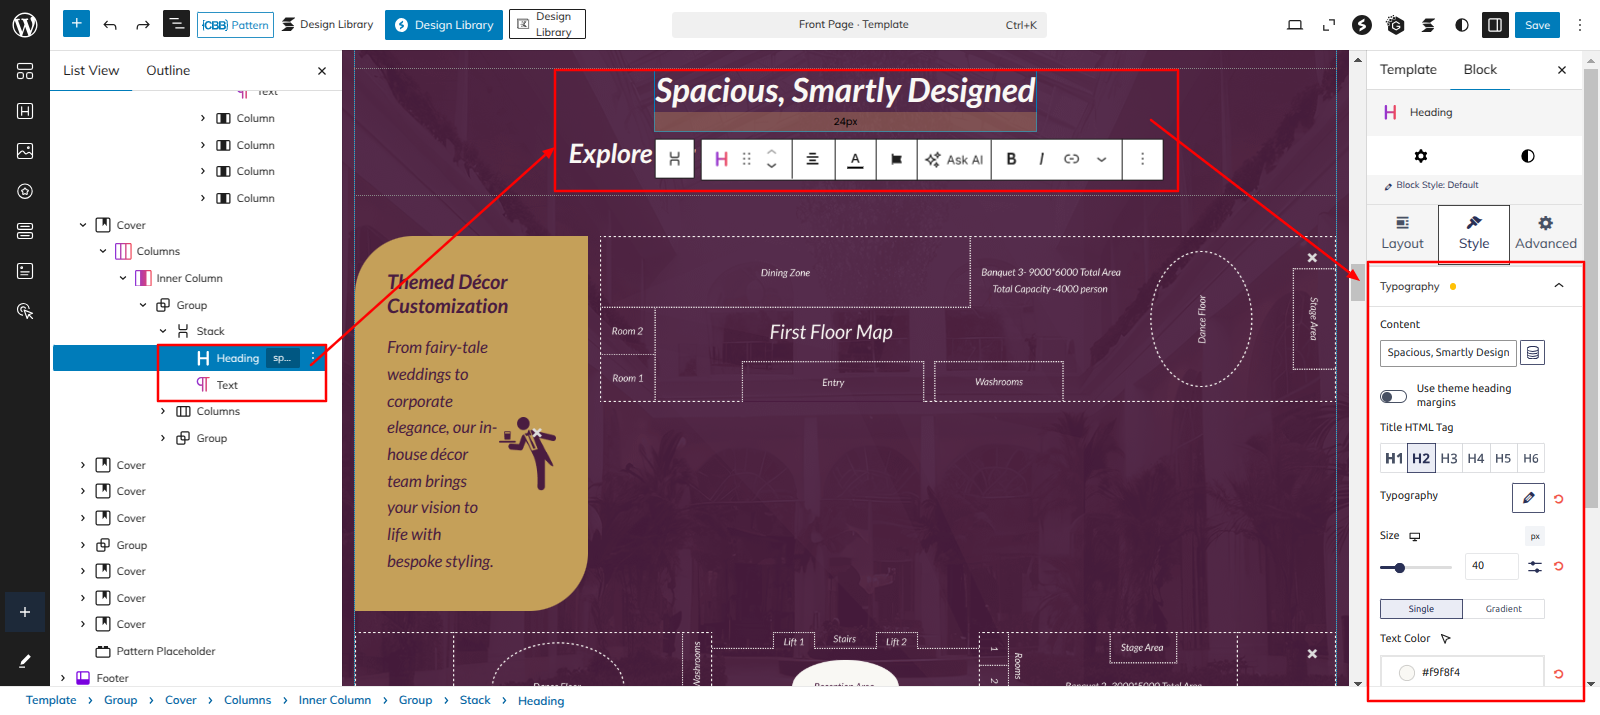
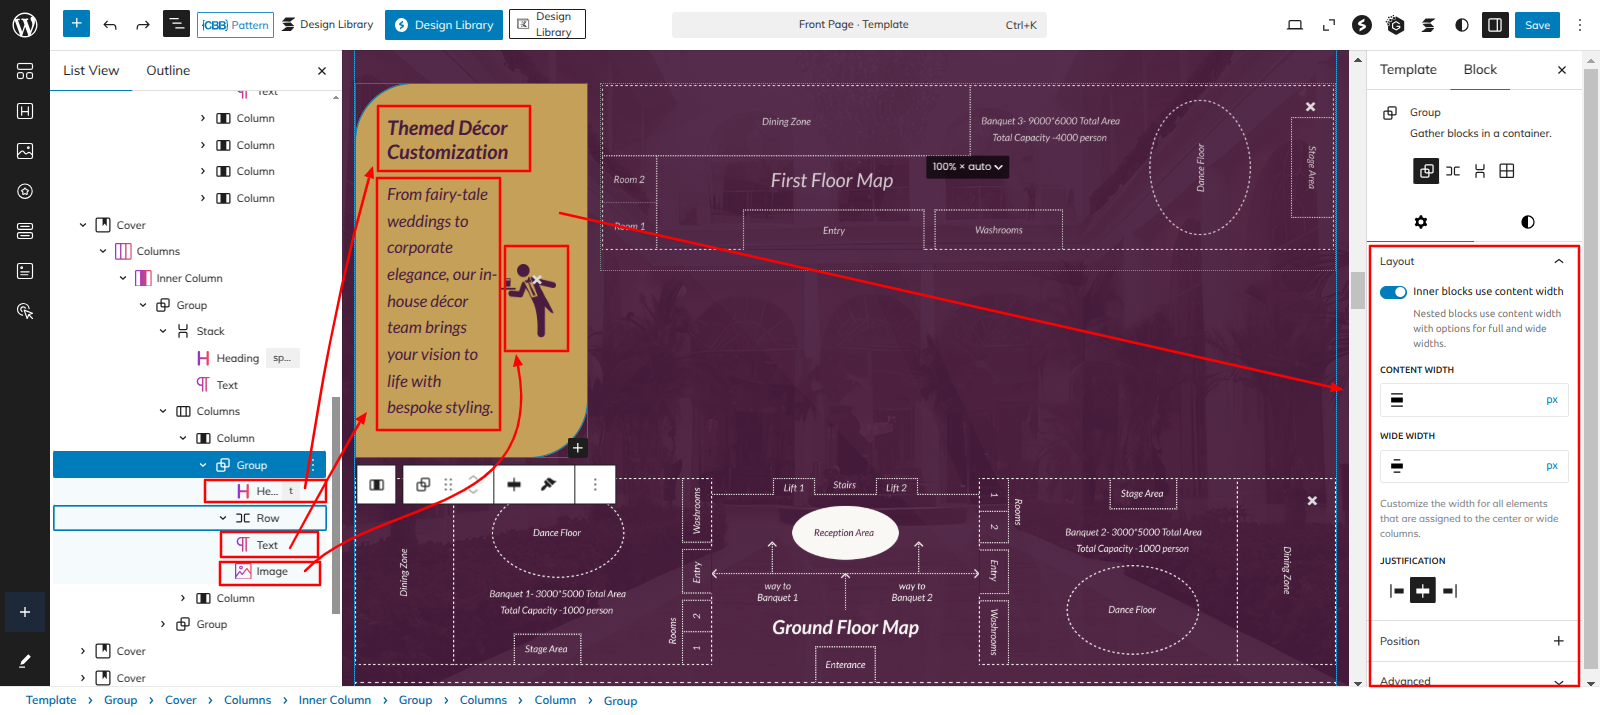
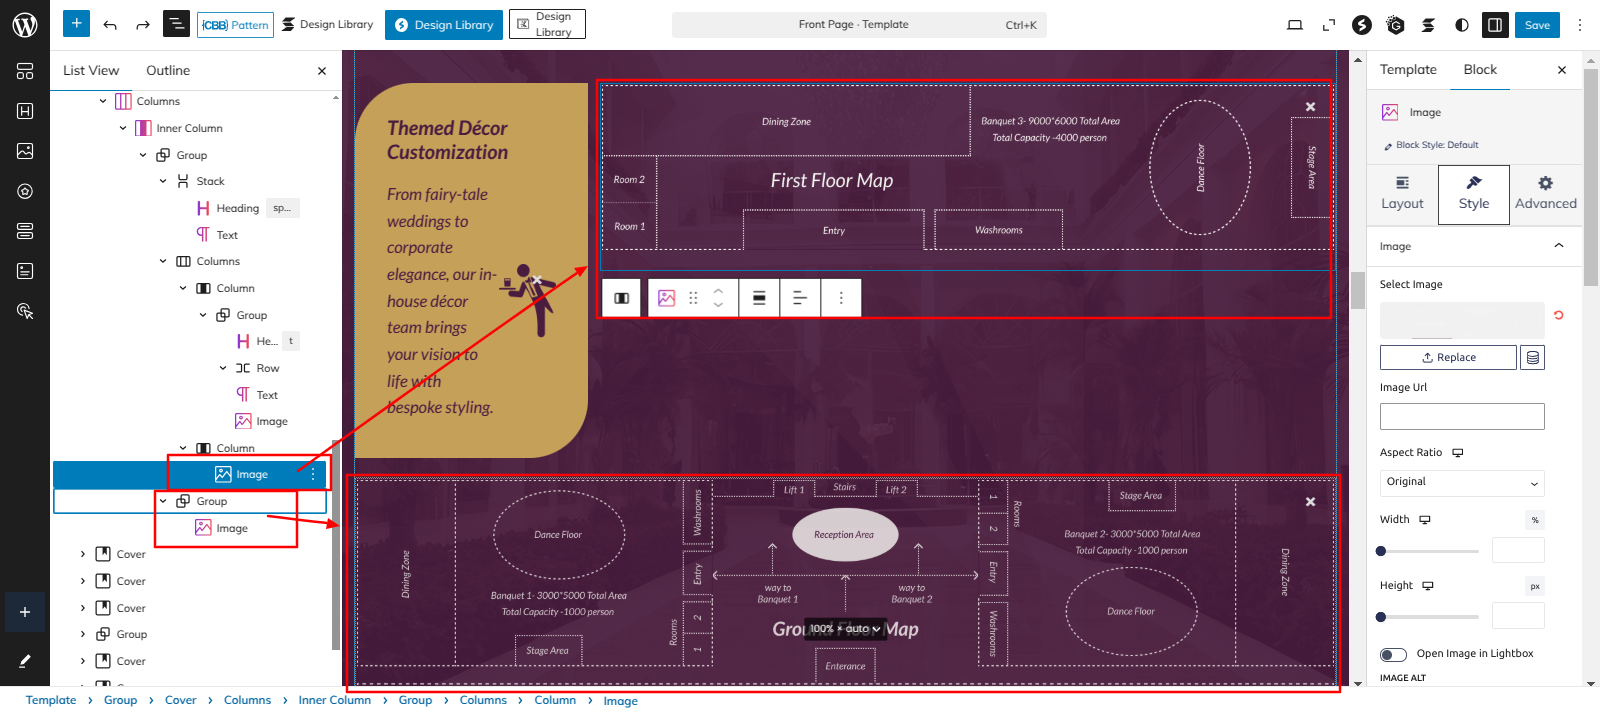
Setup Spacious, Smartly Designed Section
Set up the Spacious, Smartly Designed Section according to the instructions below.
Go to Dashboard Appearance Editor.
This is how you may set up and add the Spacious, Smartly Designed Section.
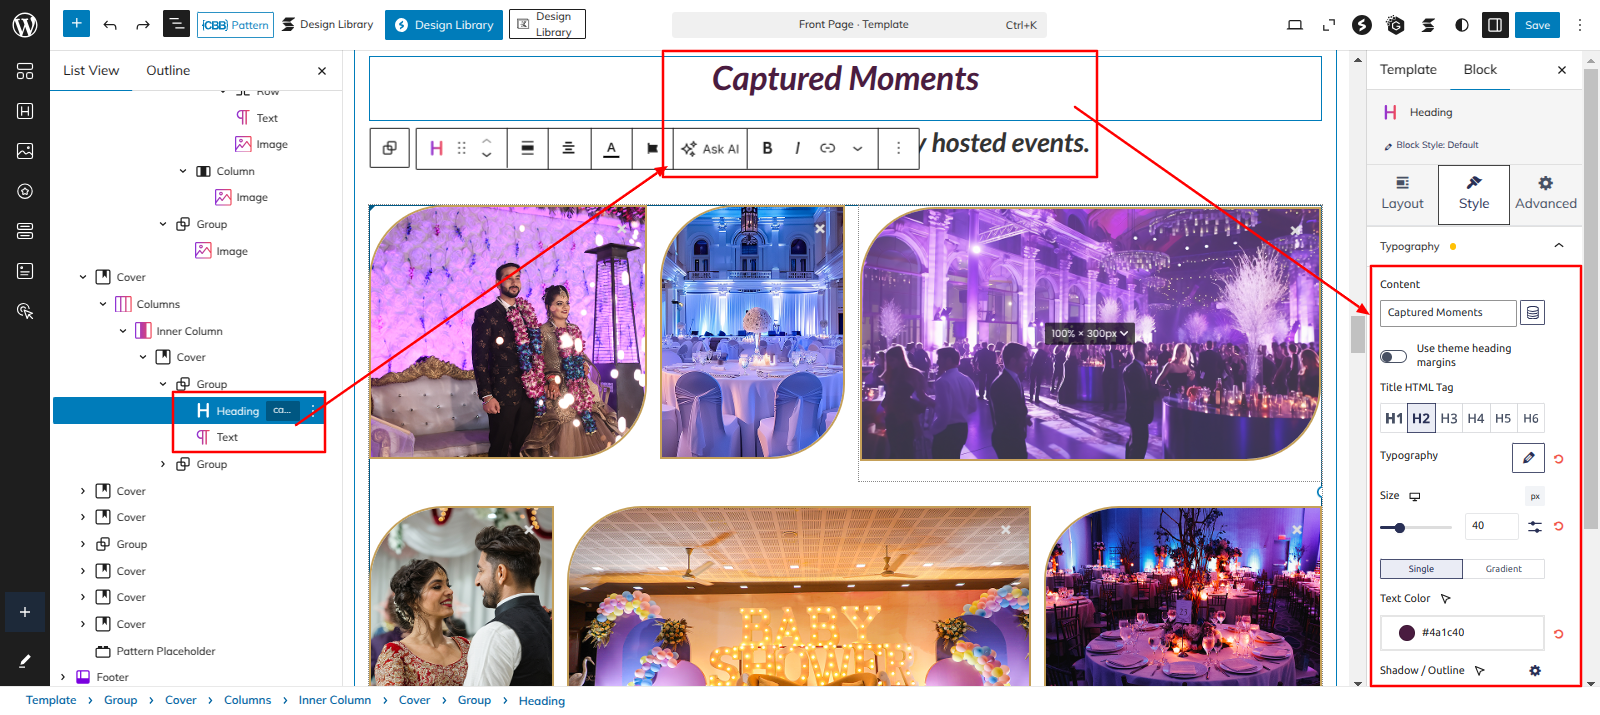
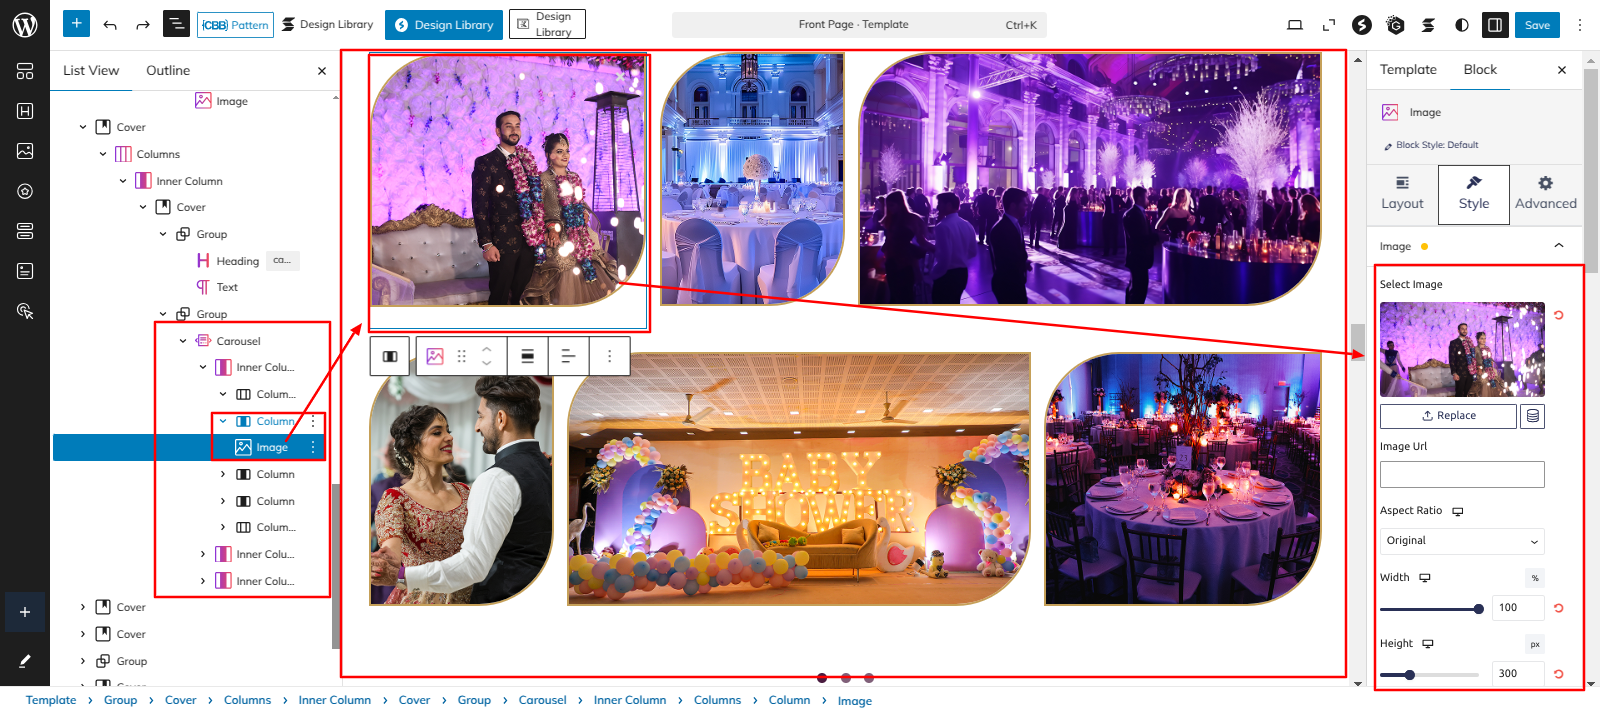
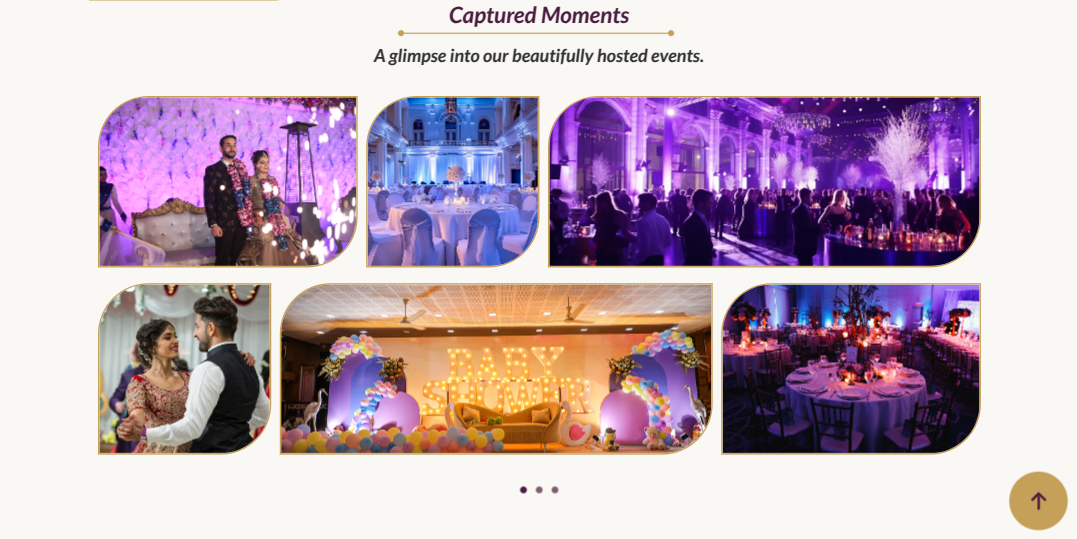
Setup Captured Moments Section
Set up the Captured MomentsSection according to the instructions below.
Go to Dashboard Appearance Editor.
This is how you may set up and add the Captured Moments Section.
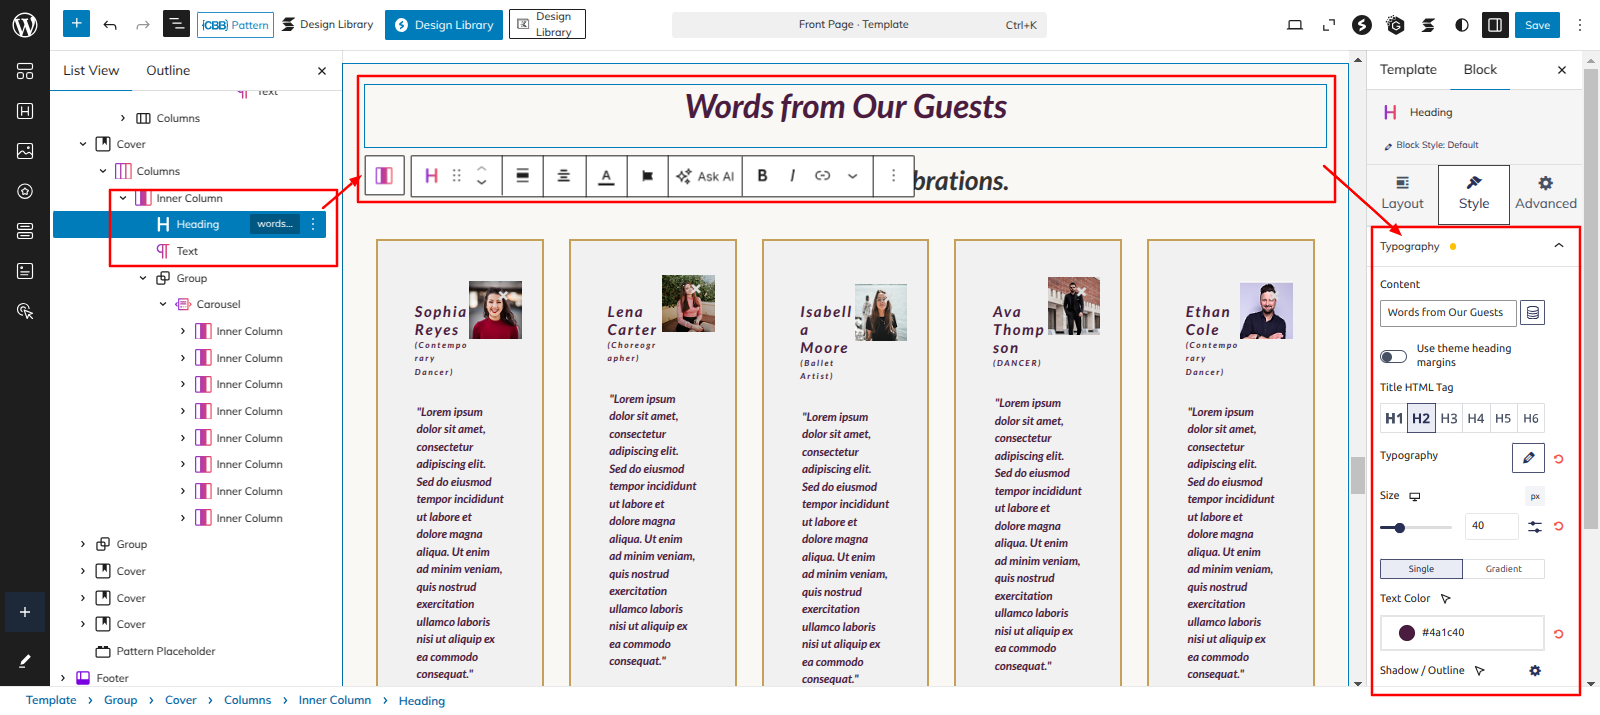
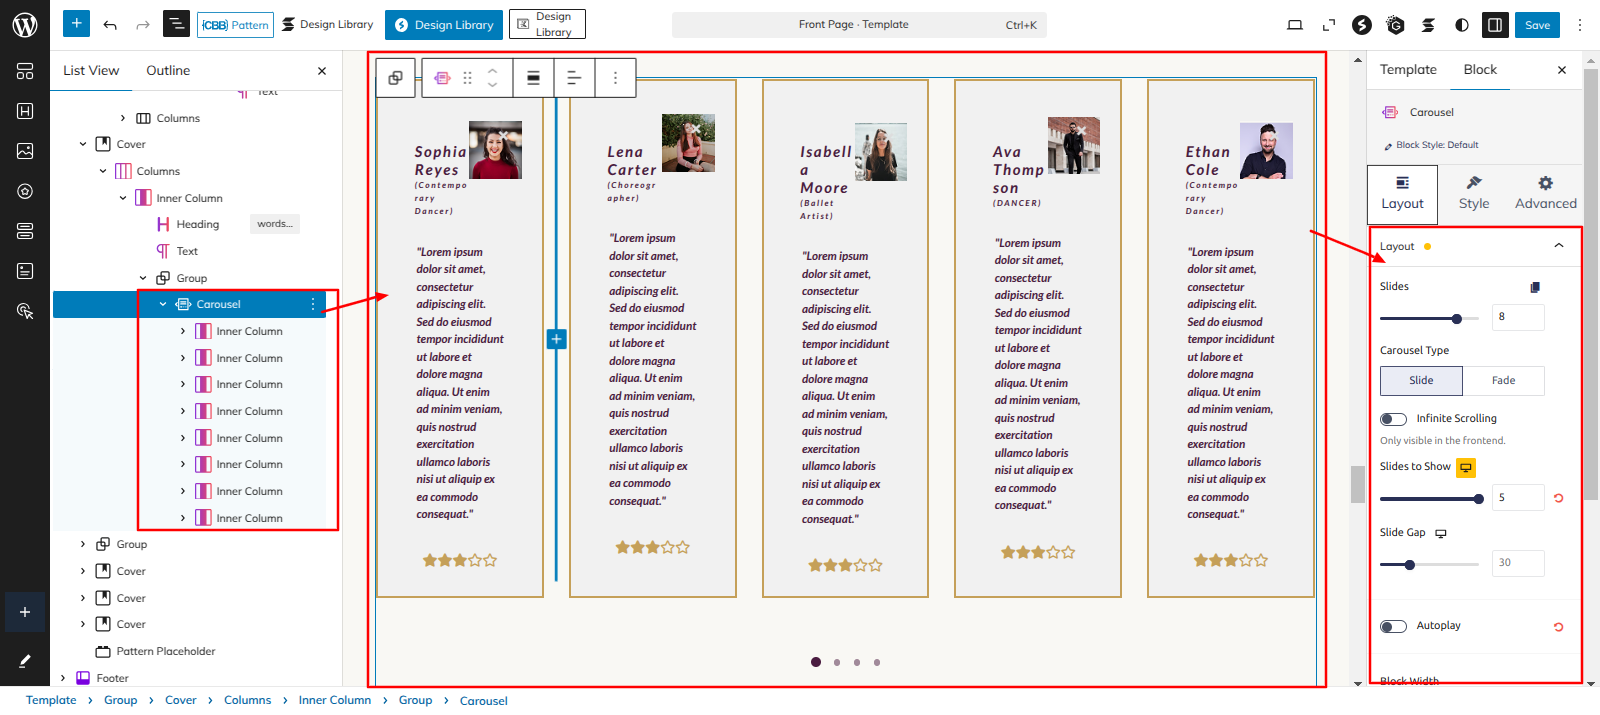
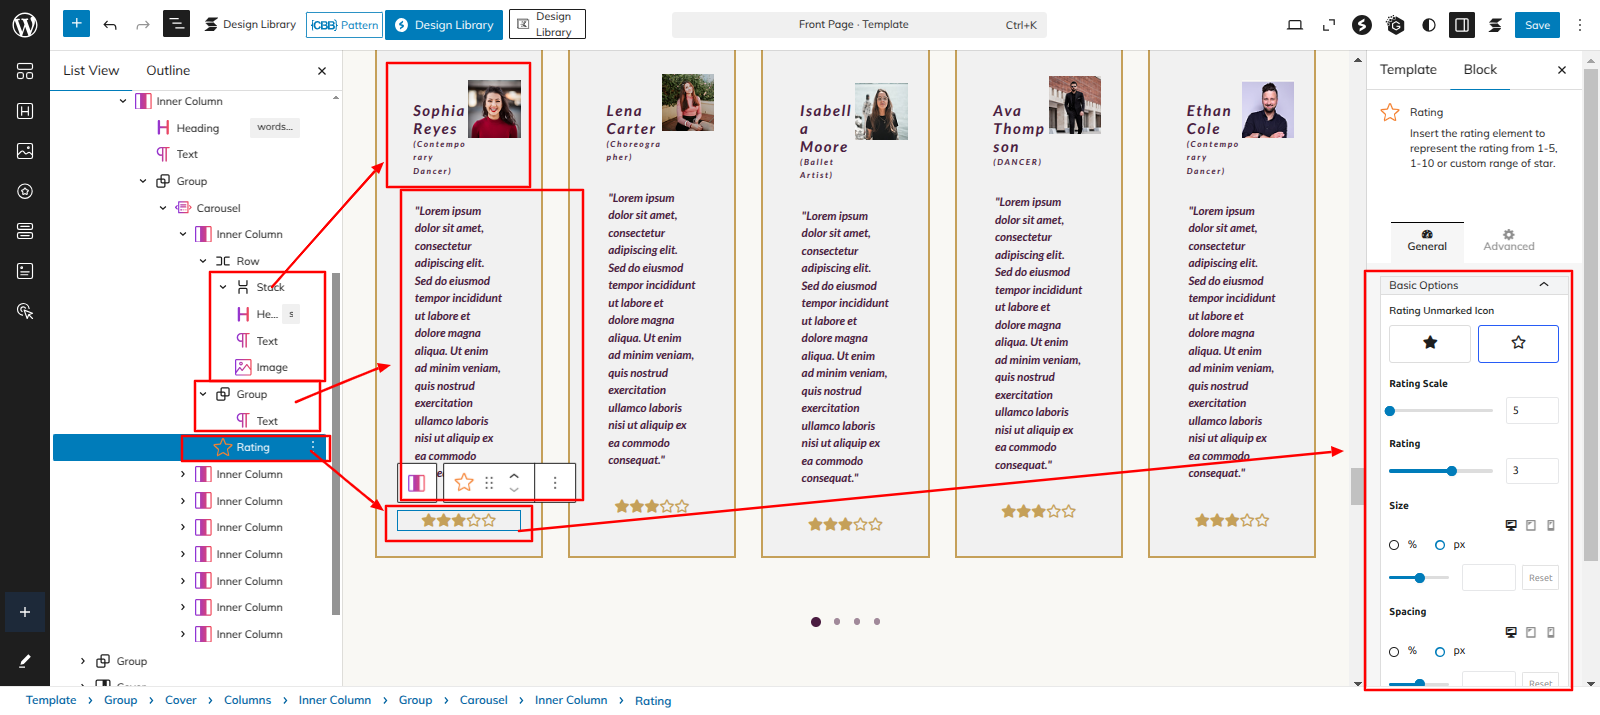
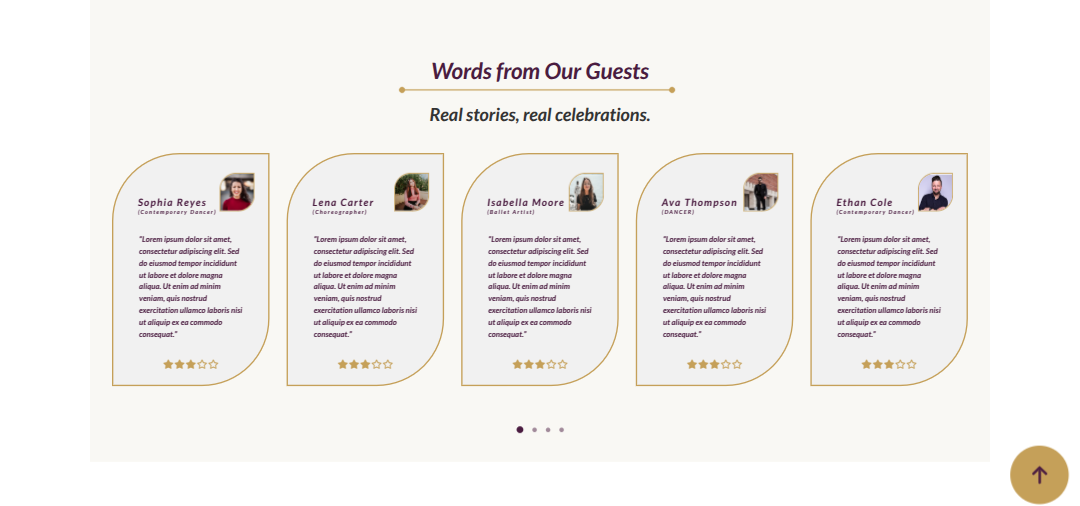
Setup Words from Our Guests
Set up the Words from Our Guests according to the instructions below.
Go to Dashboard Appearance Editor.
This is how you may set up and add the Words from Our Guests.
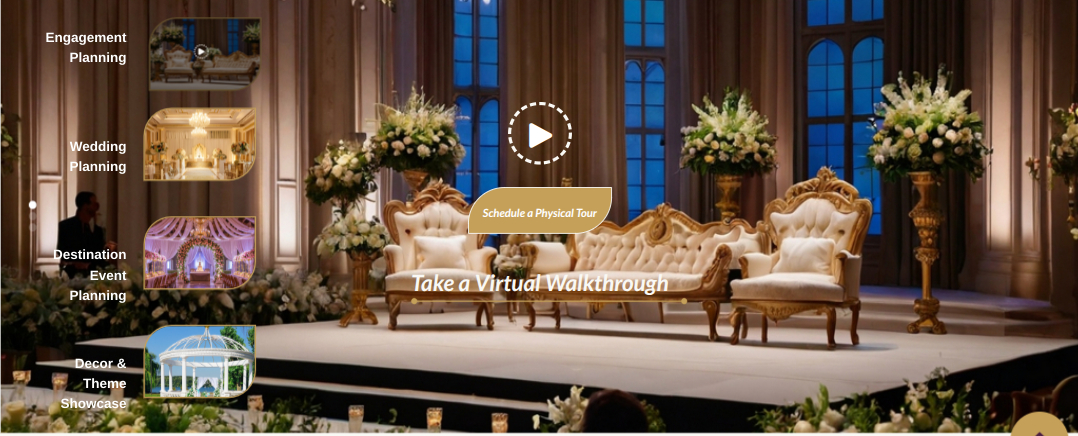
Setup Take a Virtual Walkthrough
Set up the Take a Virtual Walkthrough according to the instructions below.
Go to the Dashboard Appearance Editor.
This is how you may set up and add the Take a Virtual Walkthrough.
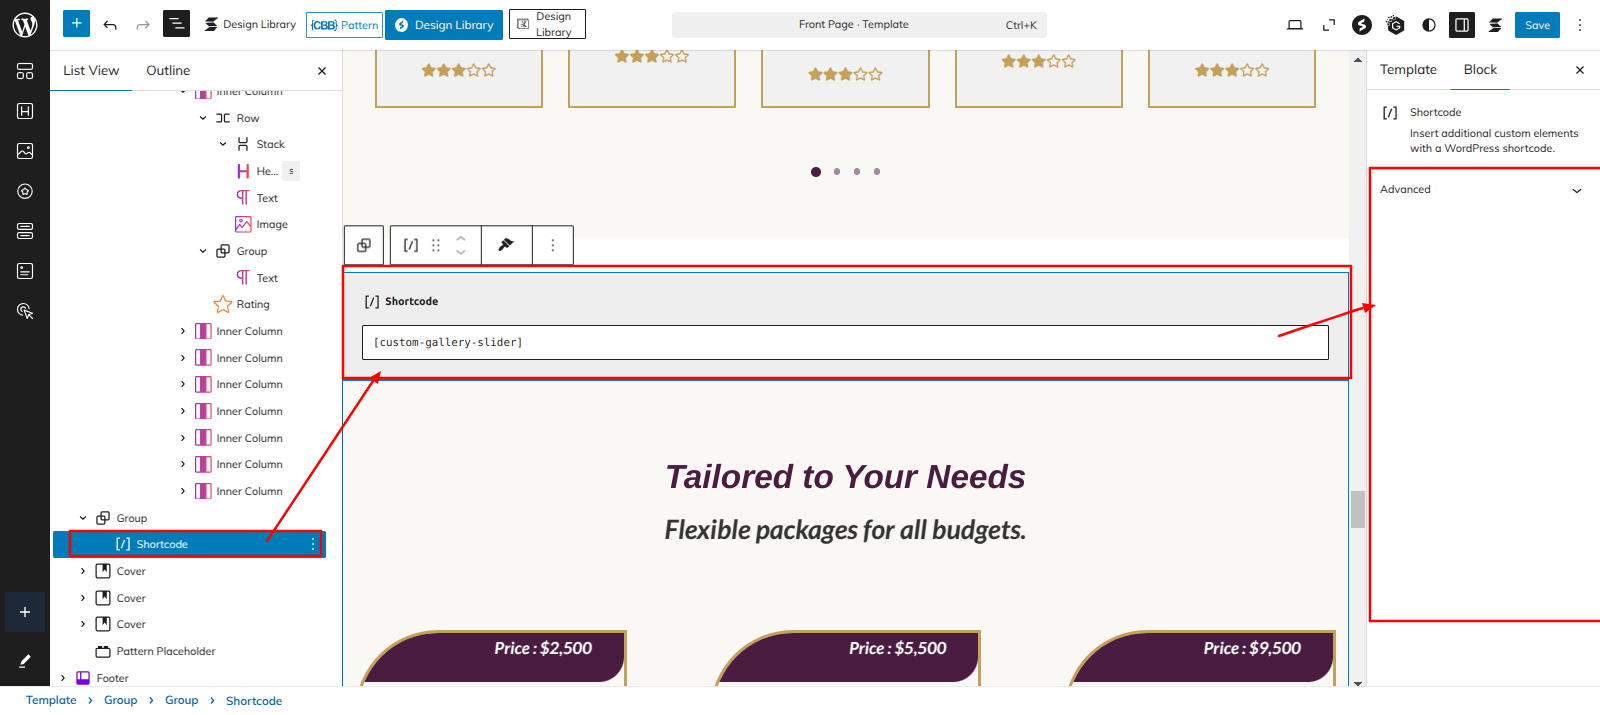
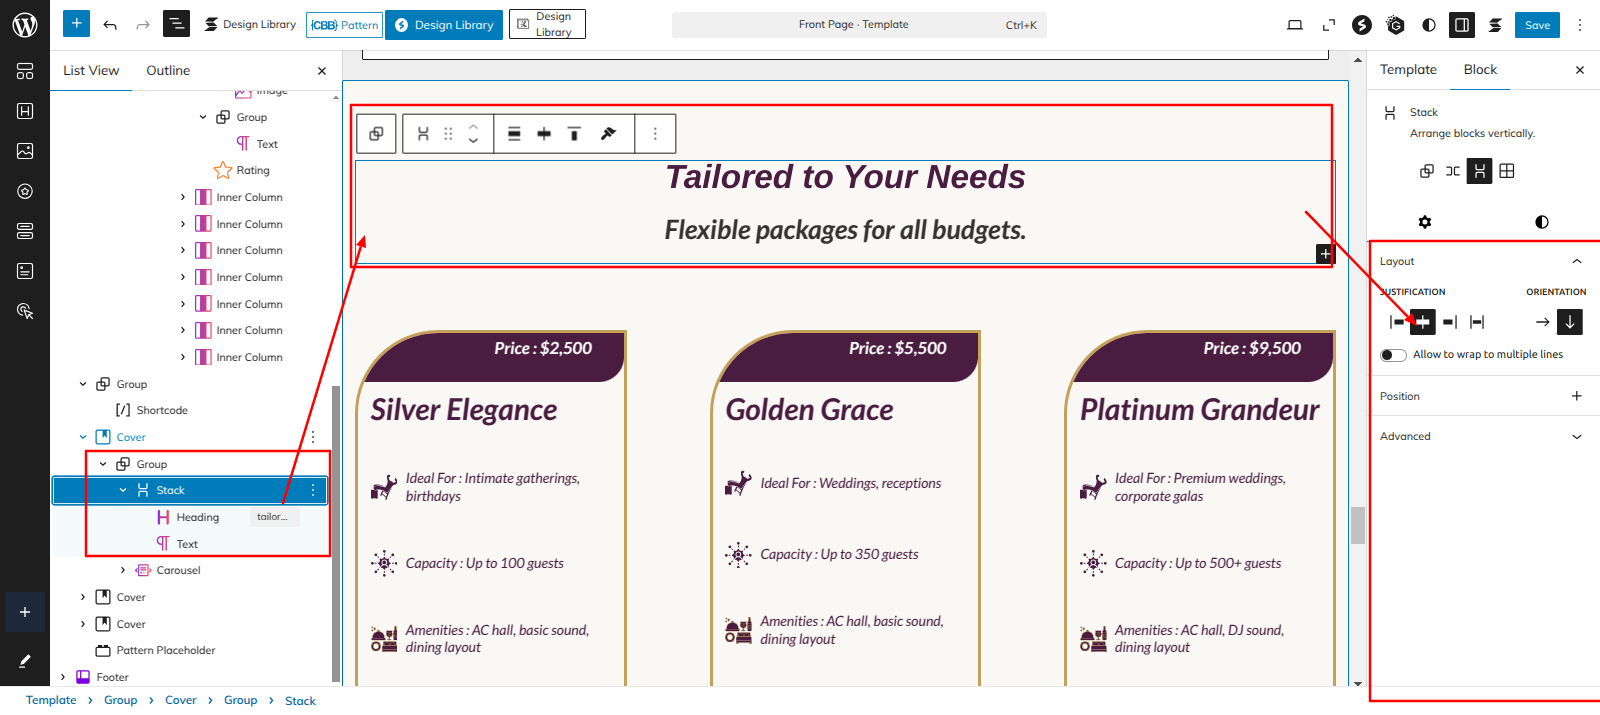
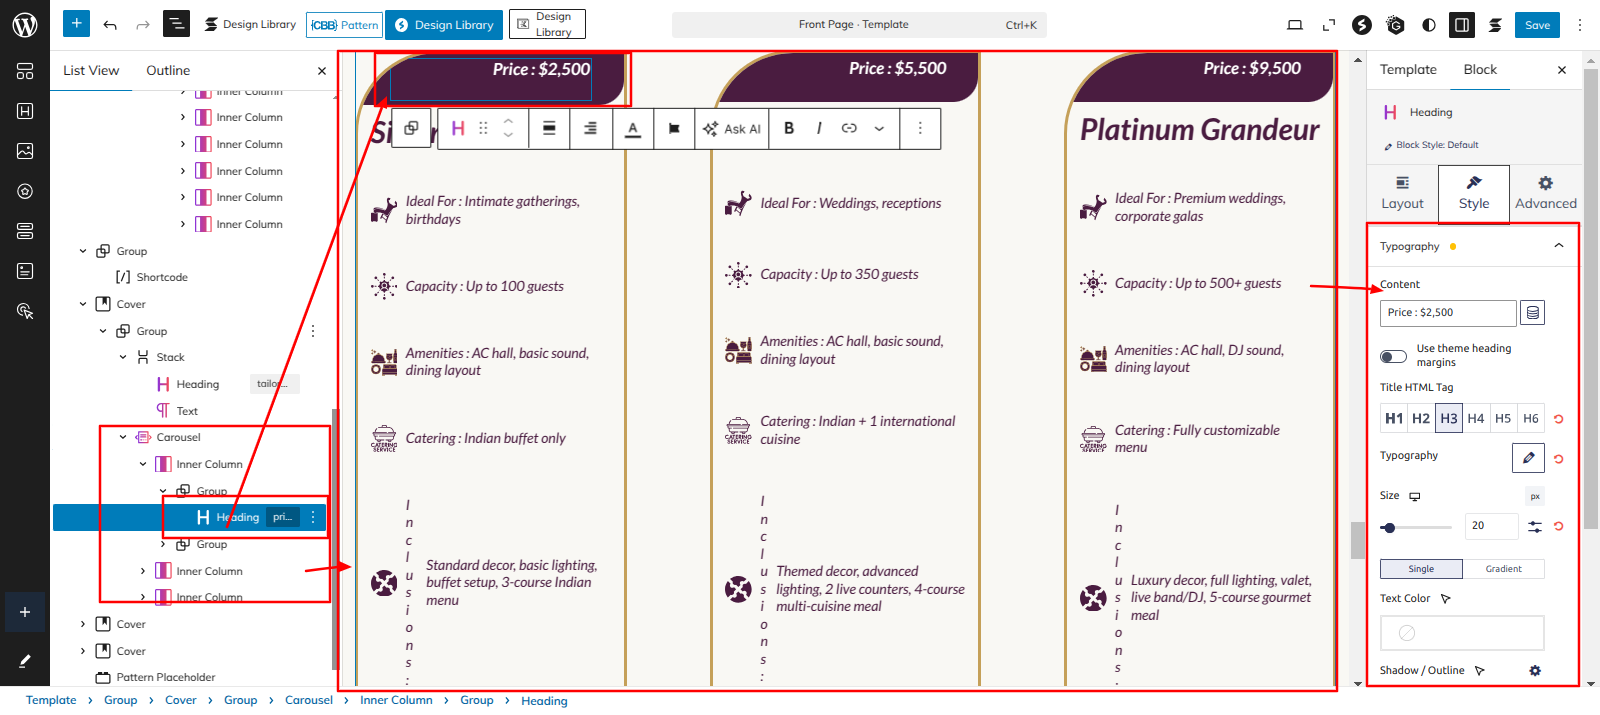
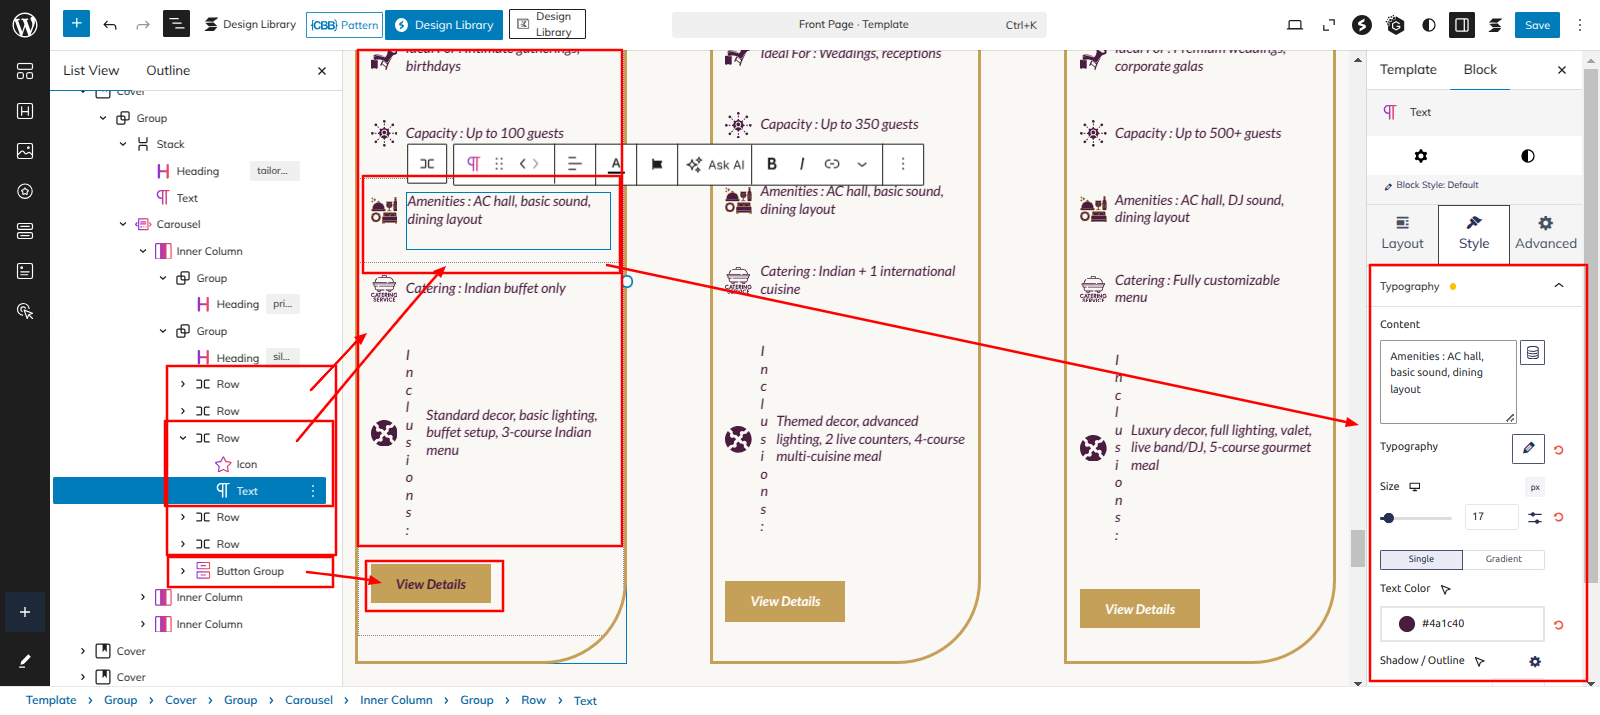
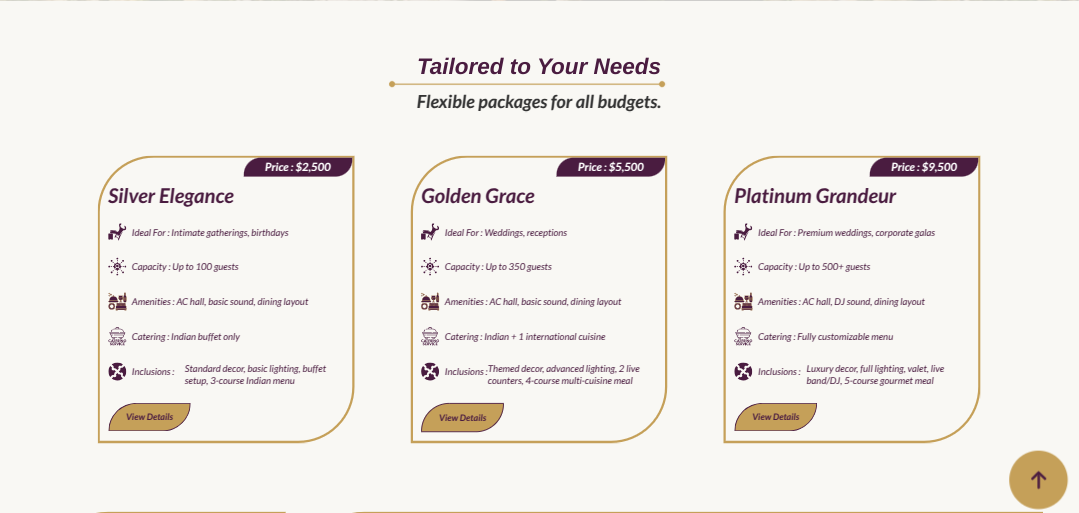
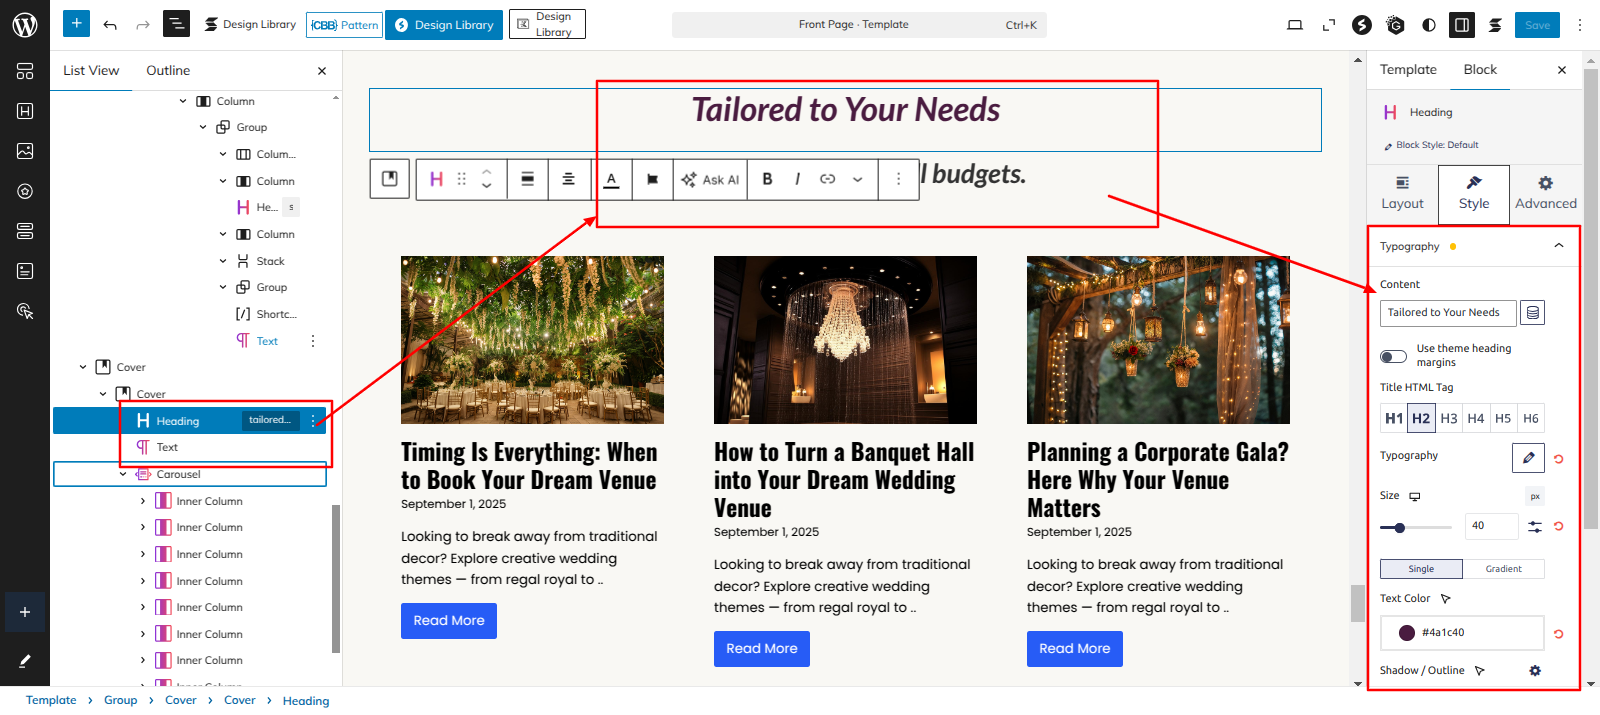
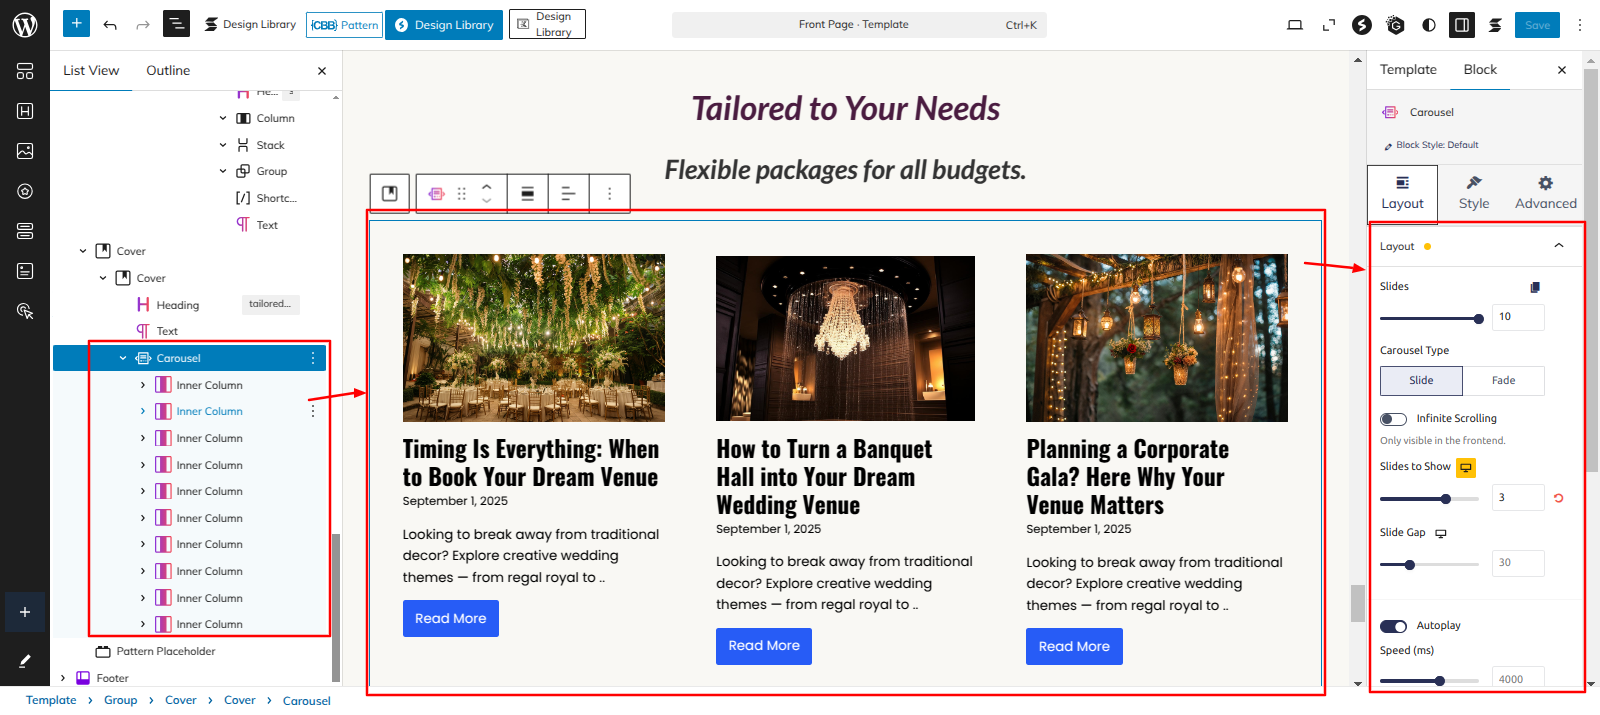
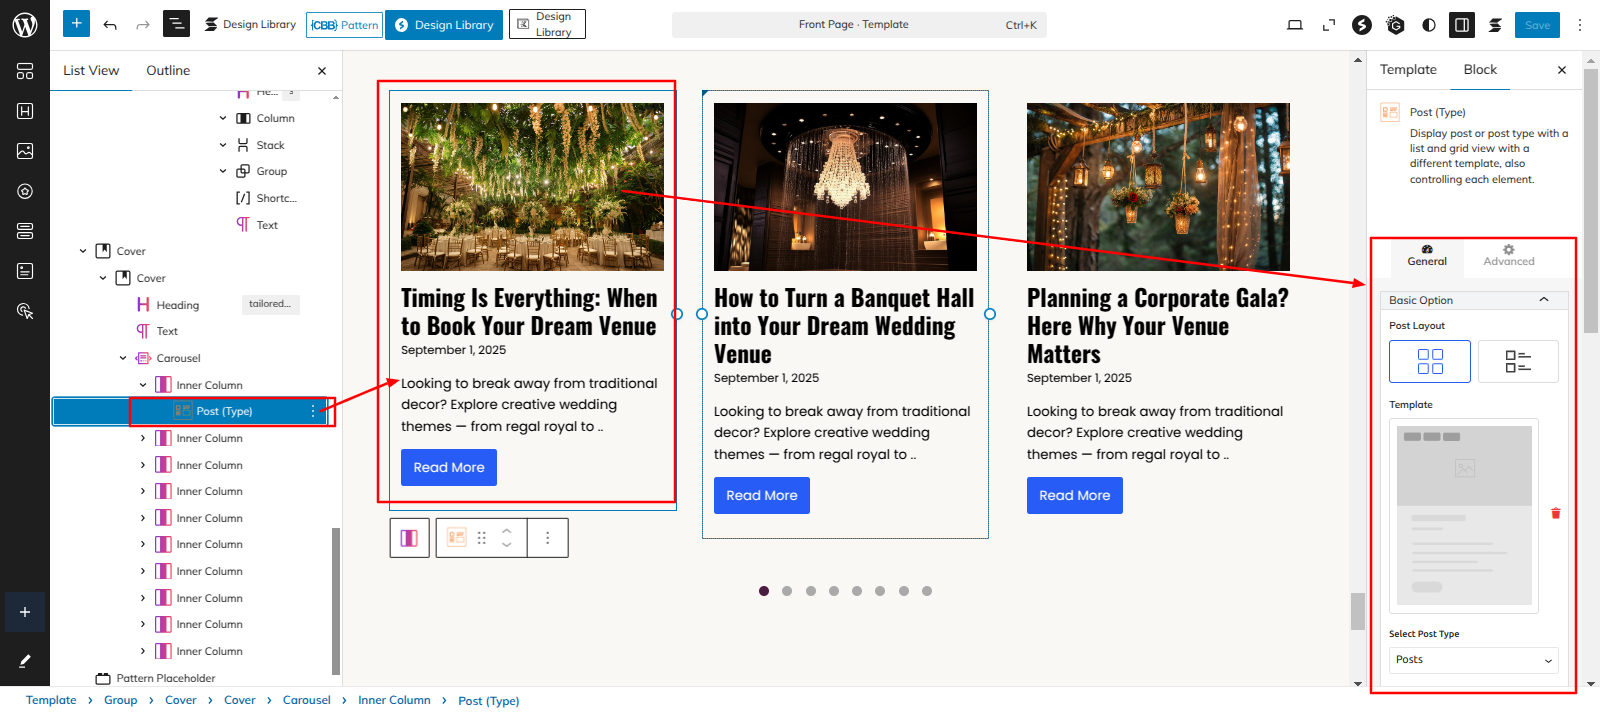
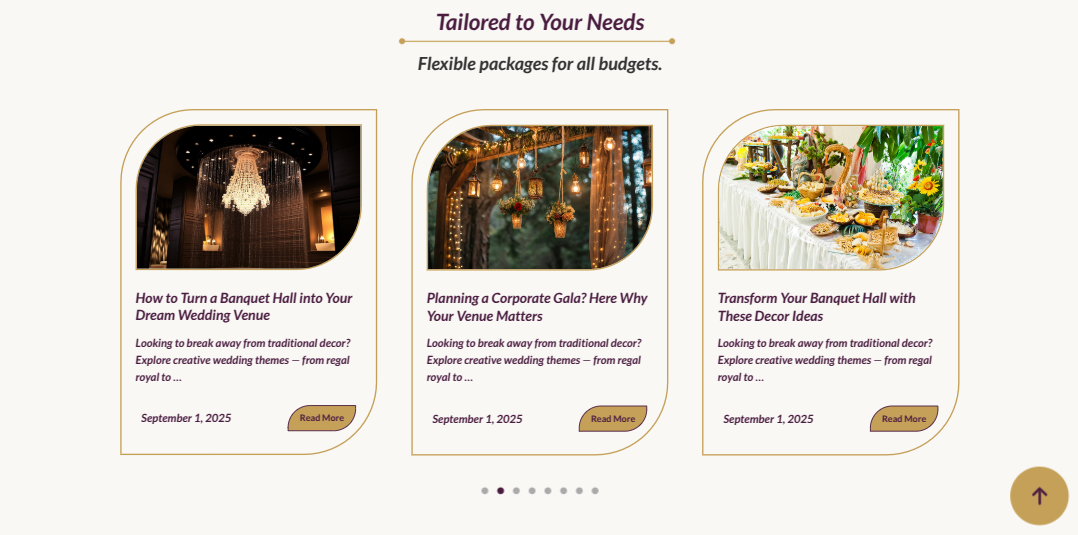
Setup Tailored to Your Needs Section
Set up the Tailored to Your Needs Section according to the instructions below.
Go to the Dashboard Appearance Editor.
This is how you may set up and add the Tailored to Your Needs Section.
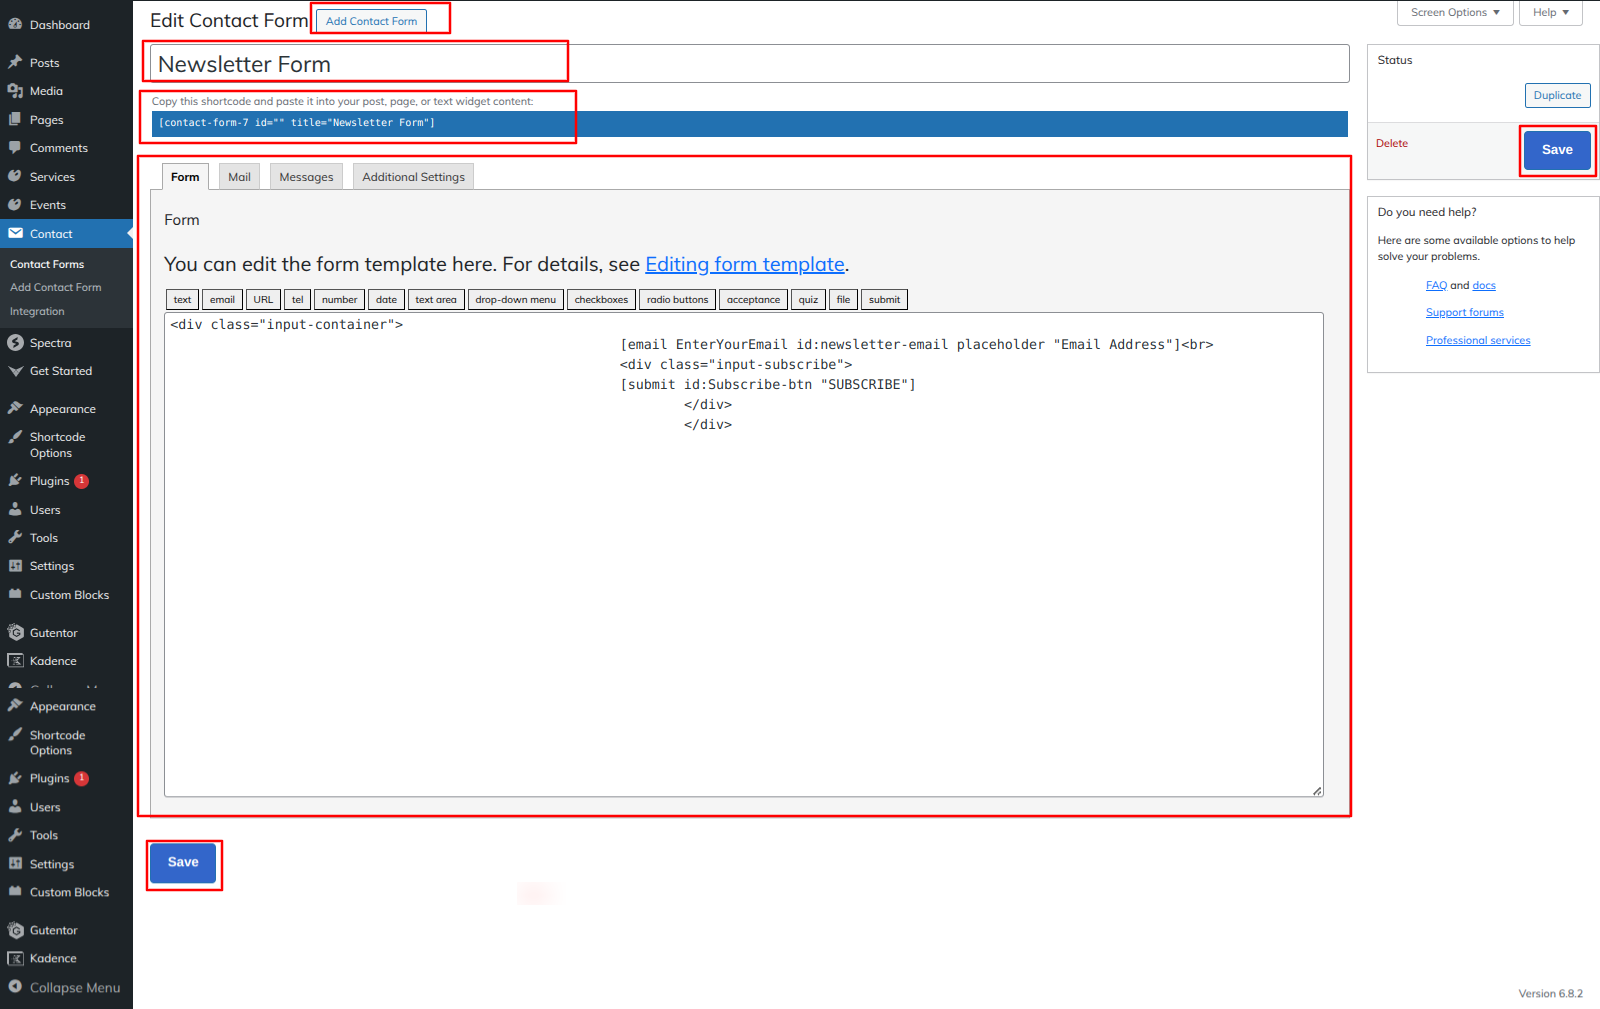
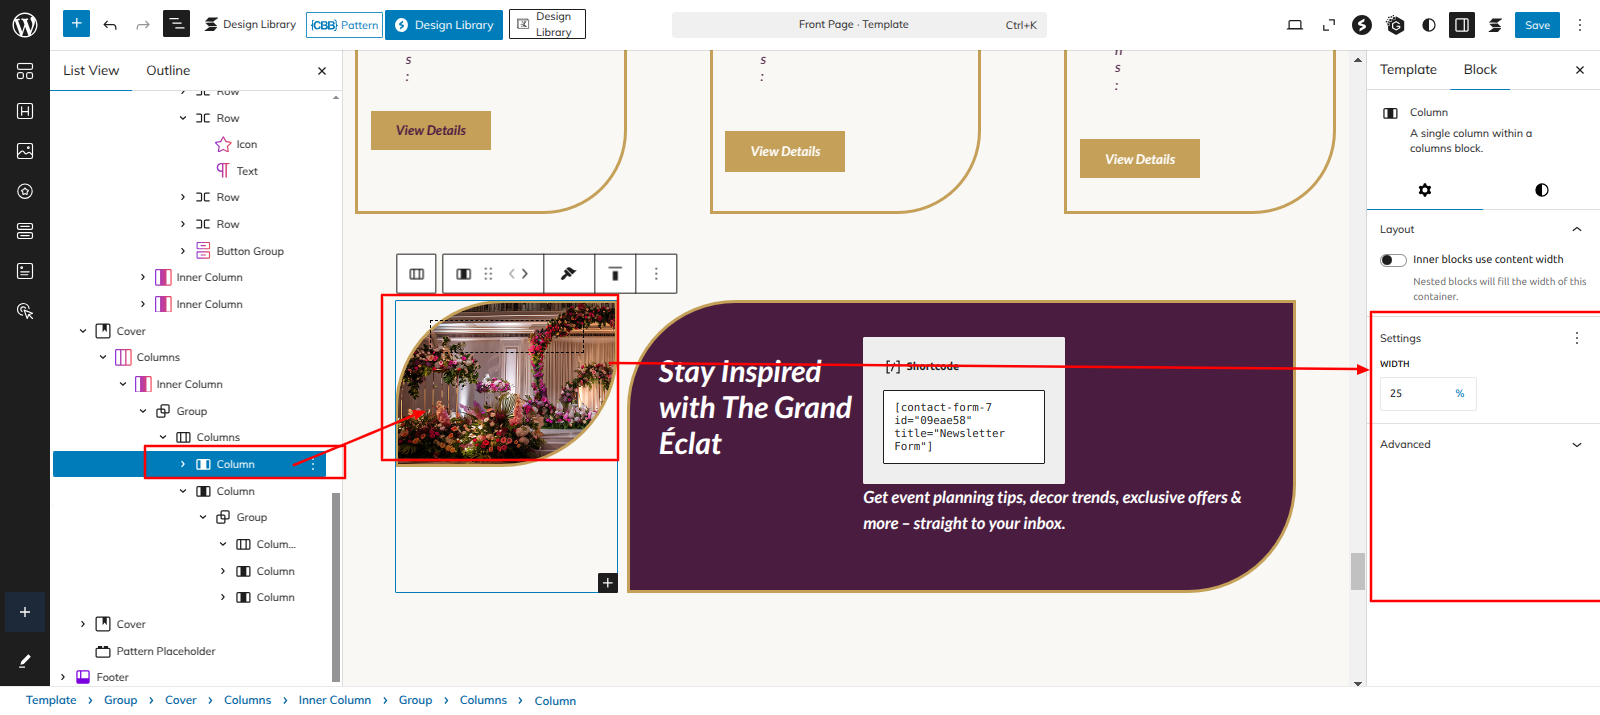
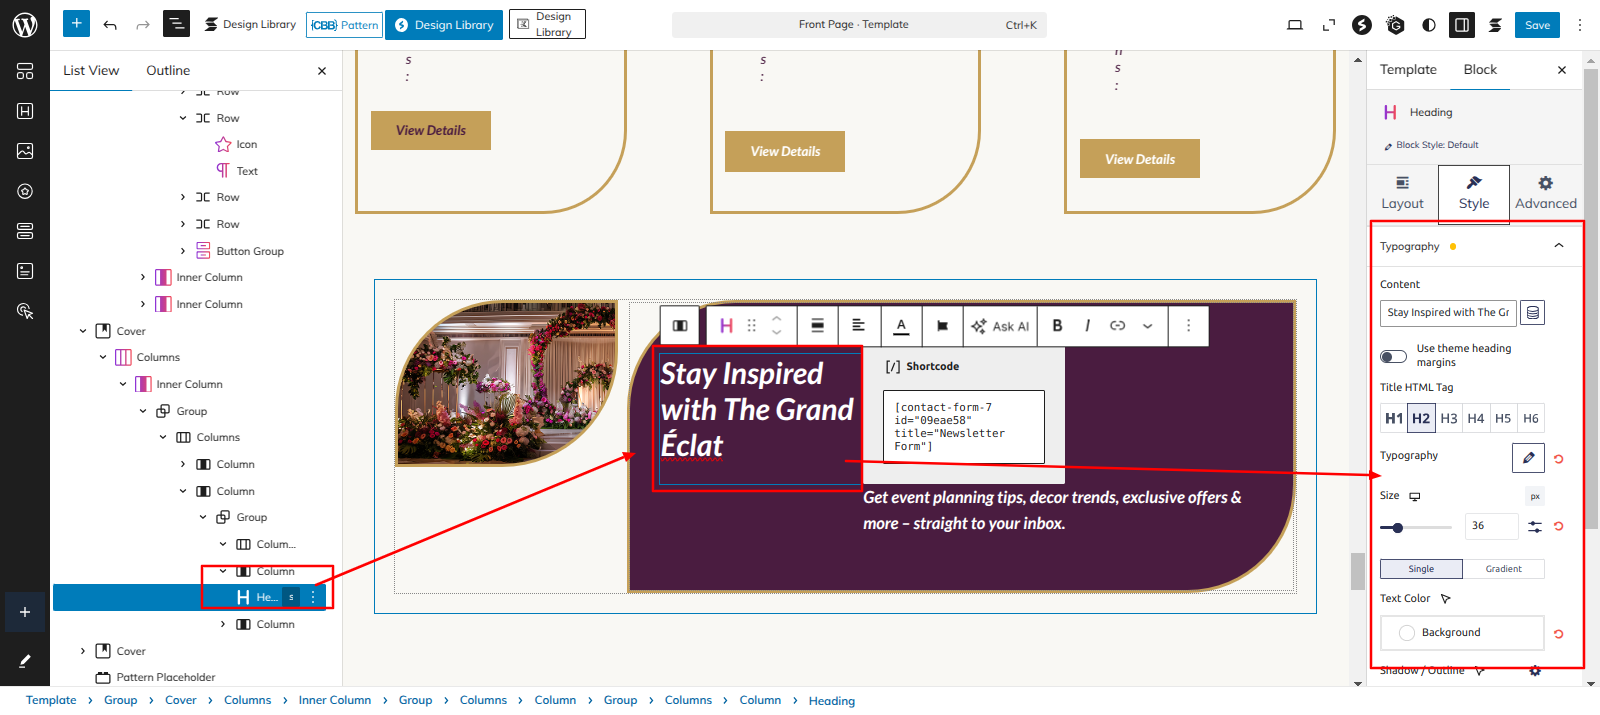
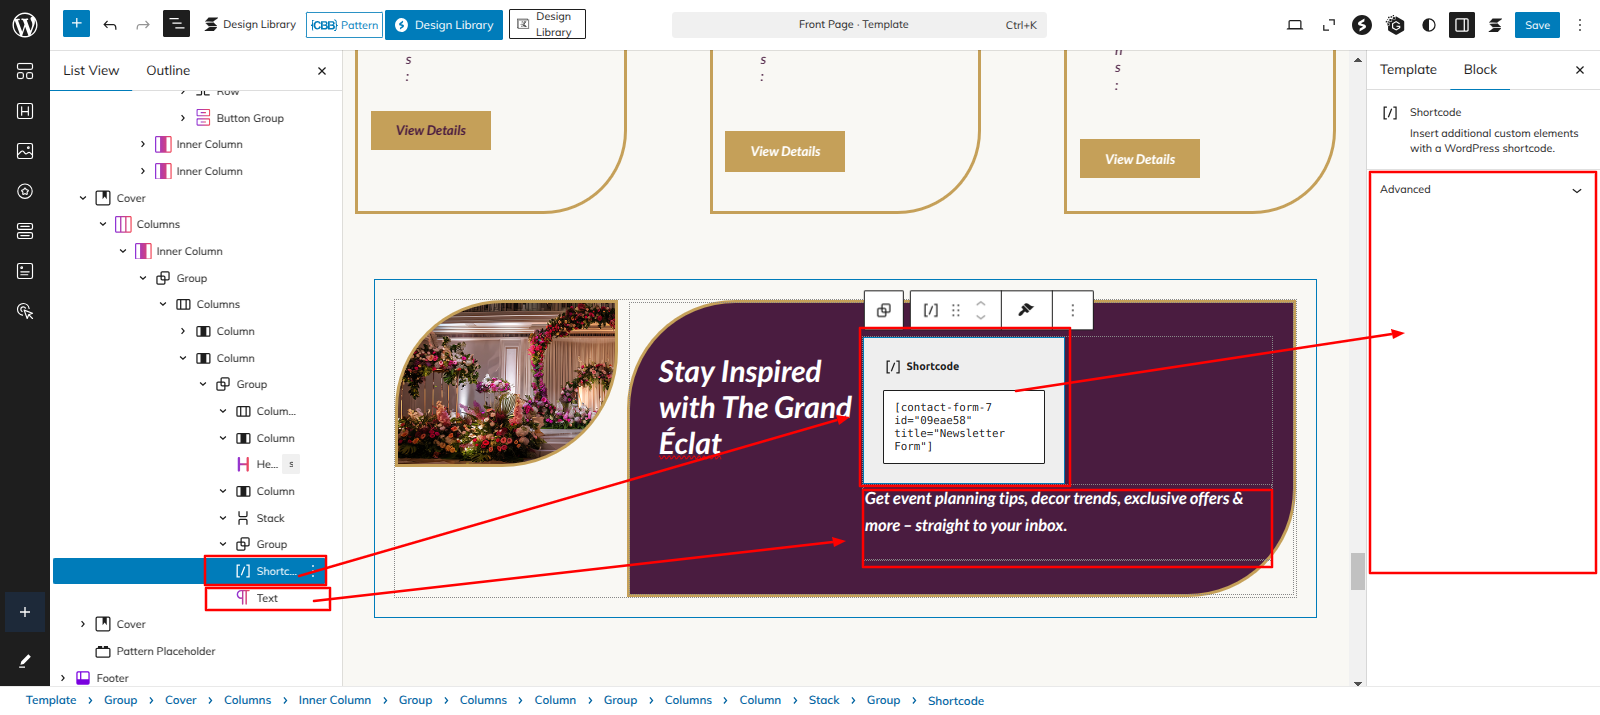
Setup Newsetter Section
Set up the Newsetter Section according to the instructions below.
Go to the Dashboard Contact Edit.
Go to Dashboard Appearance Editor.
This is how you may set up and add the Newsetter Section.
Setup Blog & Insights
Set up the Blog & Insights according to the instructions below.
Go to the Dashboard Posts All Posts.
As seen in the screenshot, enter the title, Description, Shot Description, Image, Gallery, Price and Category for the Product.
Go to Dashboard Appearance Editor.
This is how you may set up and add the Blog & Insights.
INNER PAGES
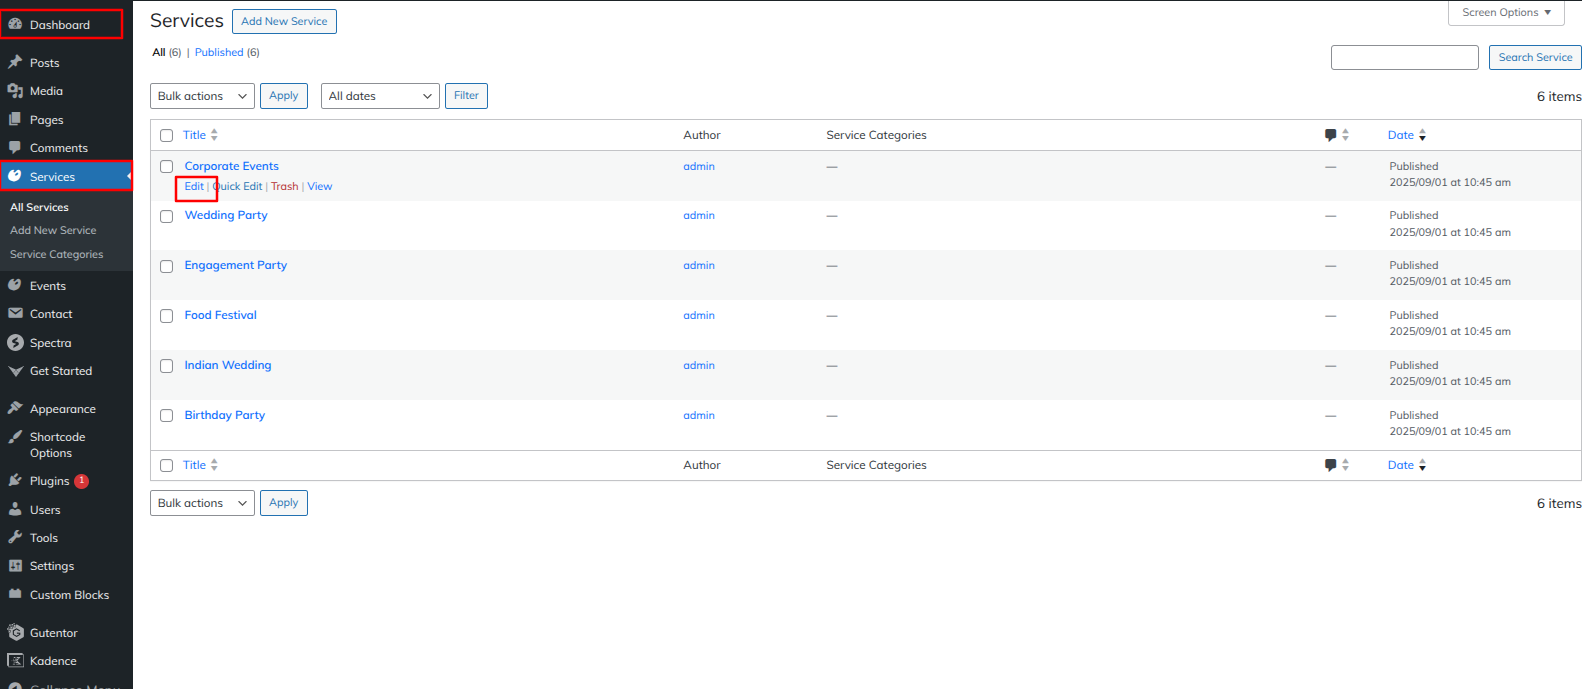
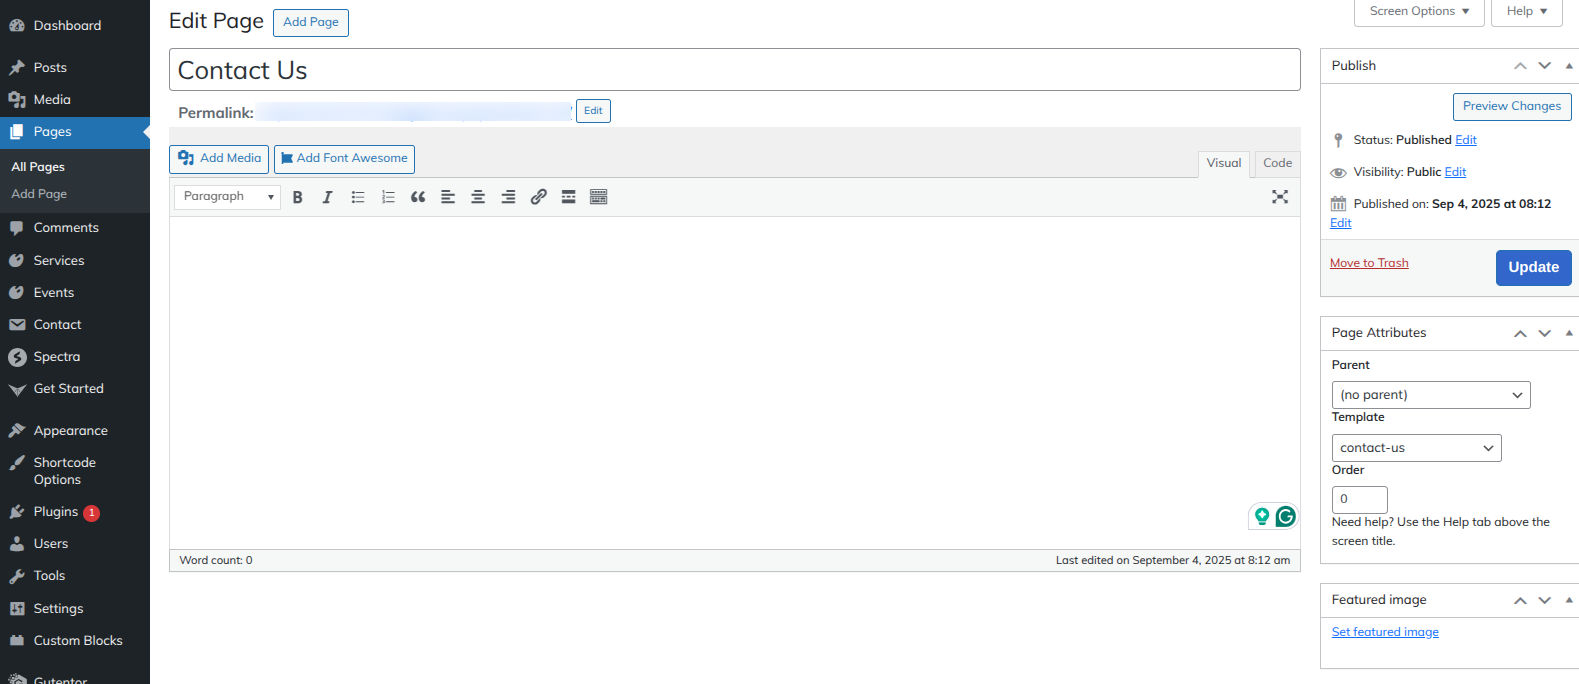
SETUP CONTACT US PAGE
Set up the Contact Us Page by following the steps mentioned below.
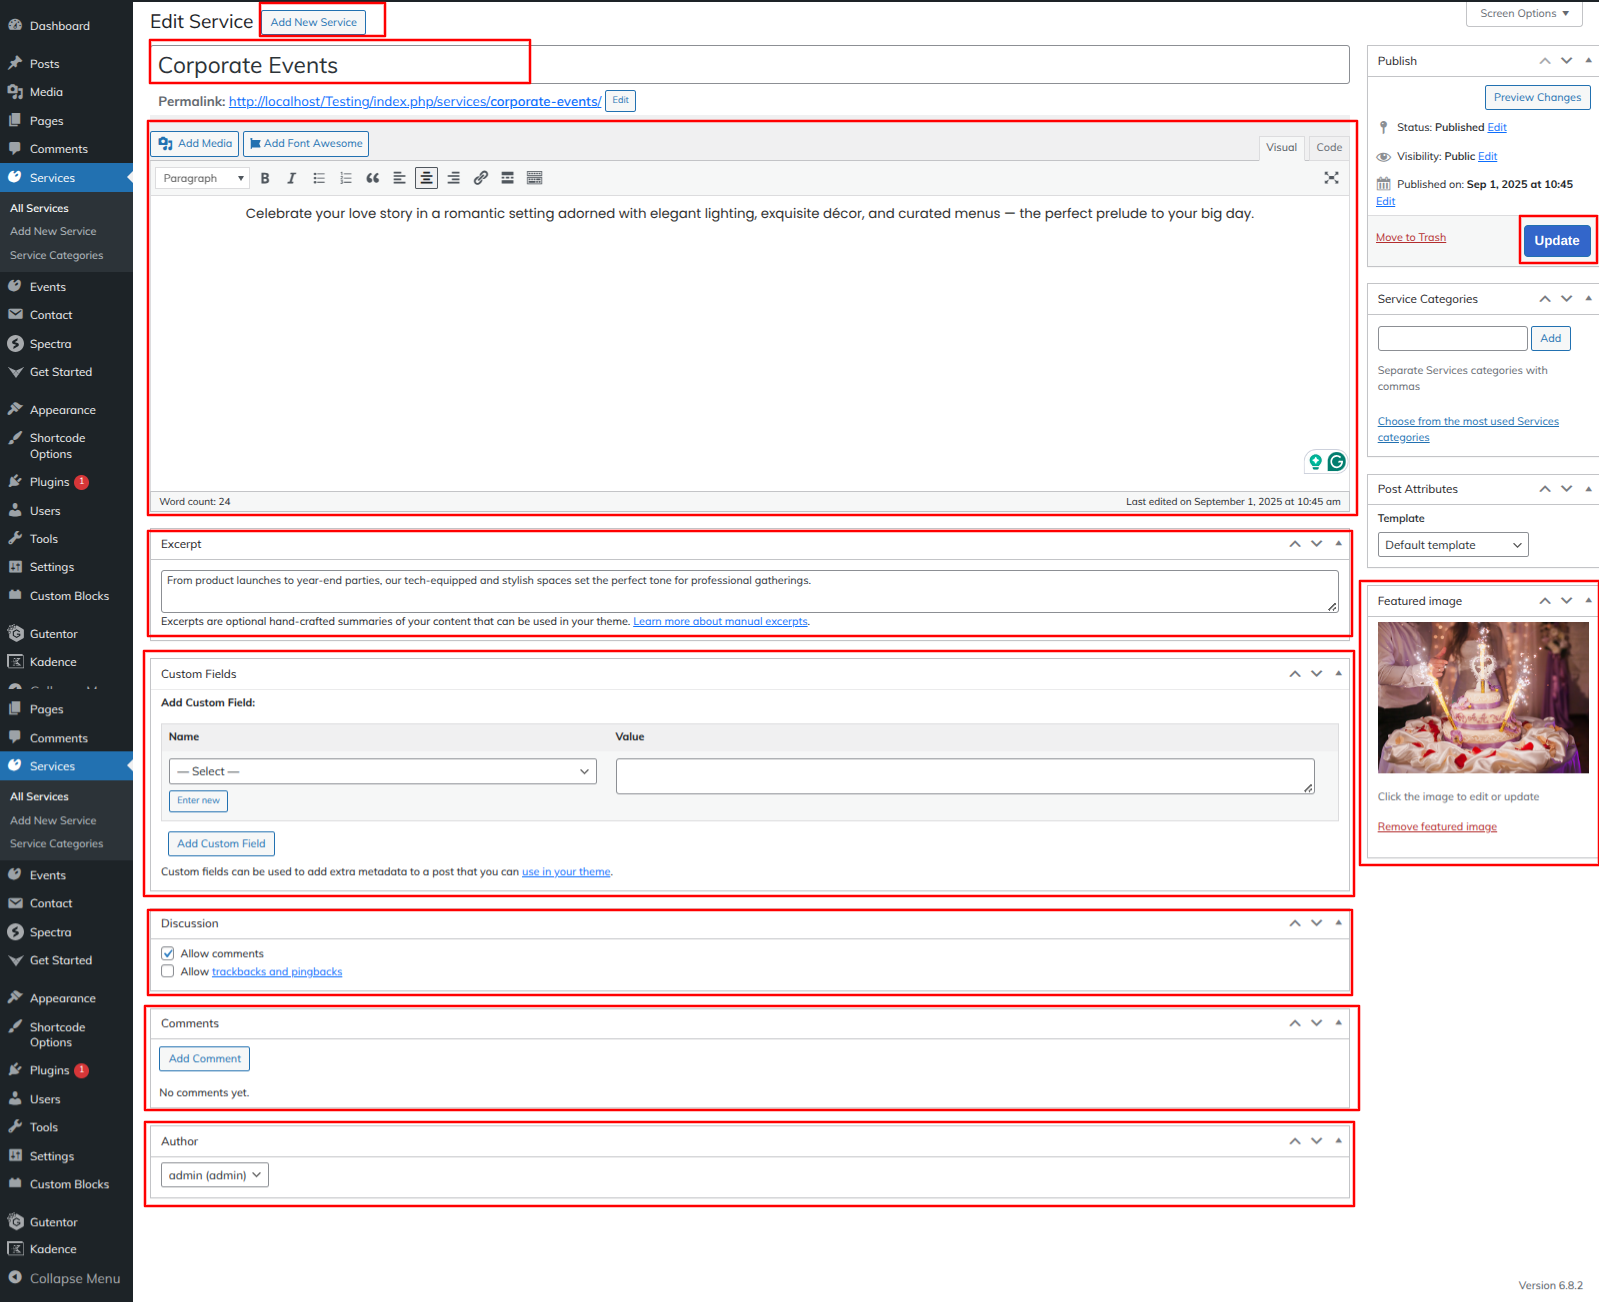
- Step 1. Go to Dashboard Page Add New
- Step 2. Add Page Name
- Step 3. On the right side of the page, select contact-us template
- Step 4. Click the Update button
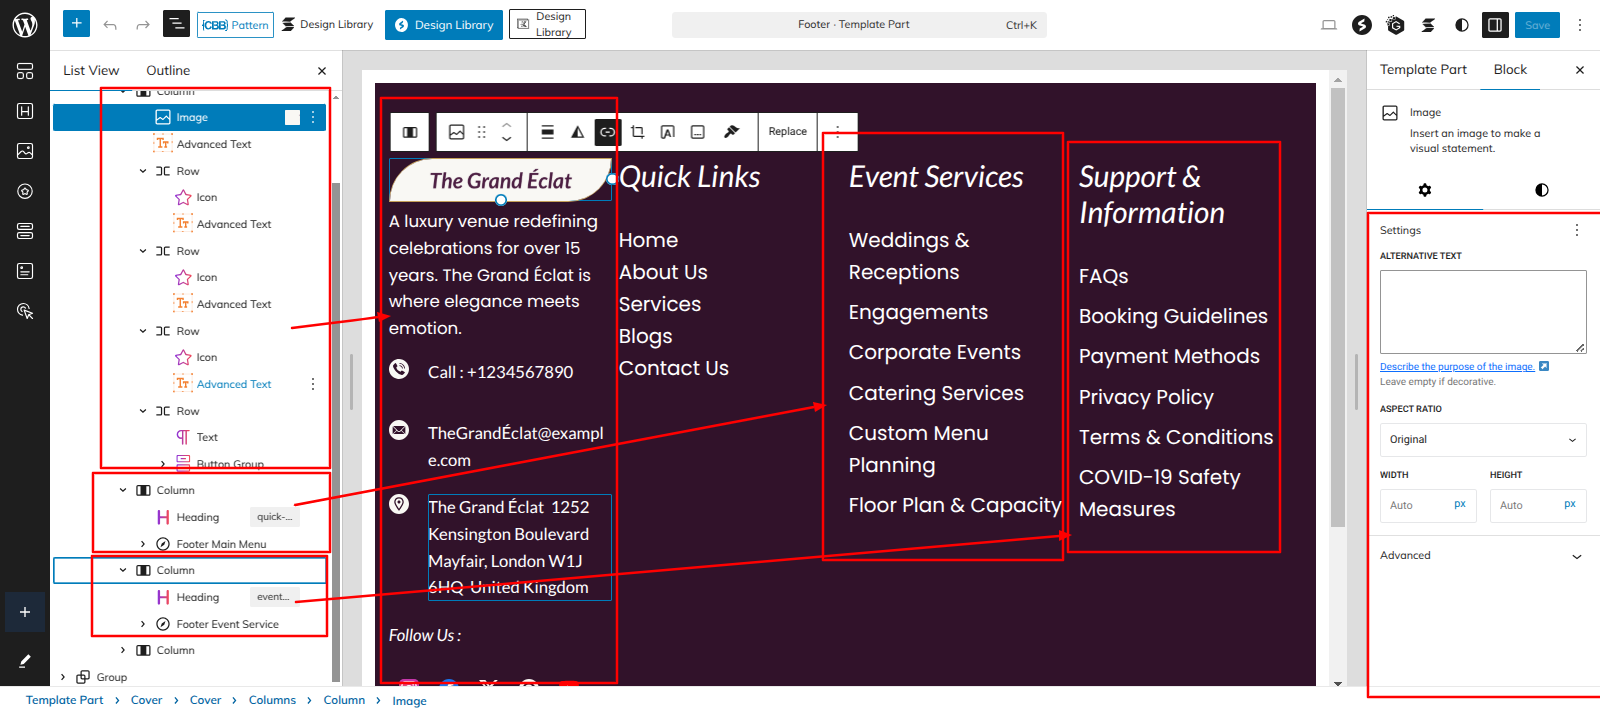
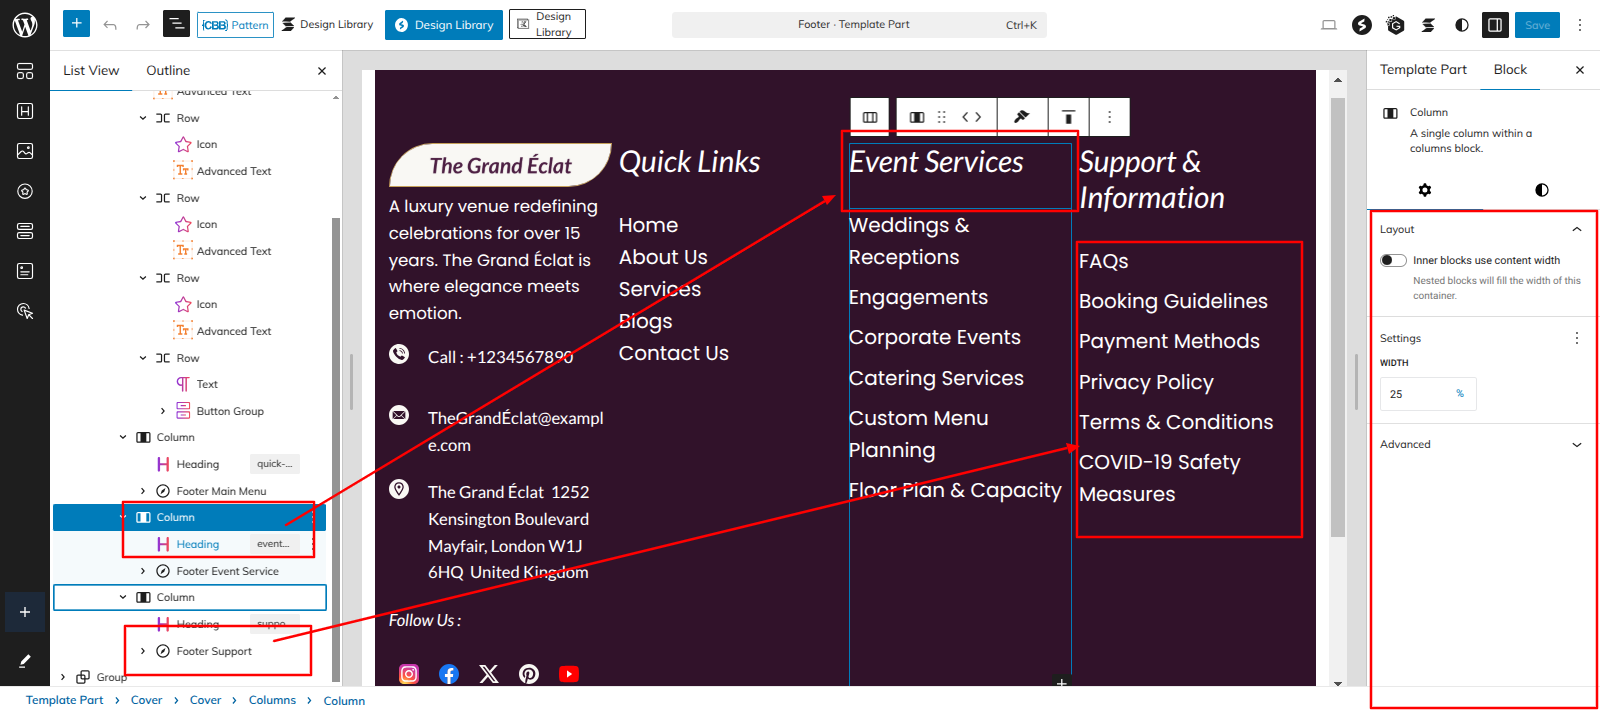
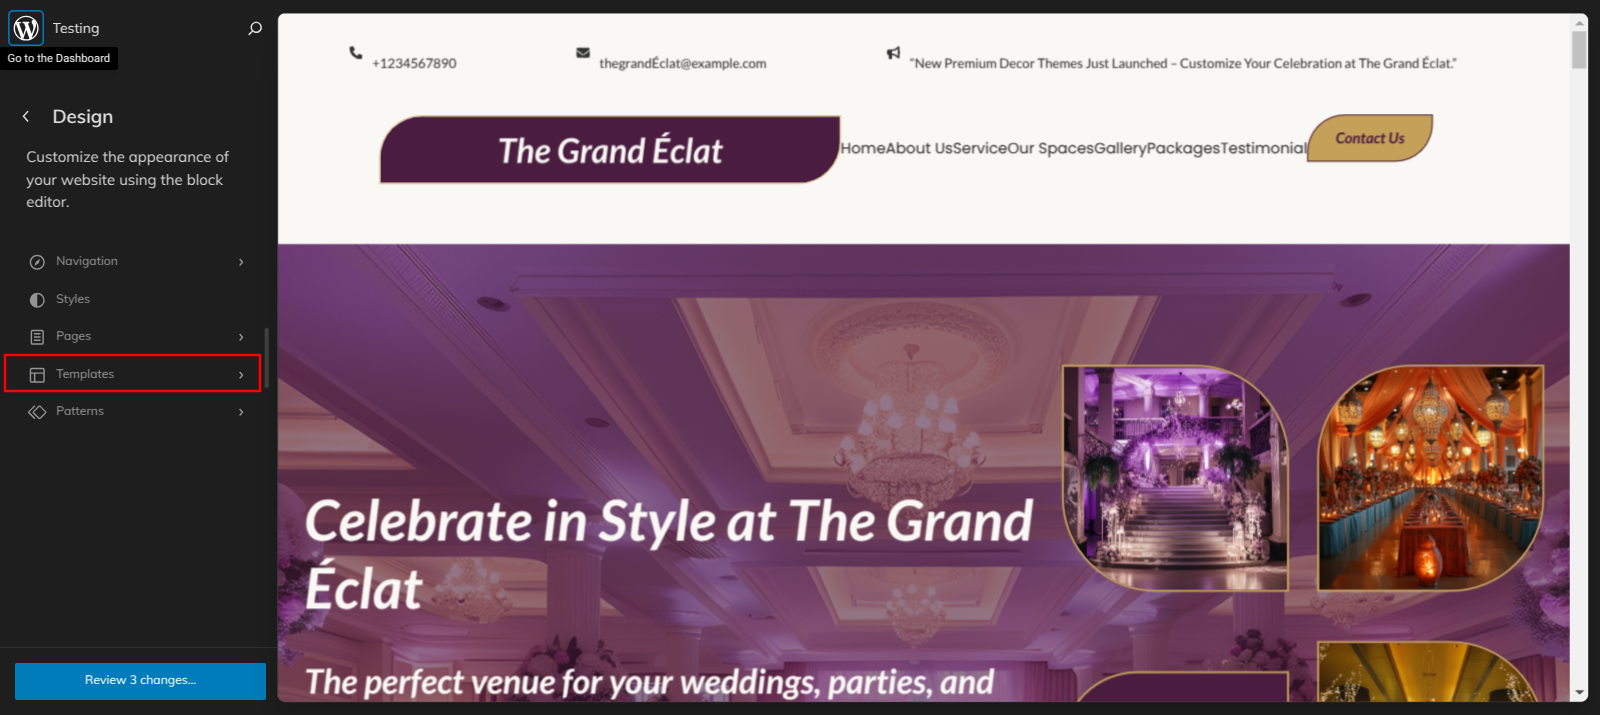
Go to the Dashboard Appearance Editor.
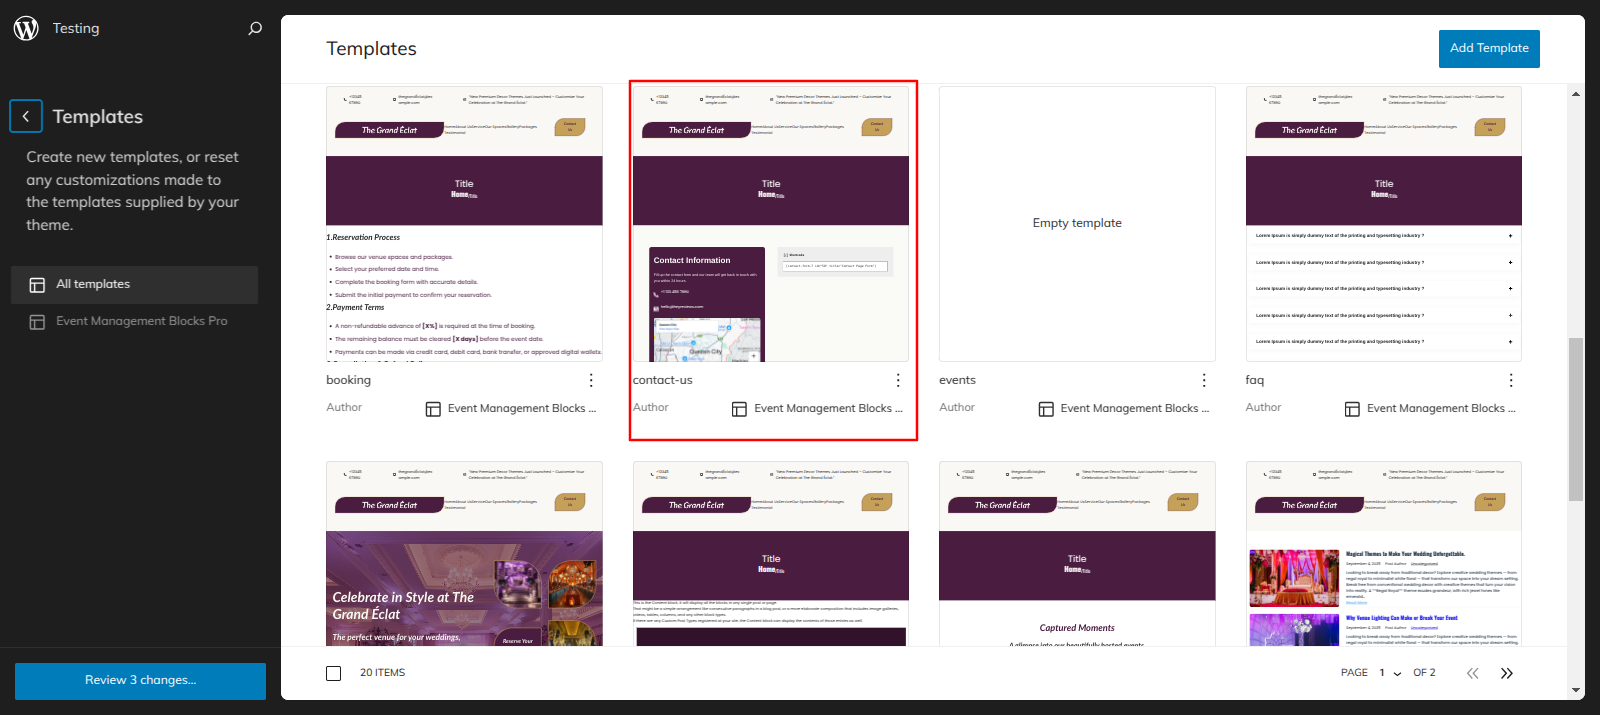
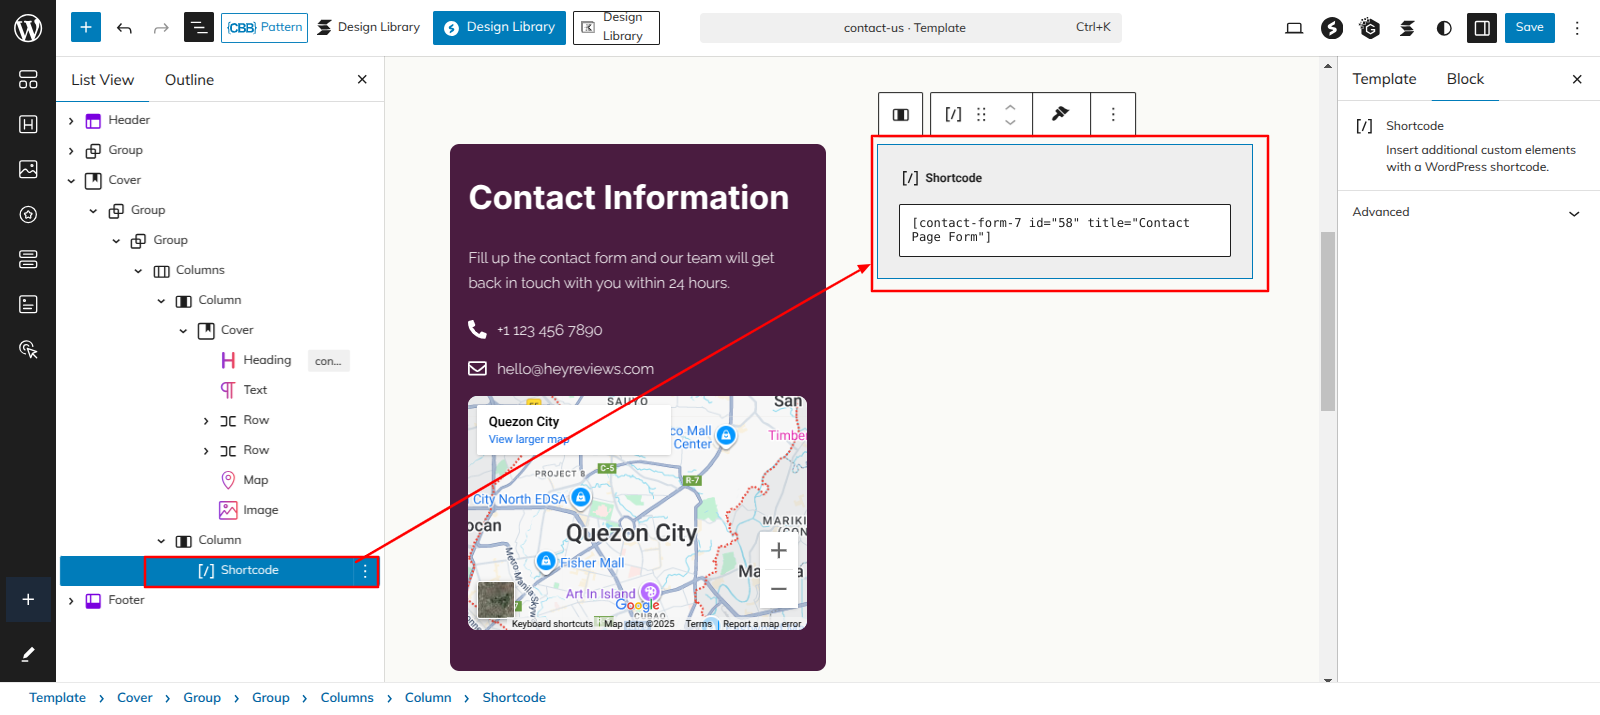
Click on "Template" as indicated in the screenshot below
After that, a sidebar will appear now, as seen in the screenshot below, pick "Contact Us" from the dropdown.
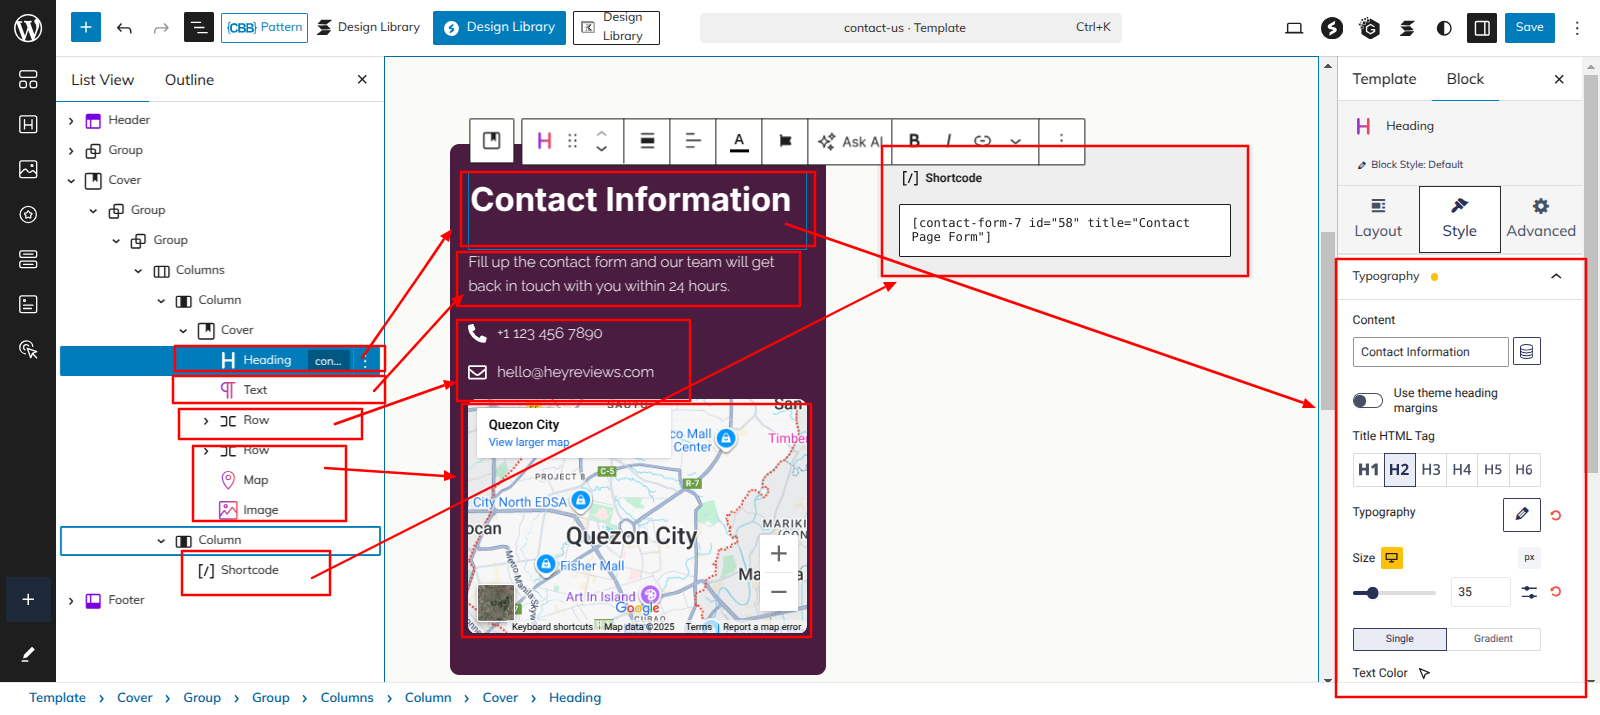
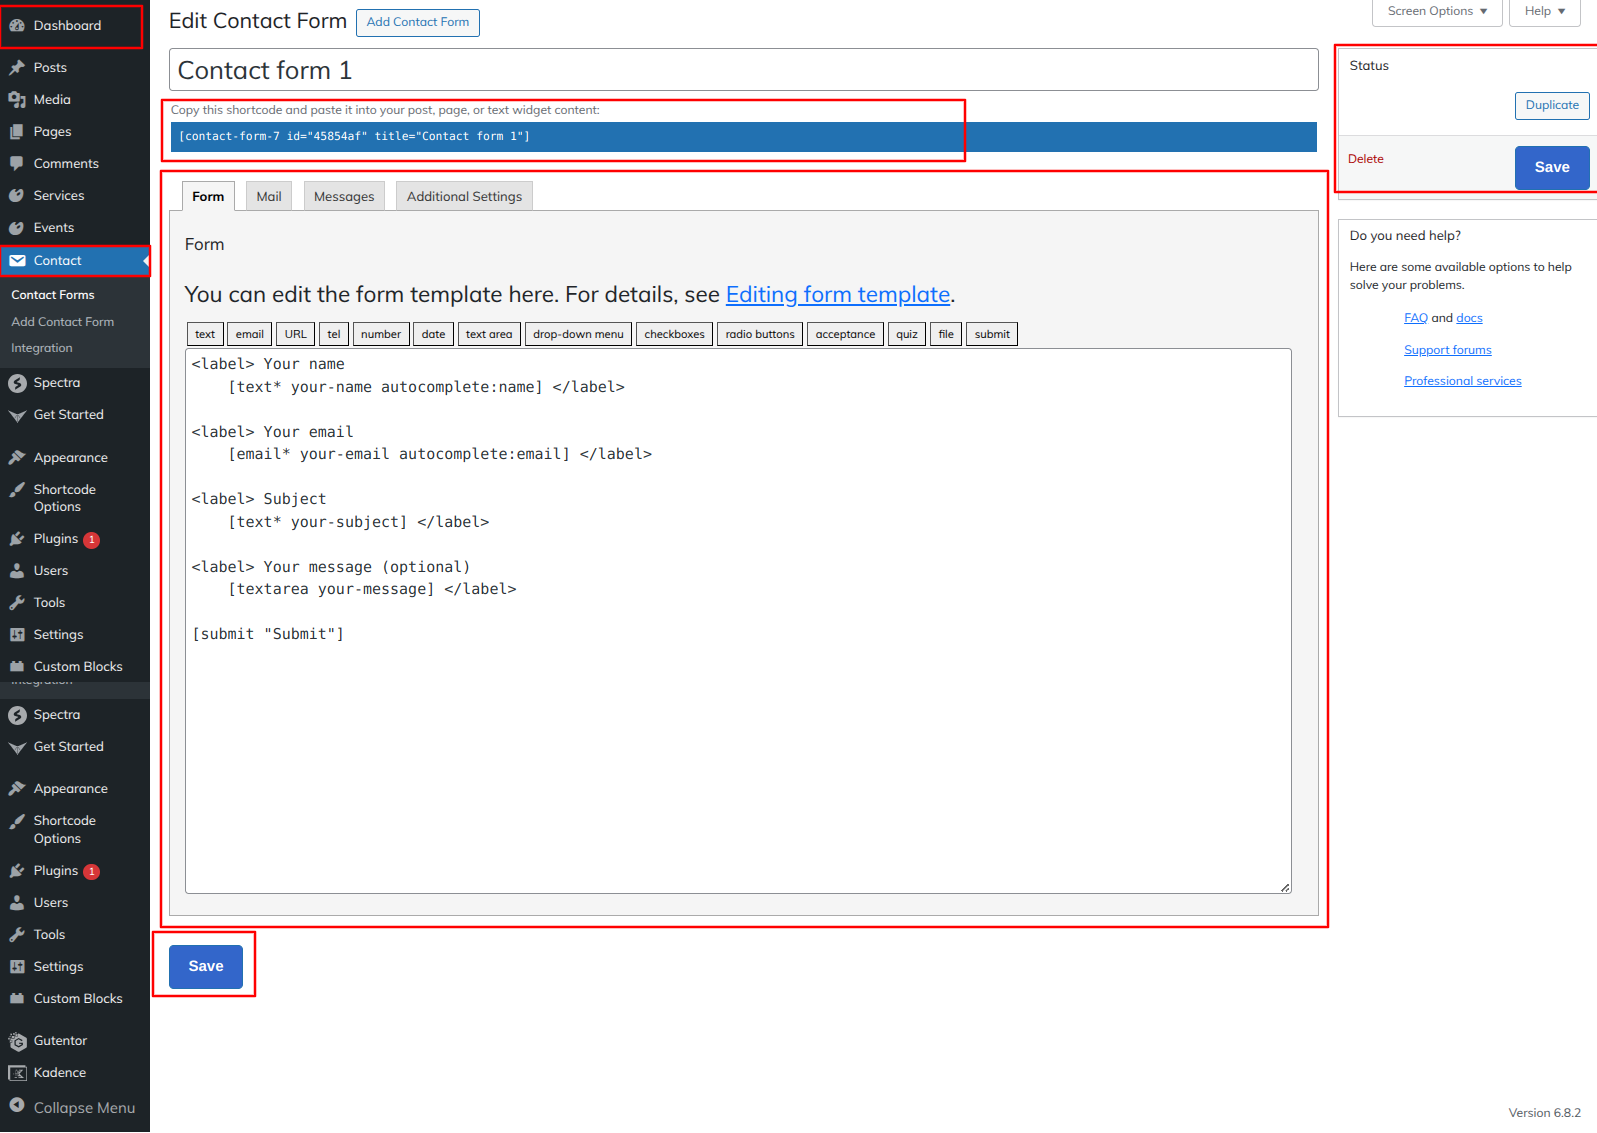
Created a Contact Form in accordance with the guidelines below.
Go to the Dashboard Contact Add New.
Using the contact form 7 plugin, I built a shortcode for the Contact Us Page Form and then used the shortcode block to enter the generated shortcode.
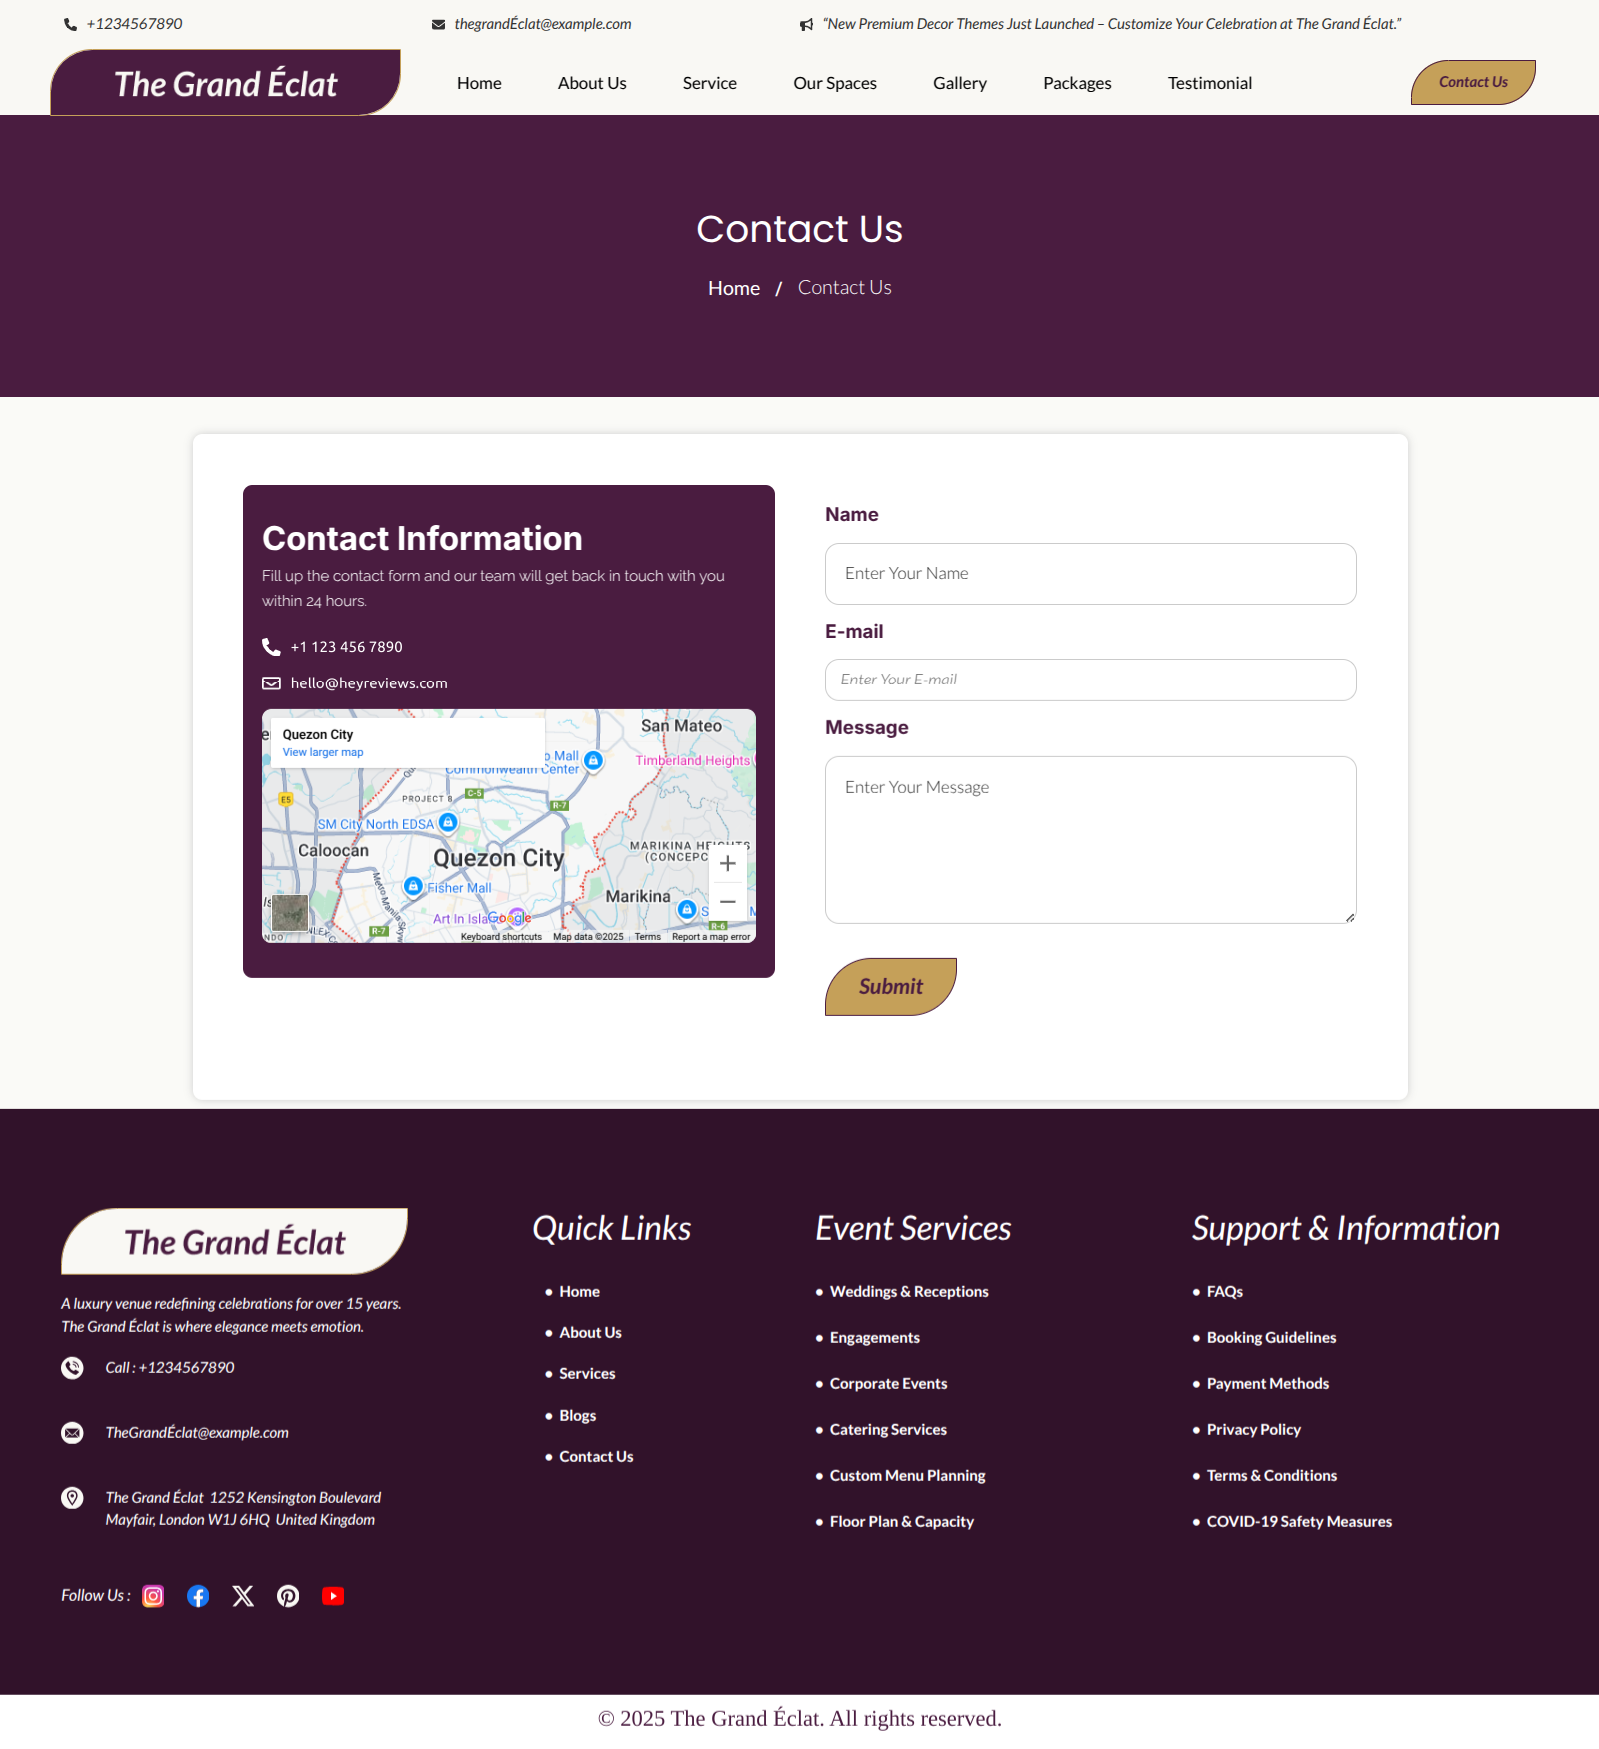
This is how you may set up and add the Contact Us Page.