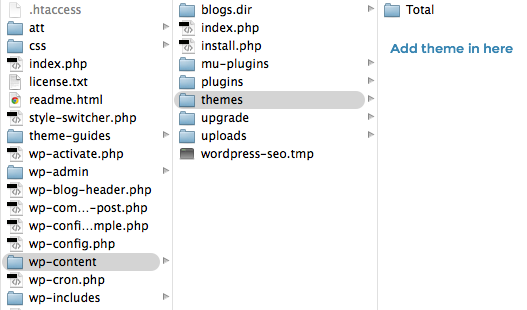
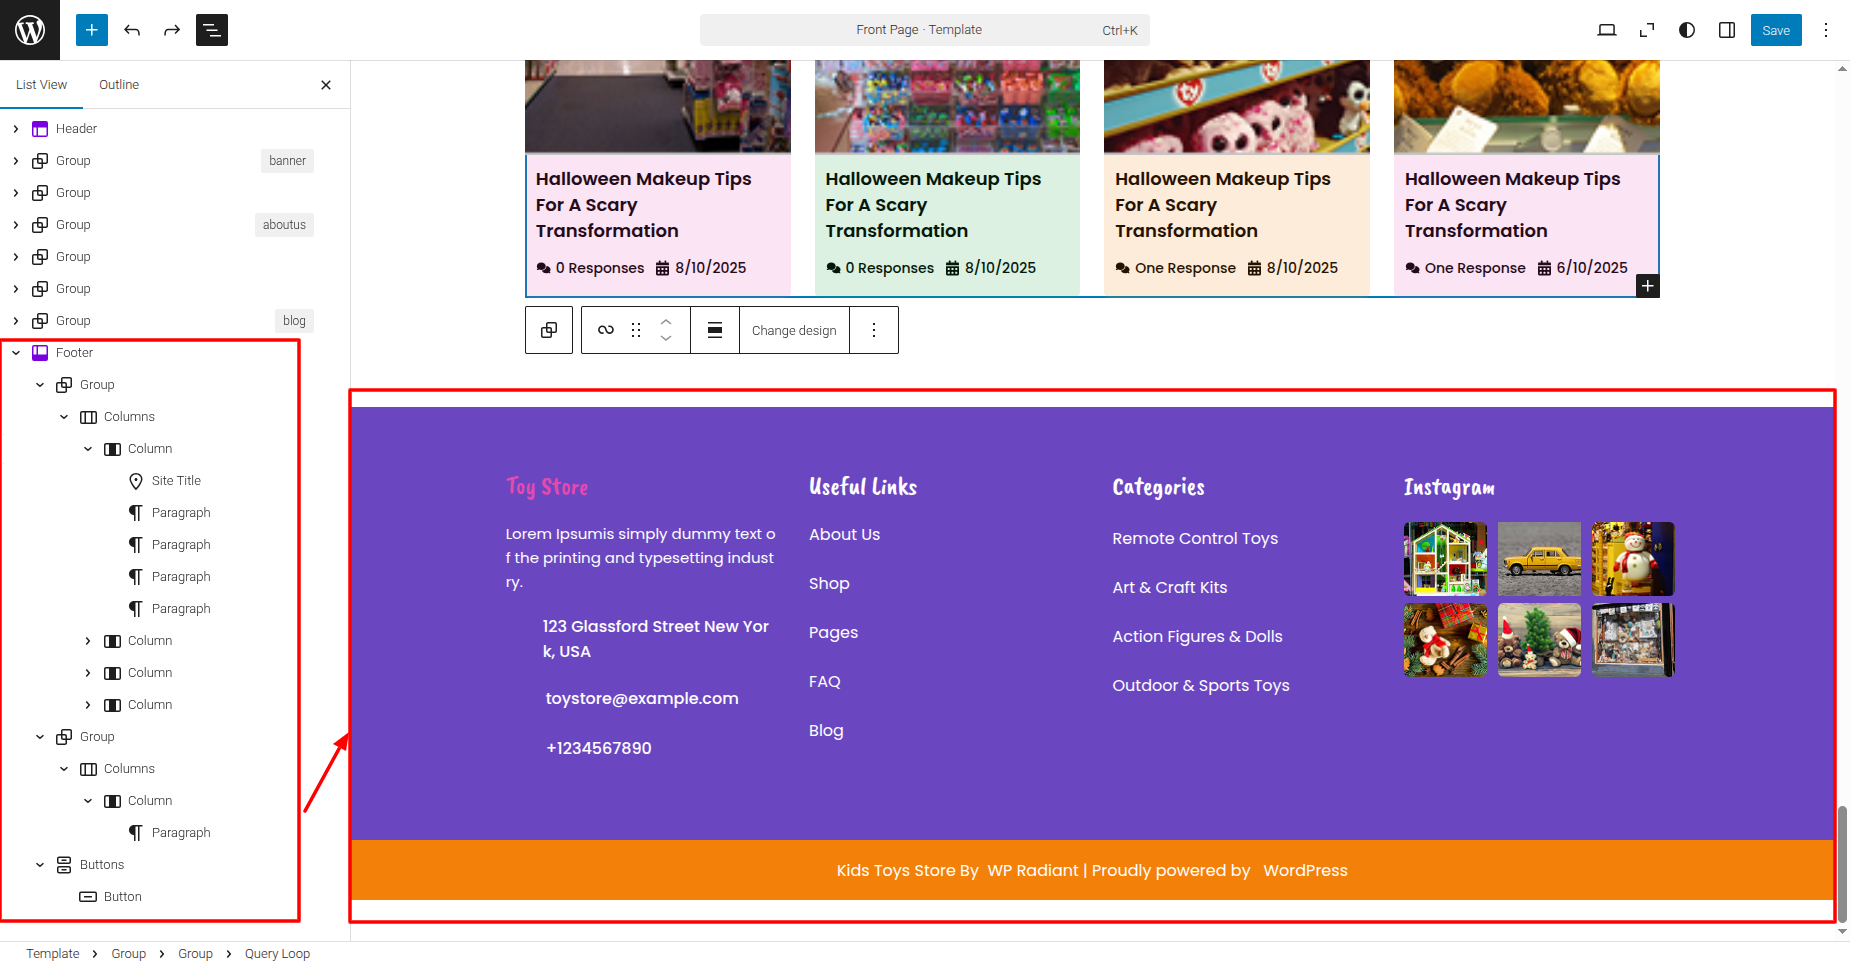
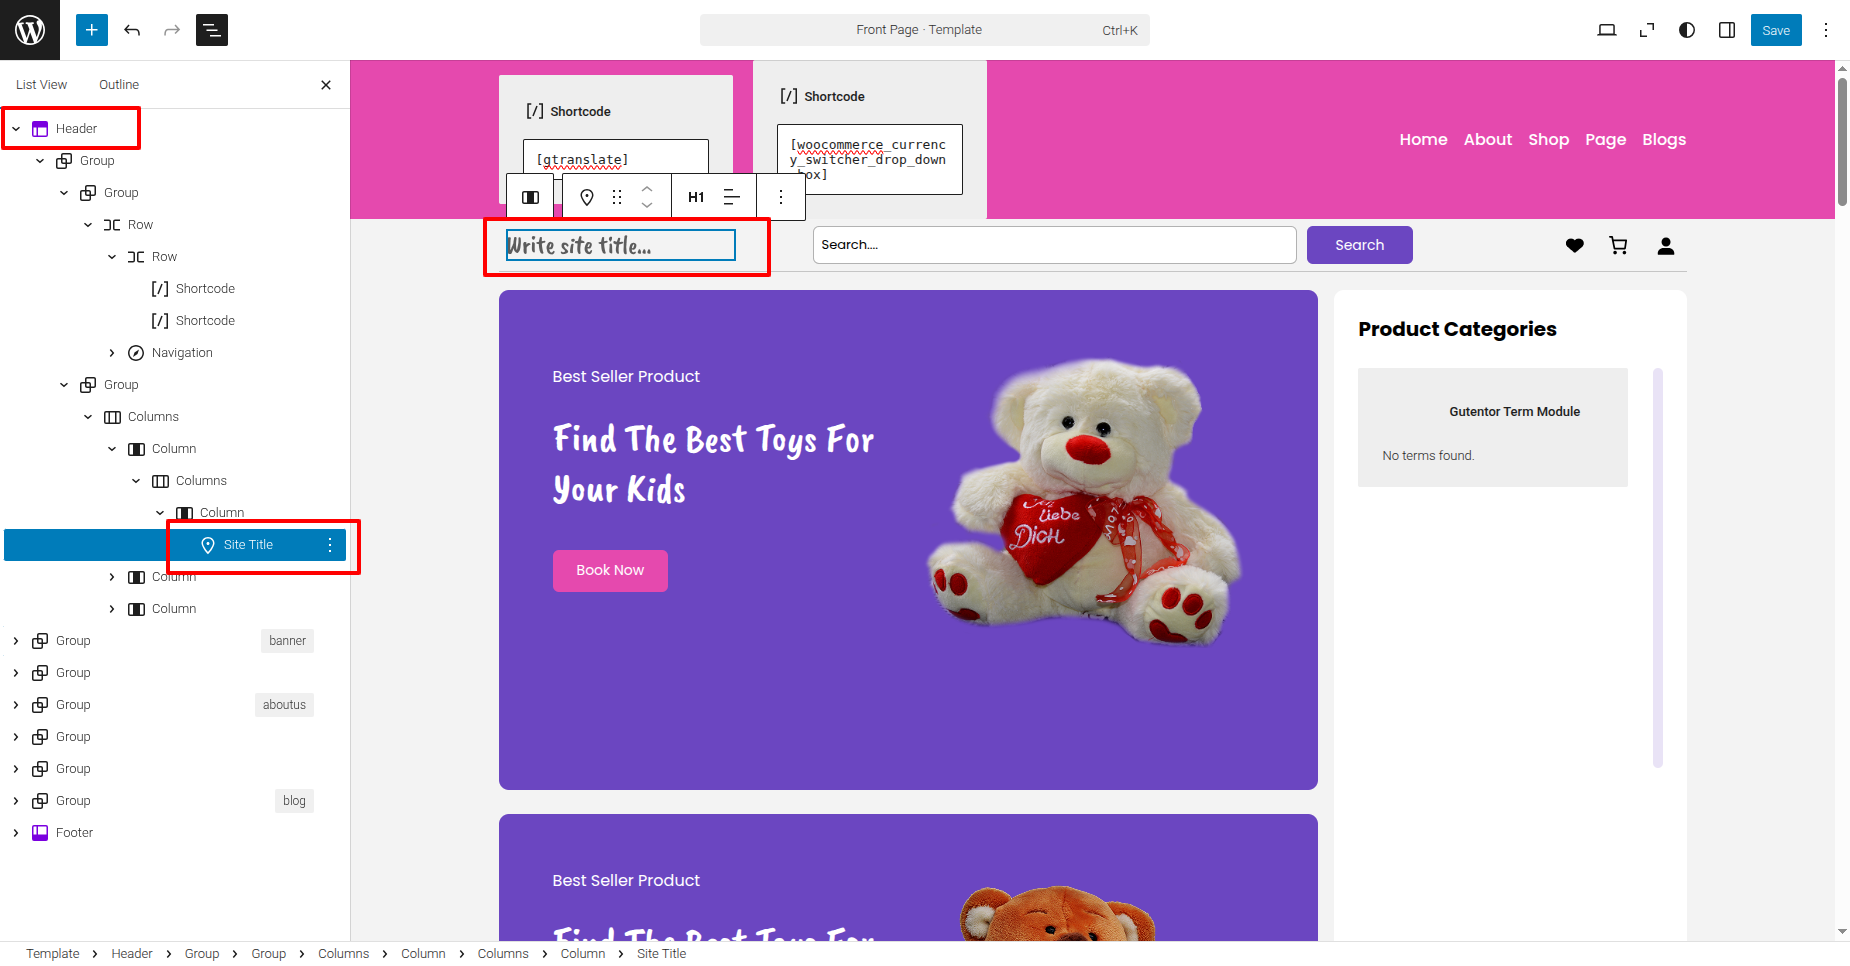
SETUP HEADER
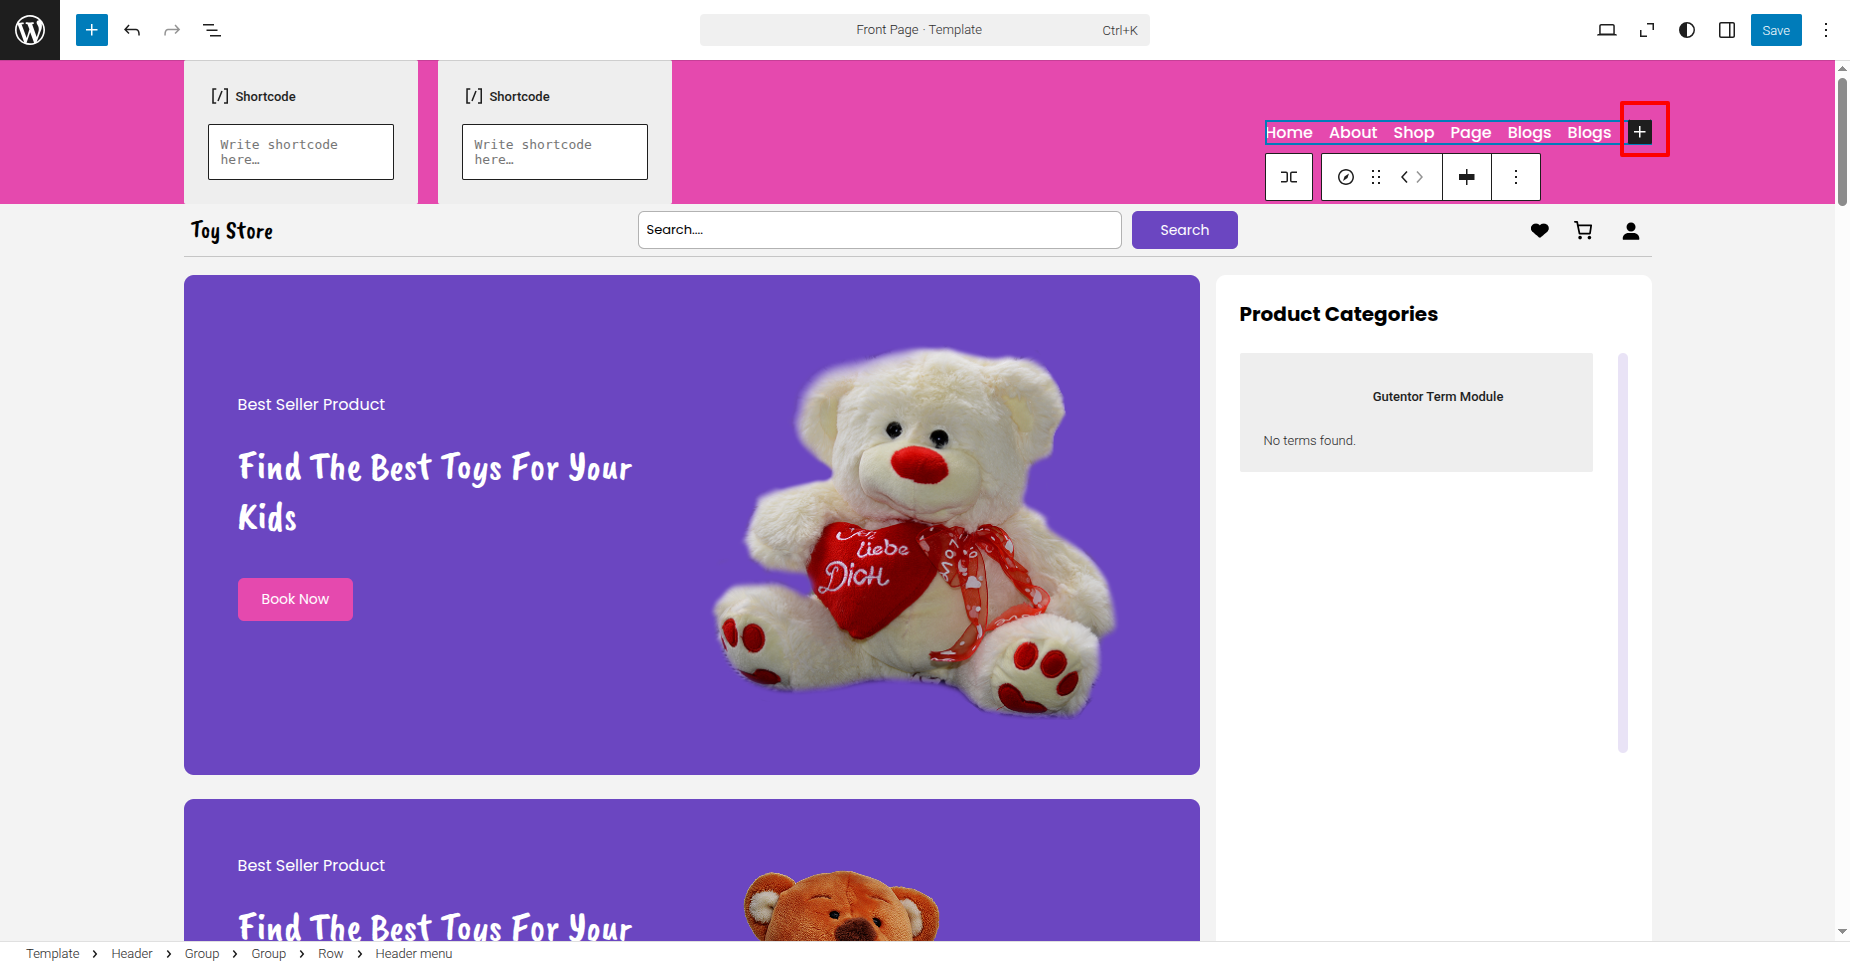
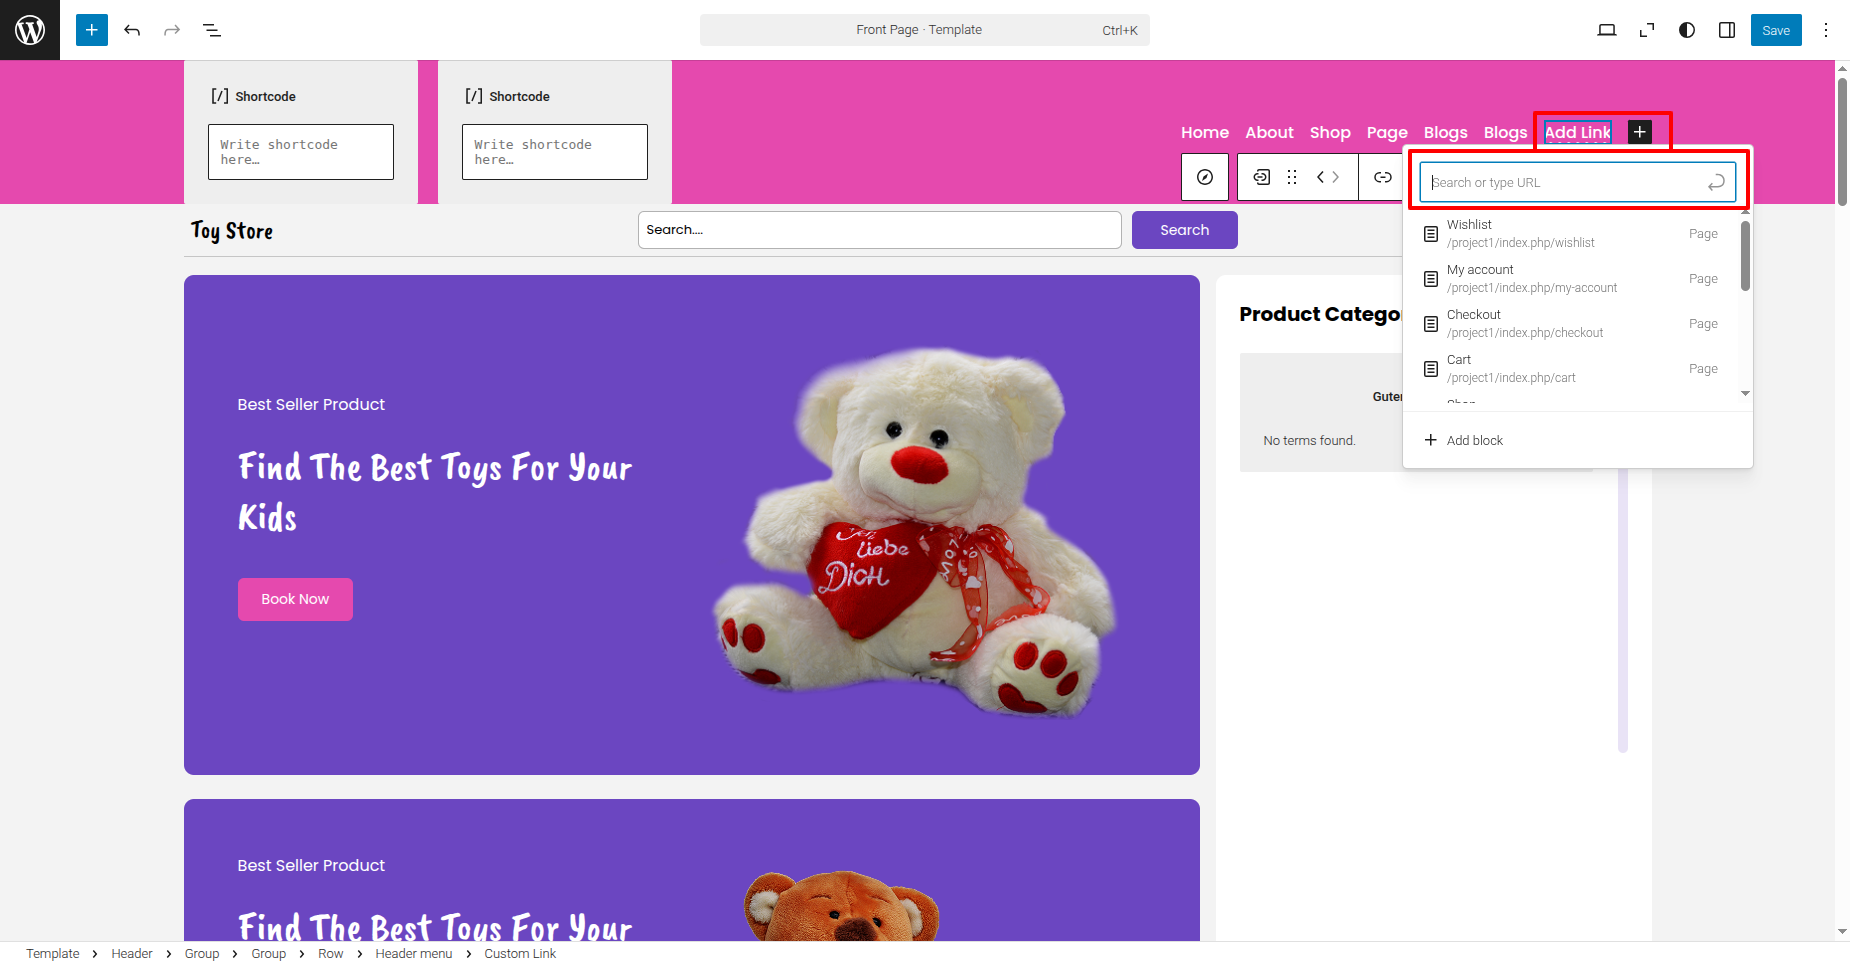
organize the header by following the steps mentioned below.
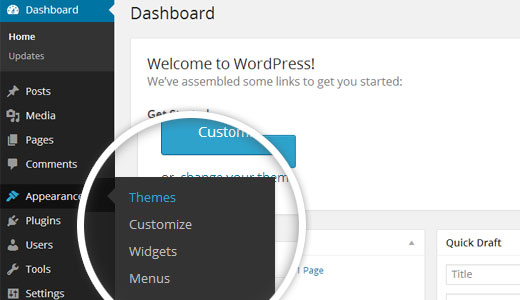
Go to Dashboard
Appearance
Editor.
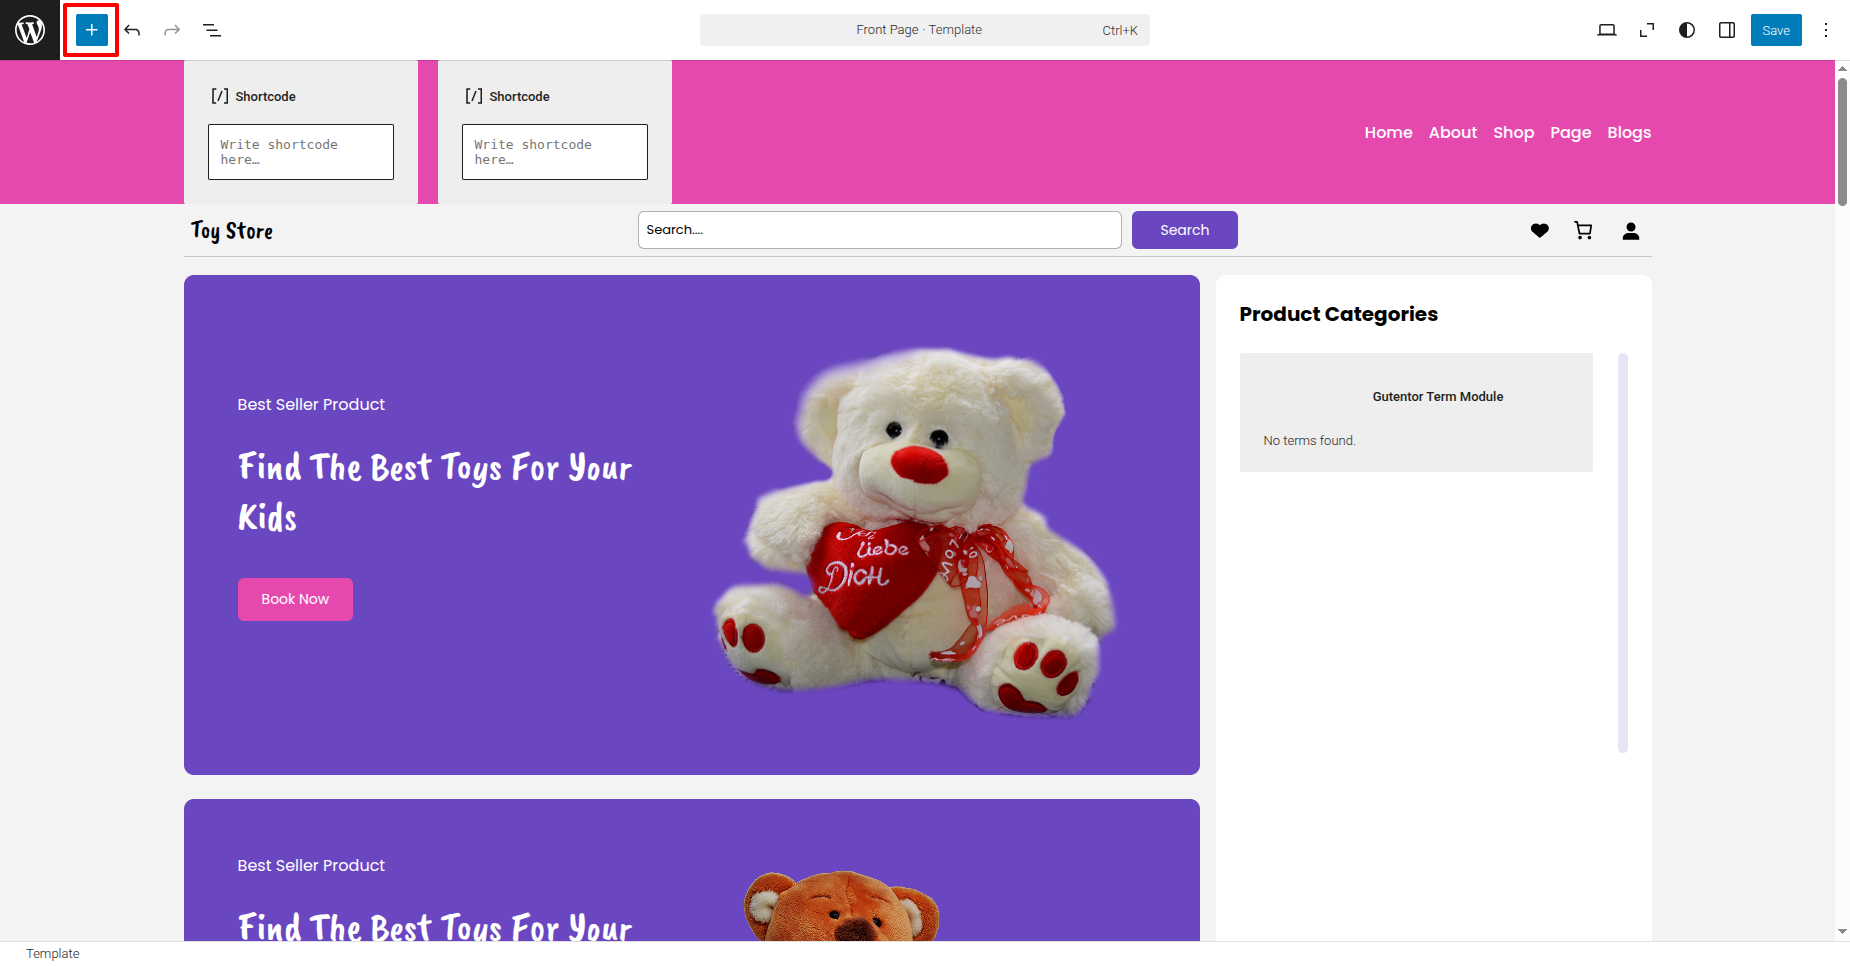
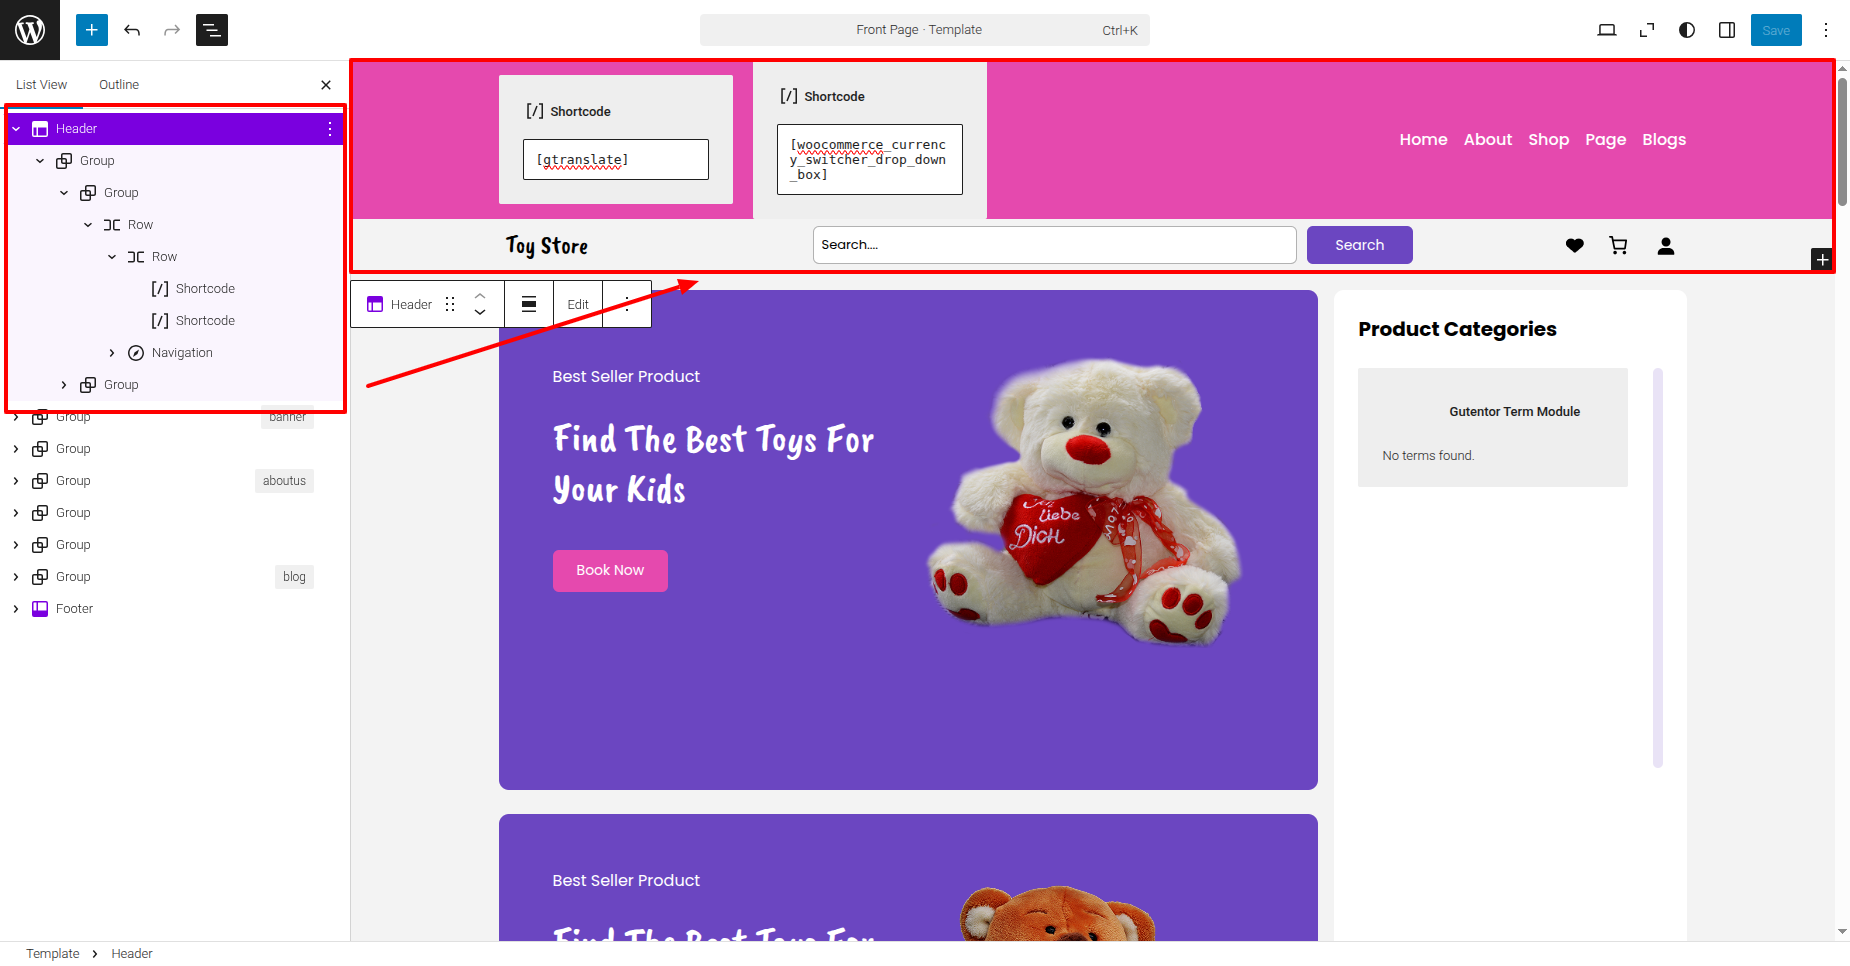
Use this shortcode for below settings
1. [gtranslate]
2. [woocommerce_currency_switcher_drop_down_box]
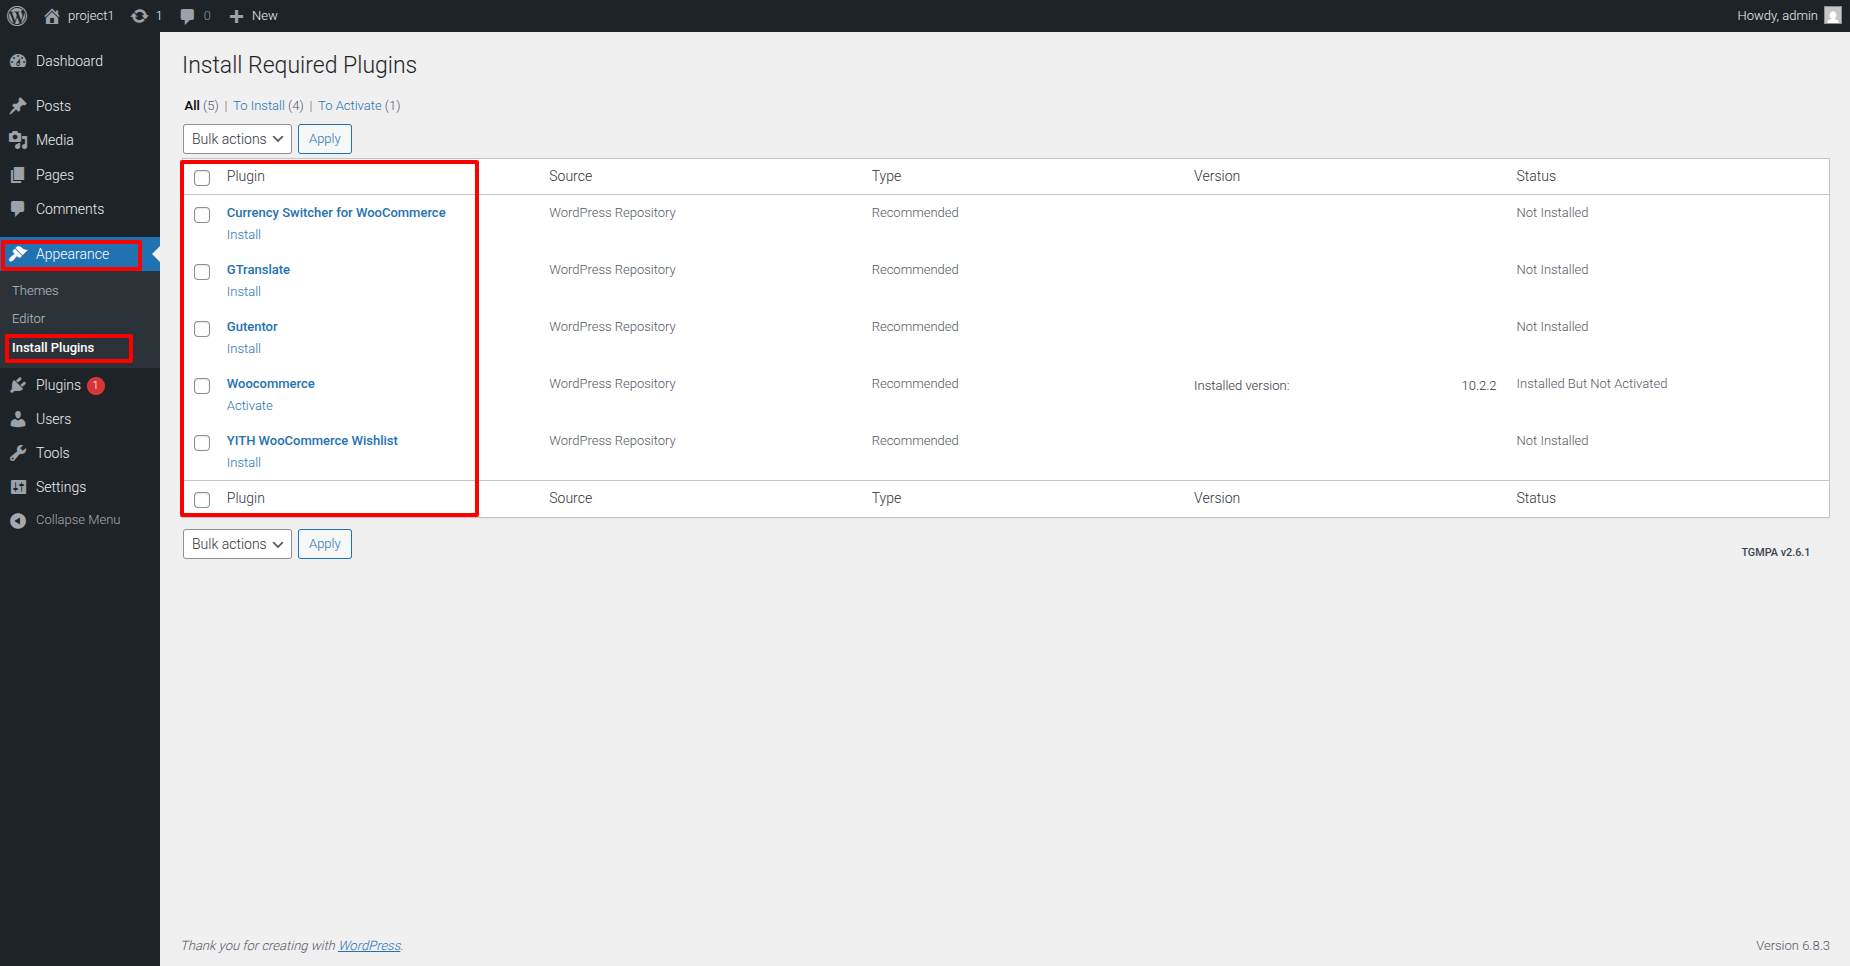
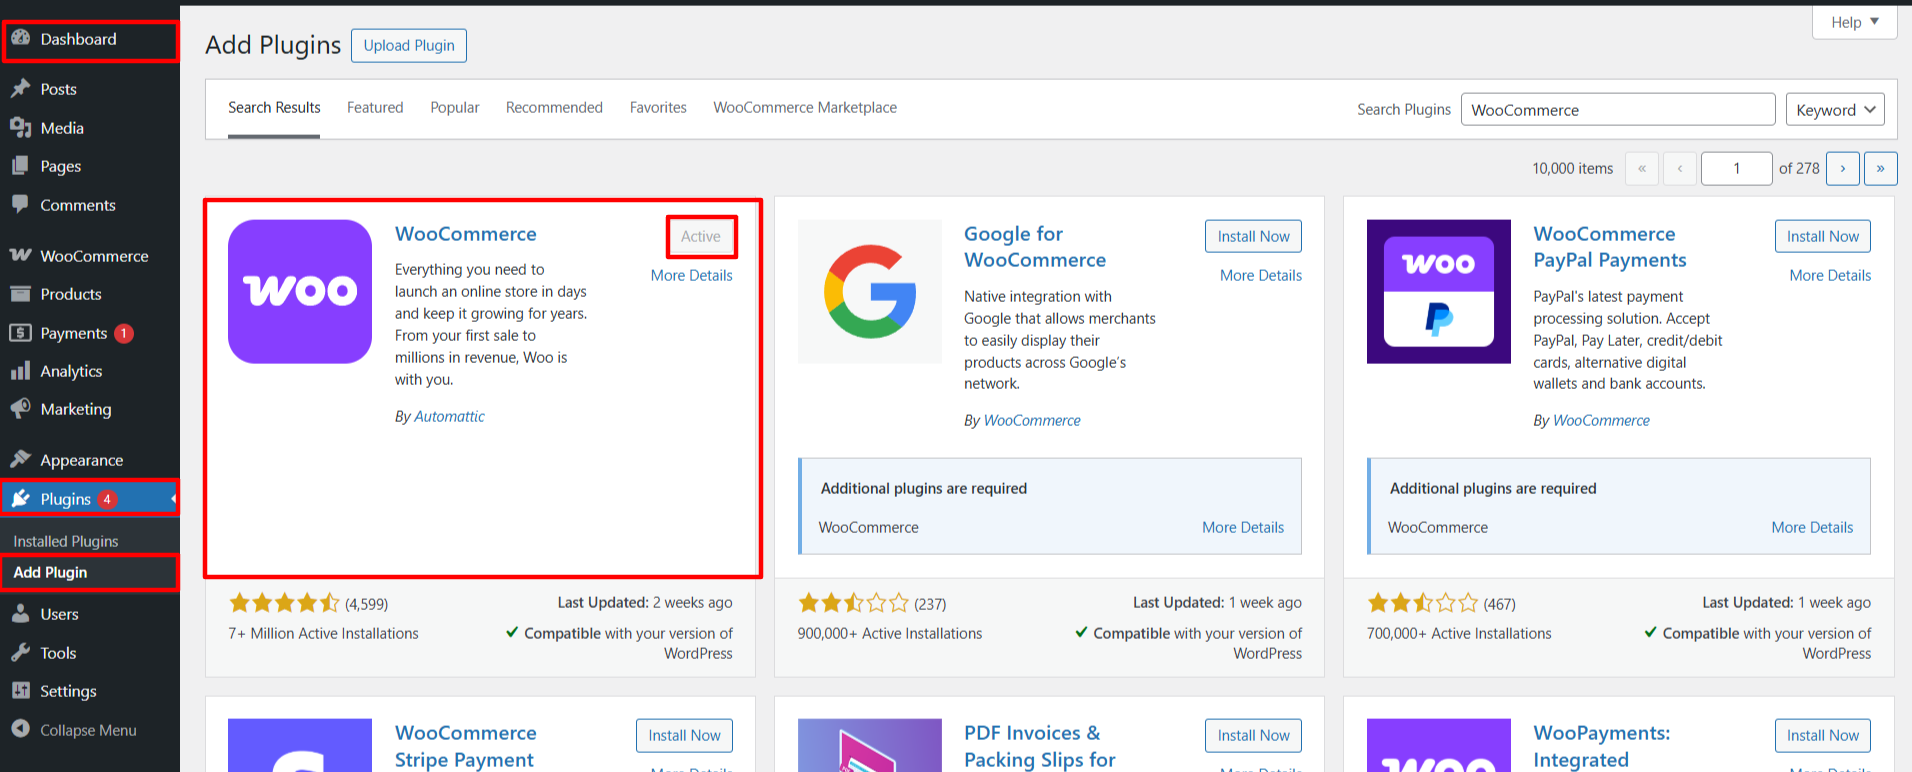
Currency Switcher for WooCommerce
Install WooCommerce – Make sure WooCommerce is installed and activated as
this plugin works with it.
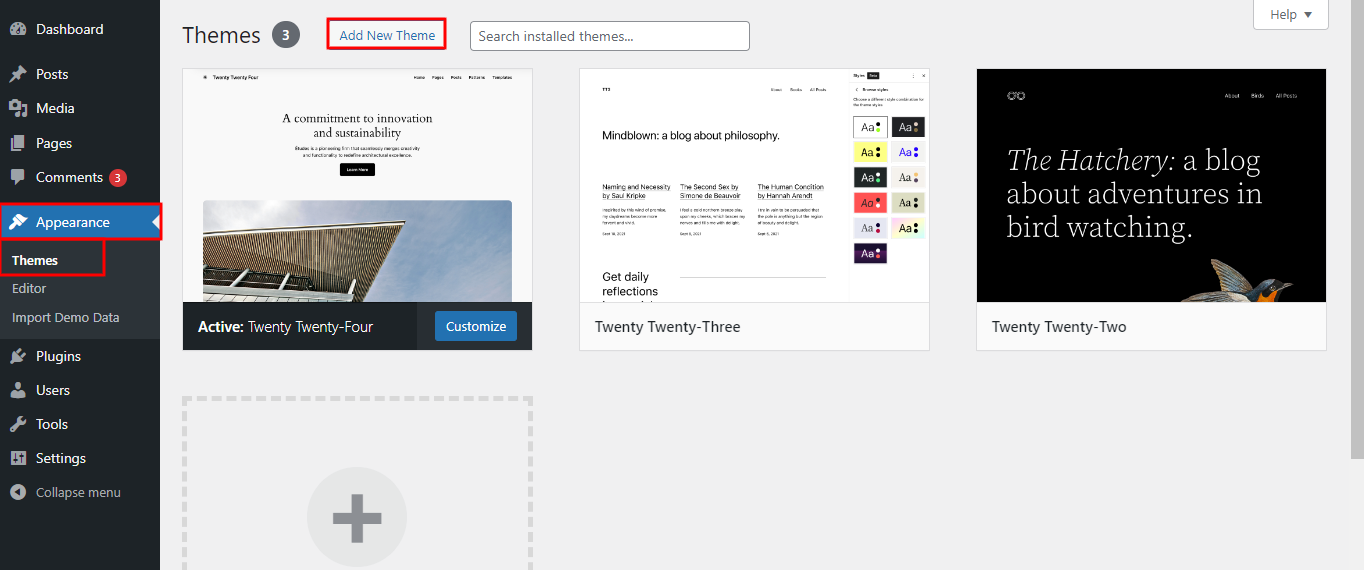
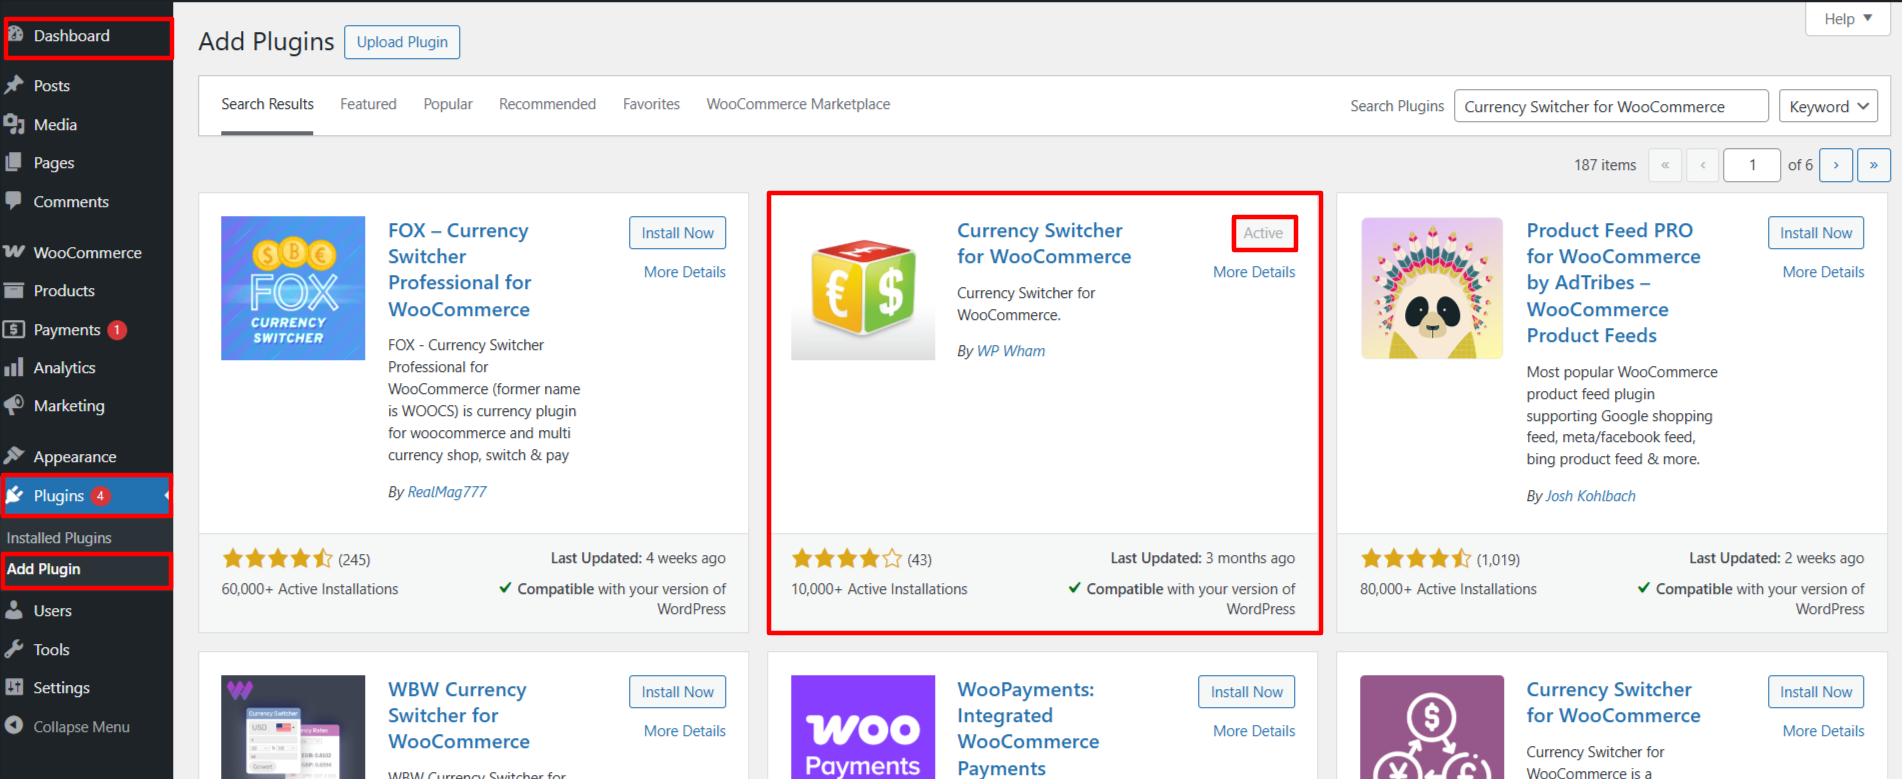
Go to Plugins > Add New, search for Currency Switcher for WooCommerce,
and activate it.
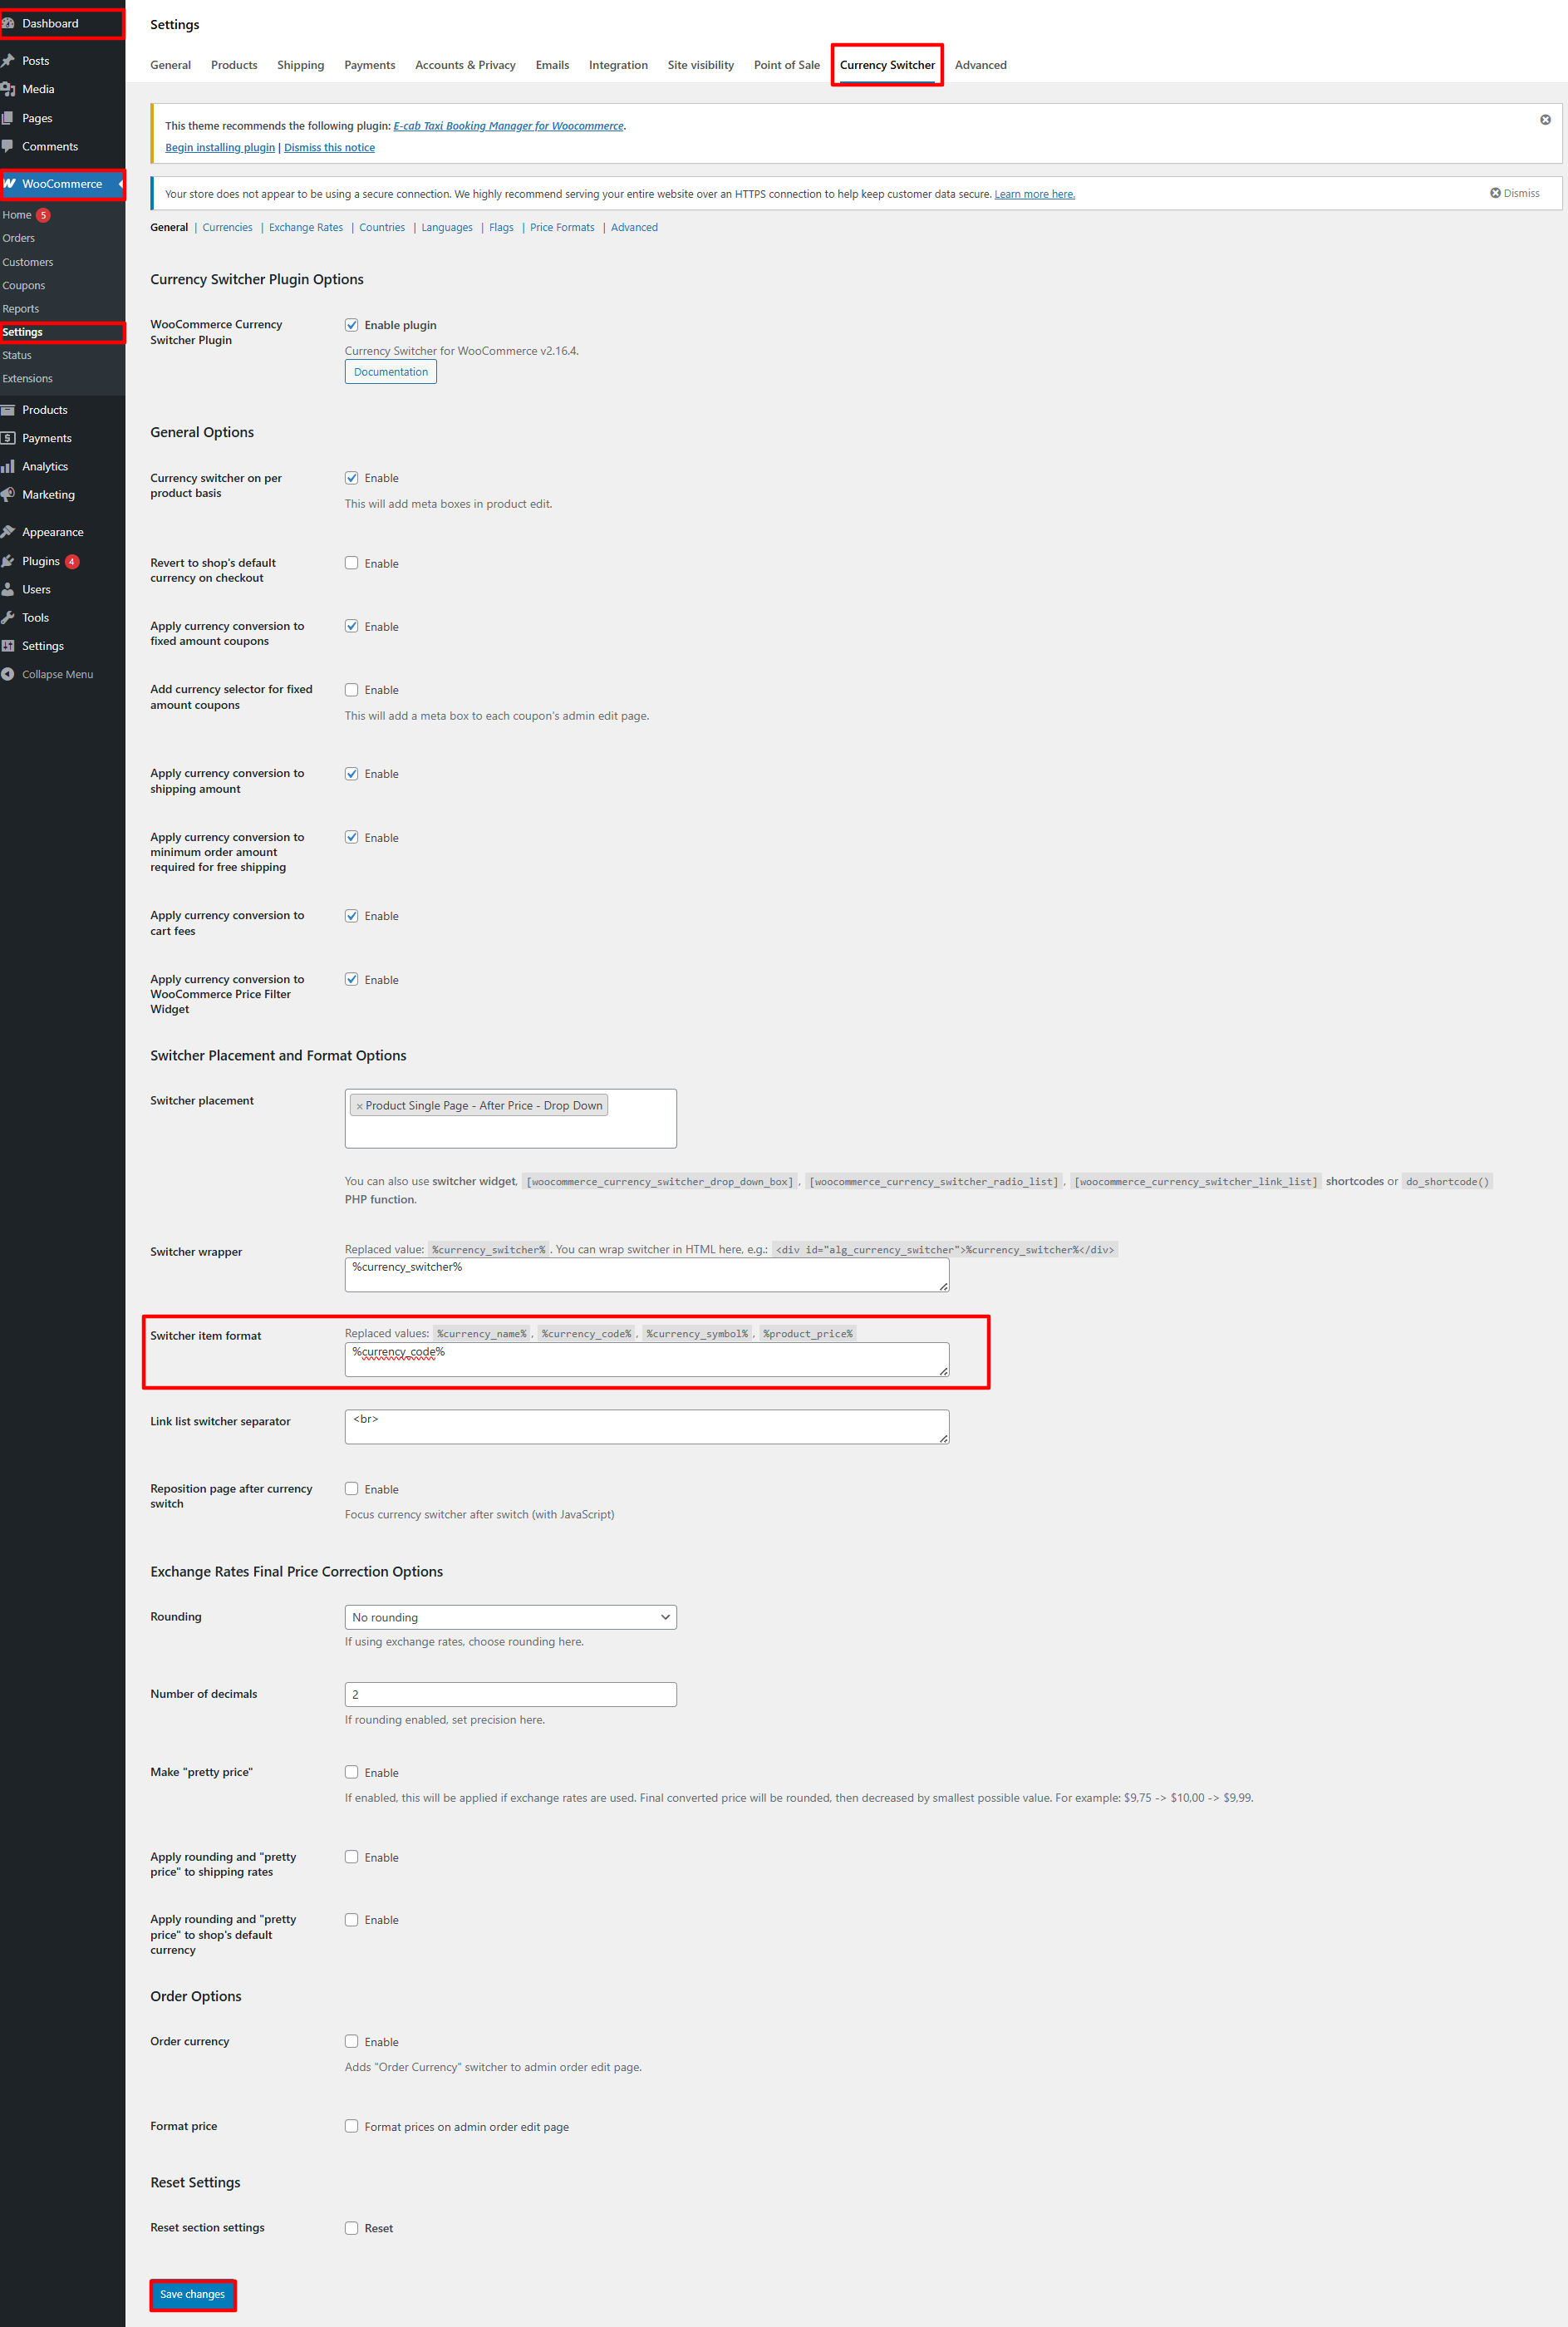
Now go to Dashboard > WooCommerce > Settings > Currency Switcher.
Enter %currency_code% in the Switcher Item Format field and click the
Save Changes button.
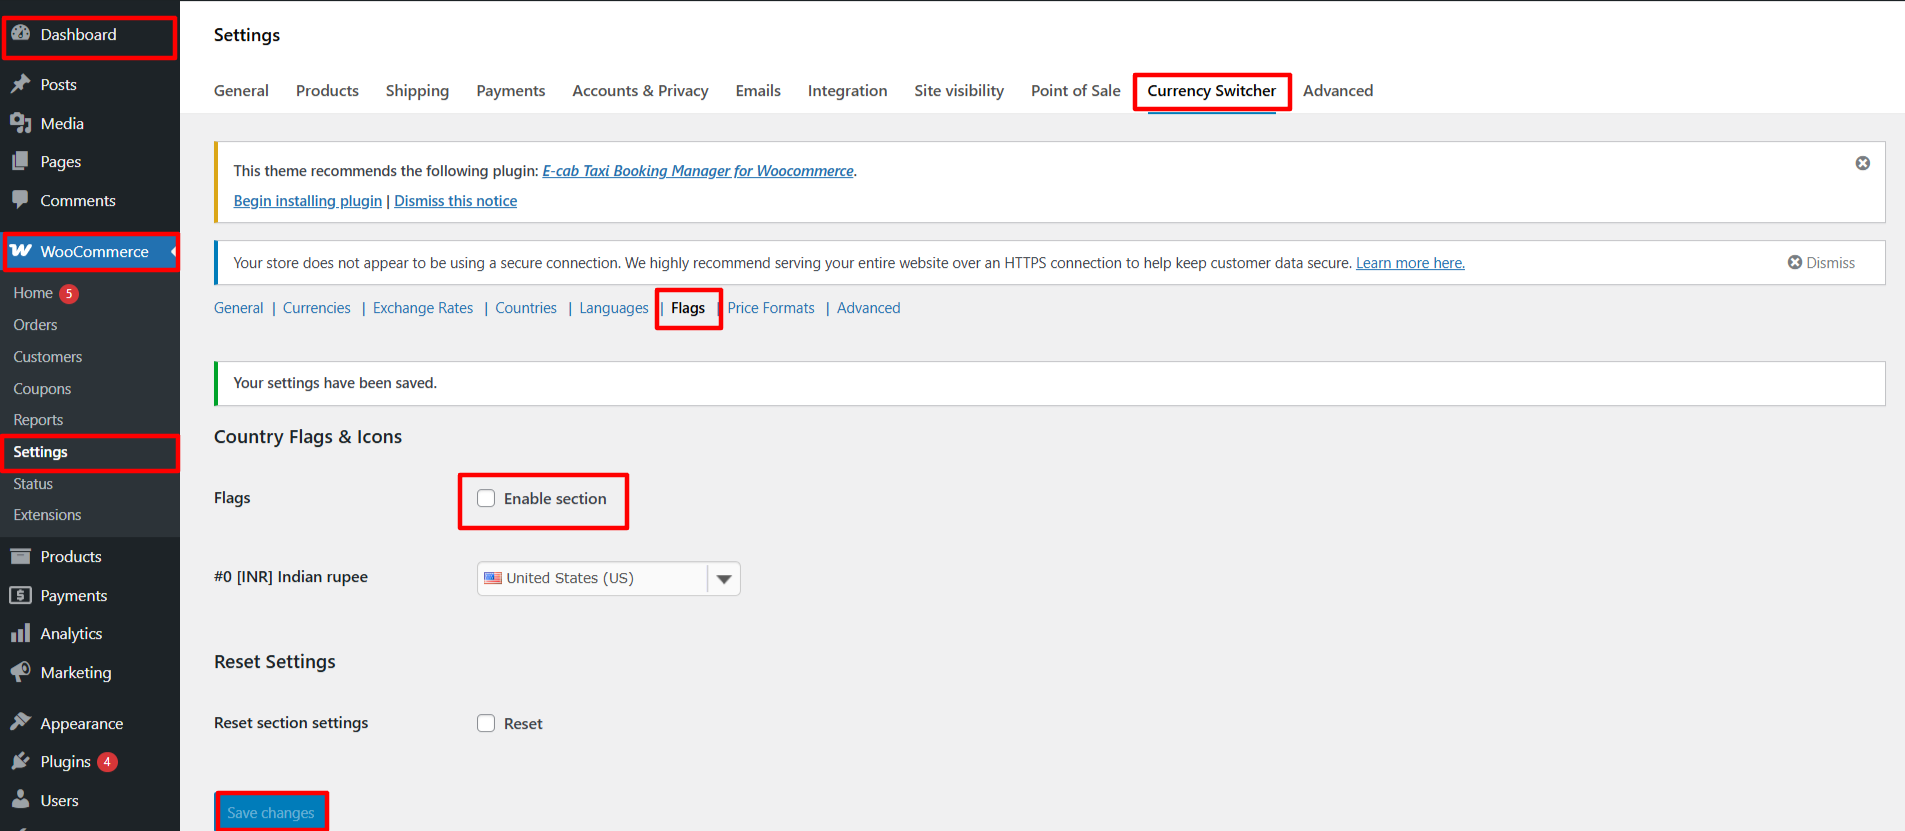
Go to Dashboard > WooCommerce > Settings > Currency Switcher > Flags.
Uncheck Enable section of flags, Click Save Changes to apply
GTranslate
Go to Plugins > Add New, search for GTranslate, and activate it.
Go to Dashboard > Settings > GTranslate.
Choose Dropdown in widget look as shown in figure below, Click Save
Changes to apply.
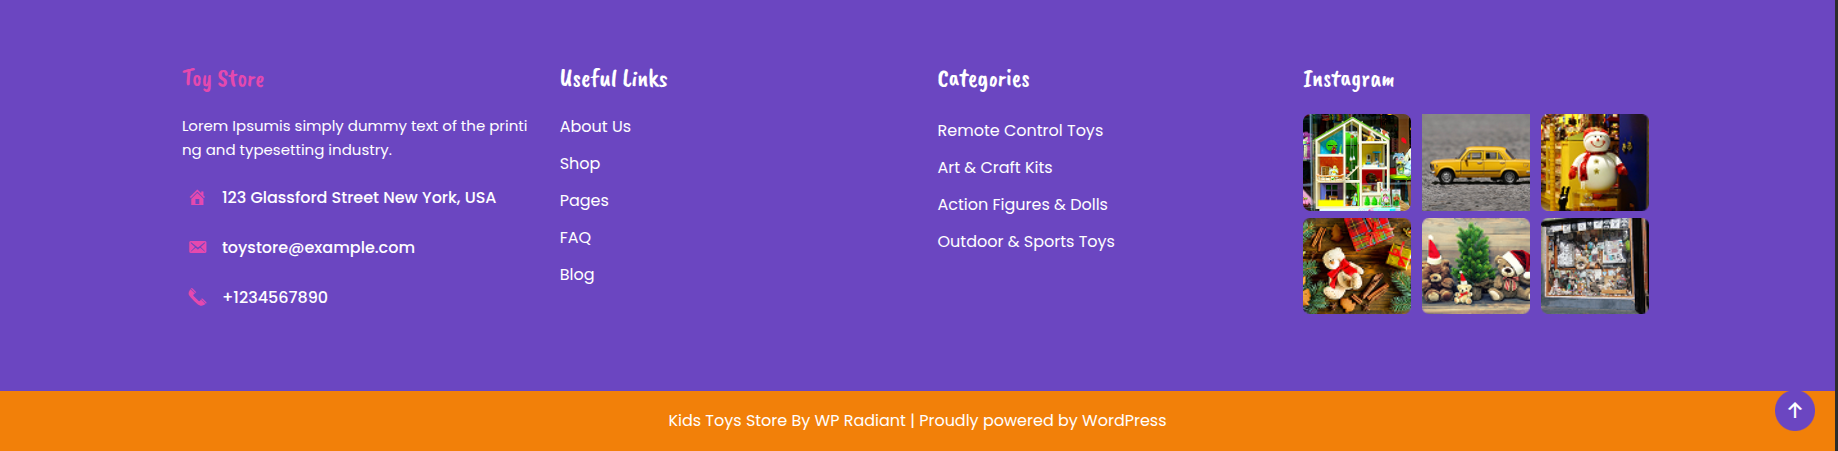
It will appear as such on the front end.
organize the header by following the steps mentioned below.
Go to Dashboard
Appearance
Editor.
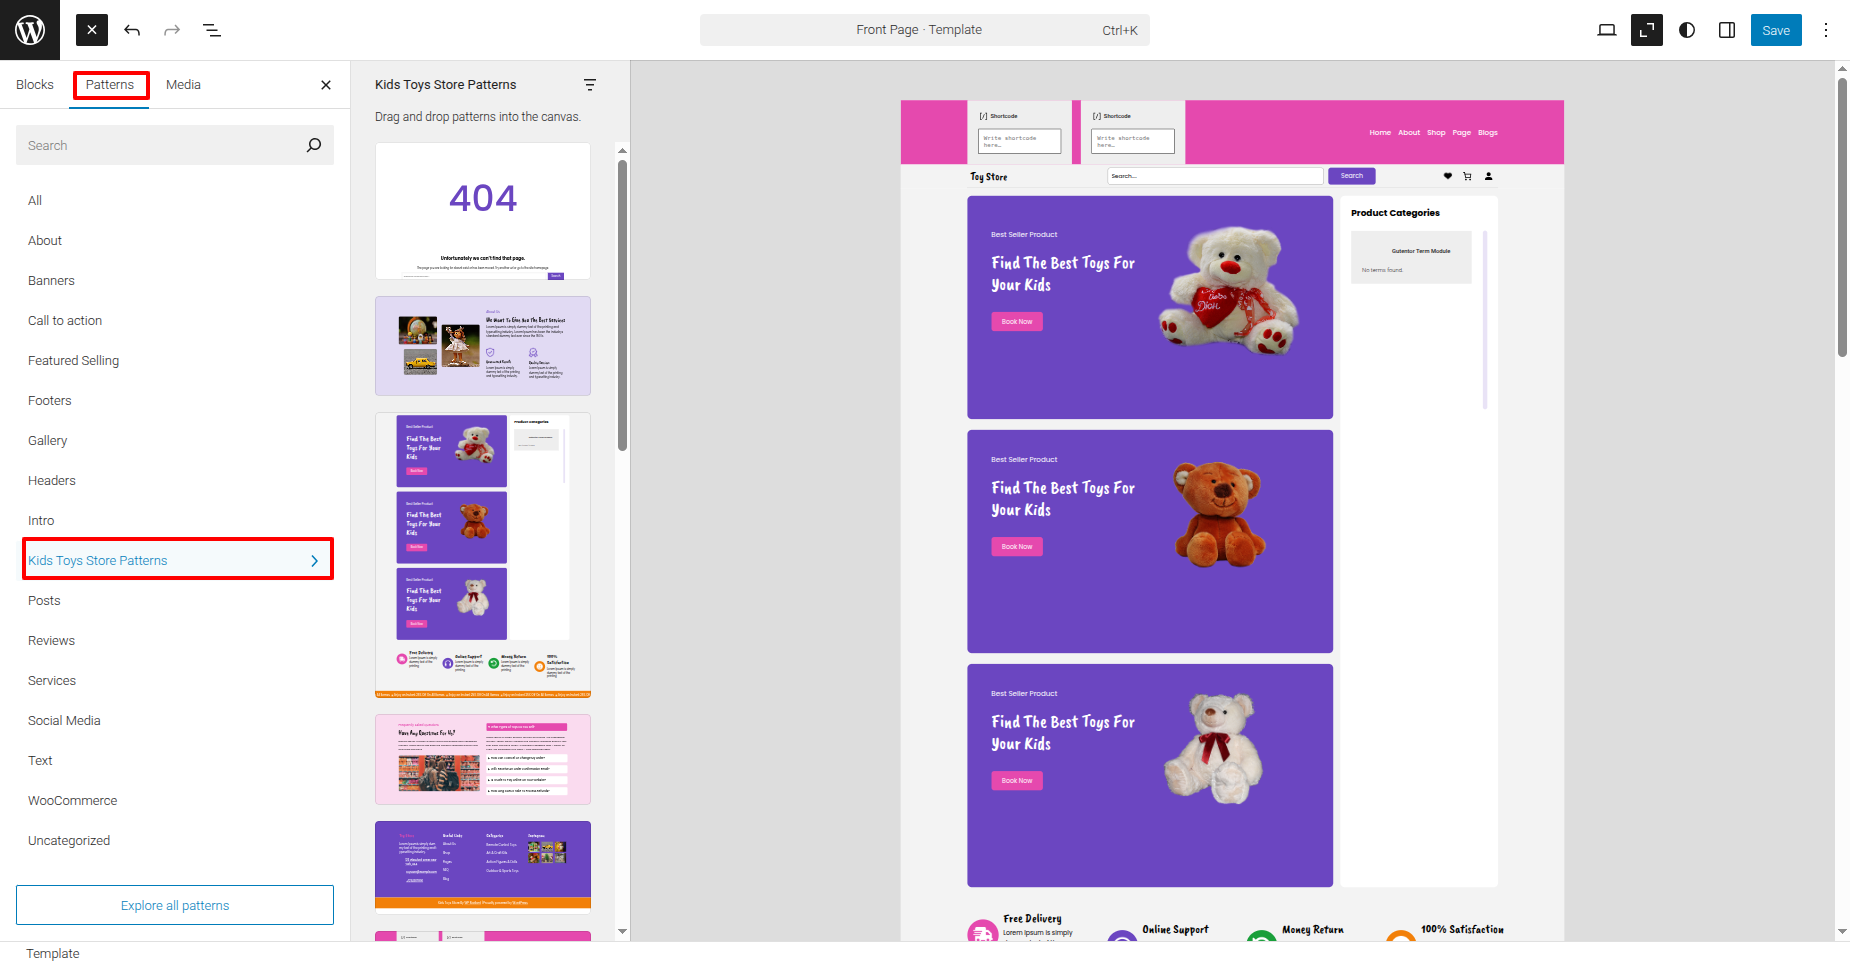
This is how you may set up and include the Header section.
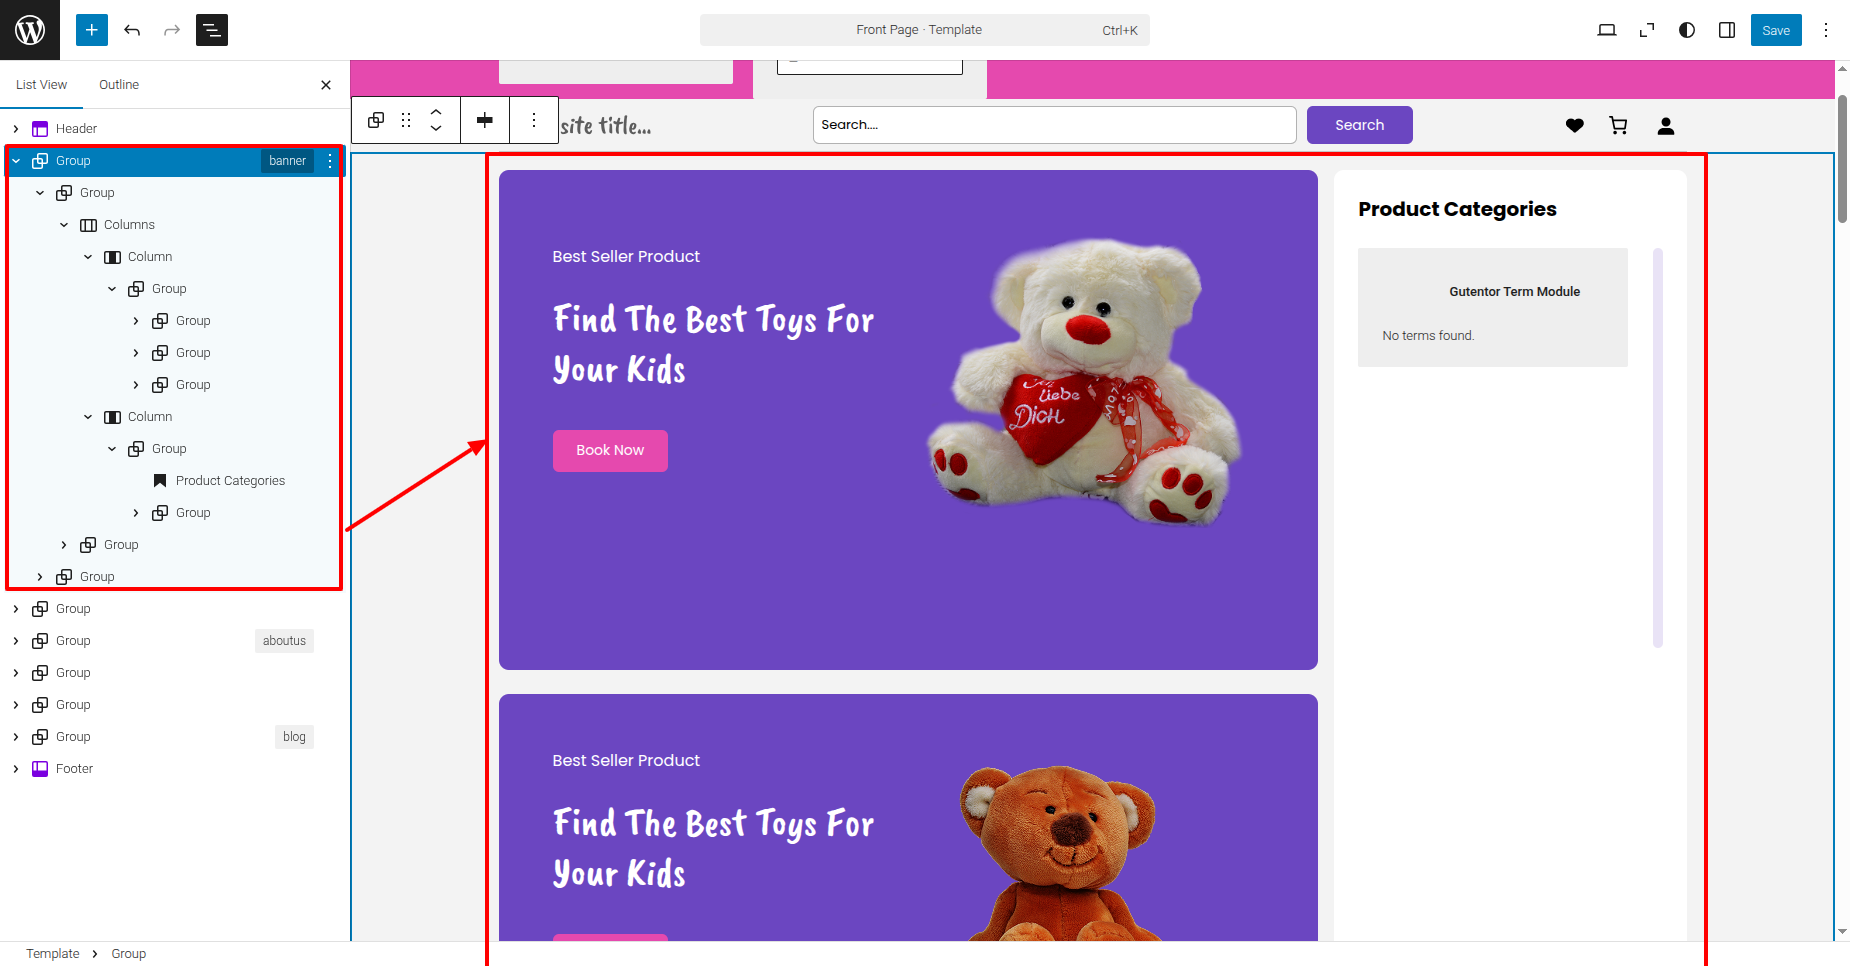
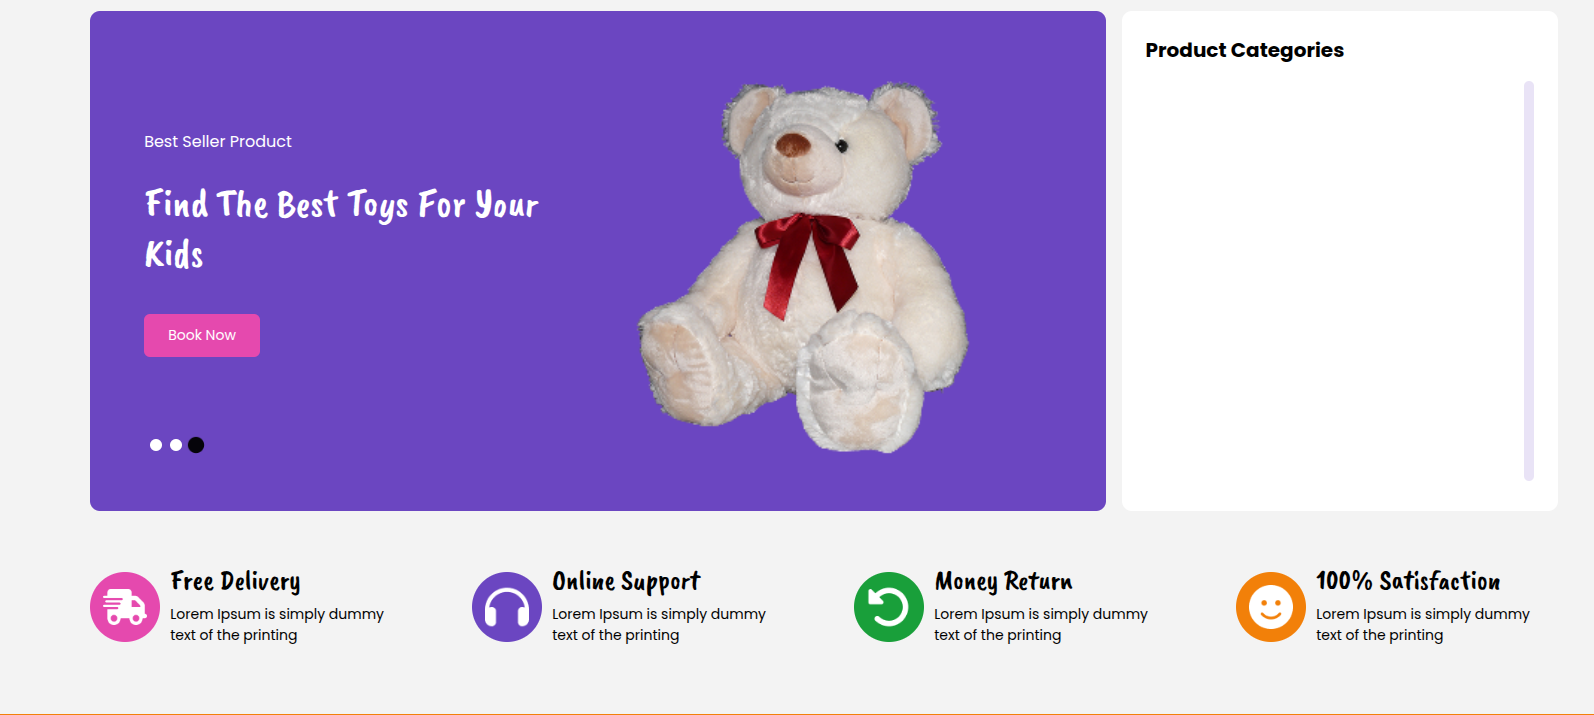
SETUP BANNER SECTION
Set up the Banner Section according to the instructions below.
Go to Dashboard
Appearance
Editor.
This is how you may set up and include the Banner section.
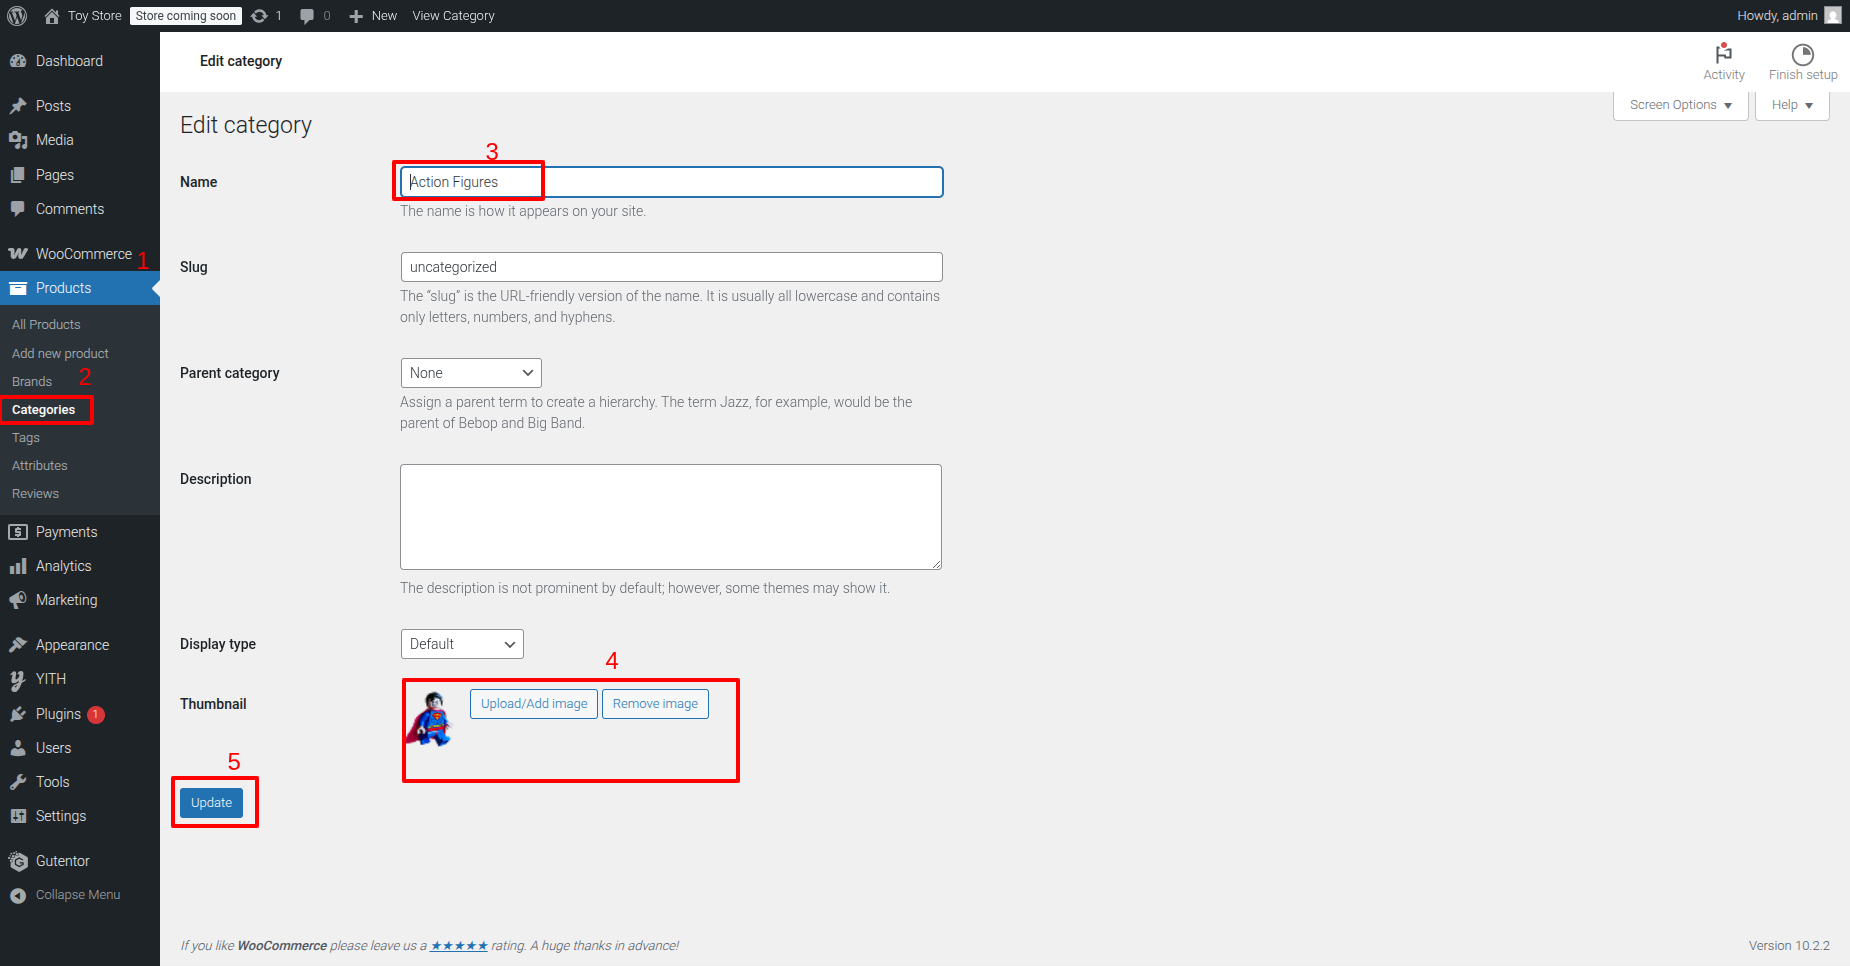
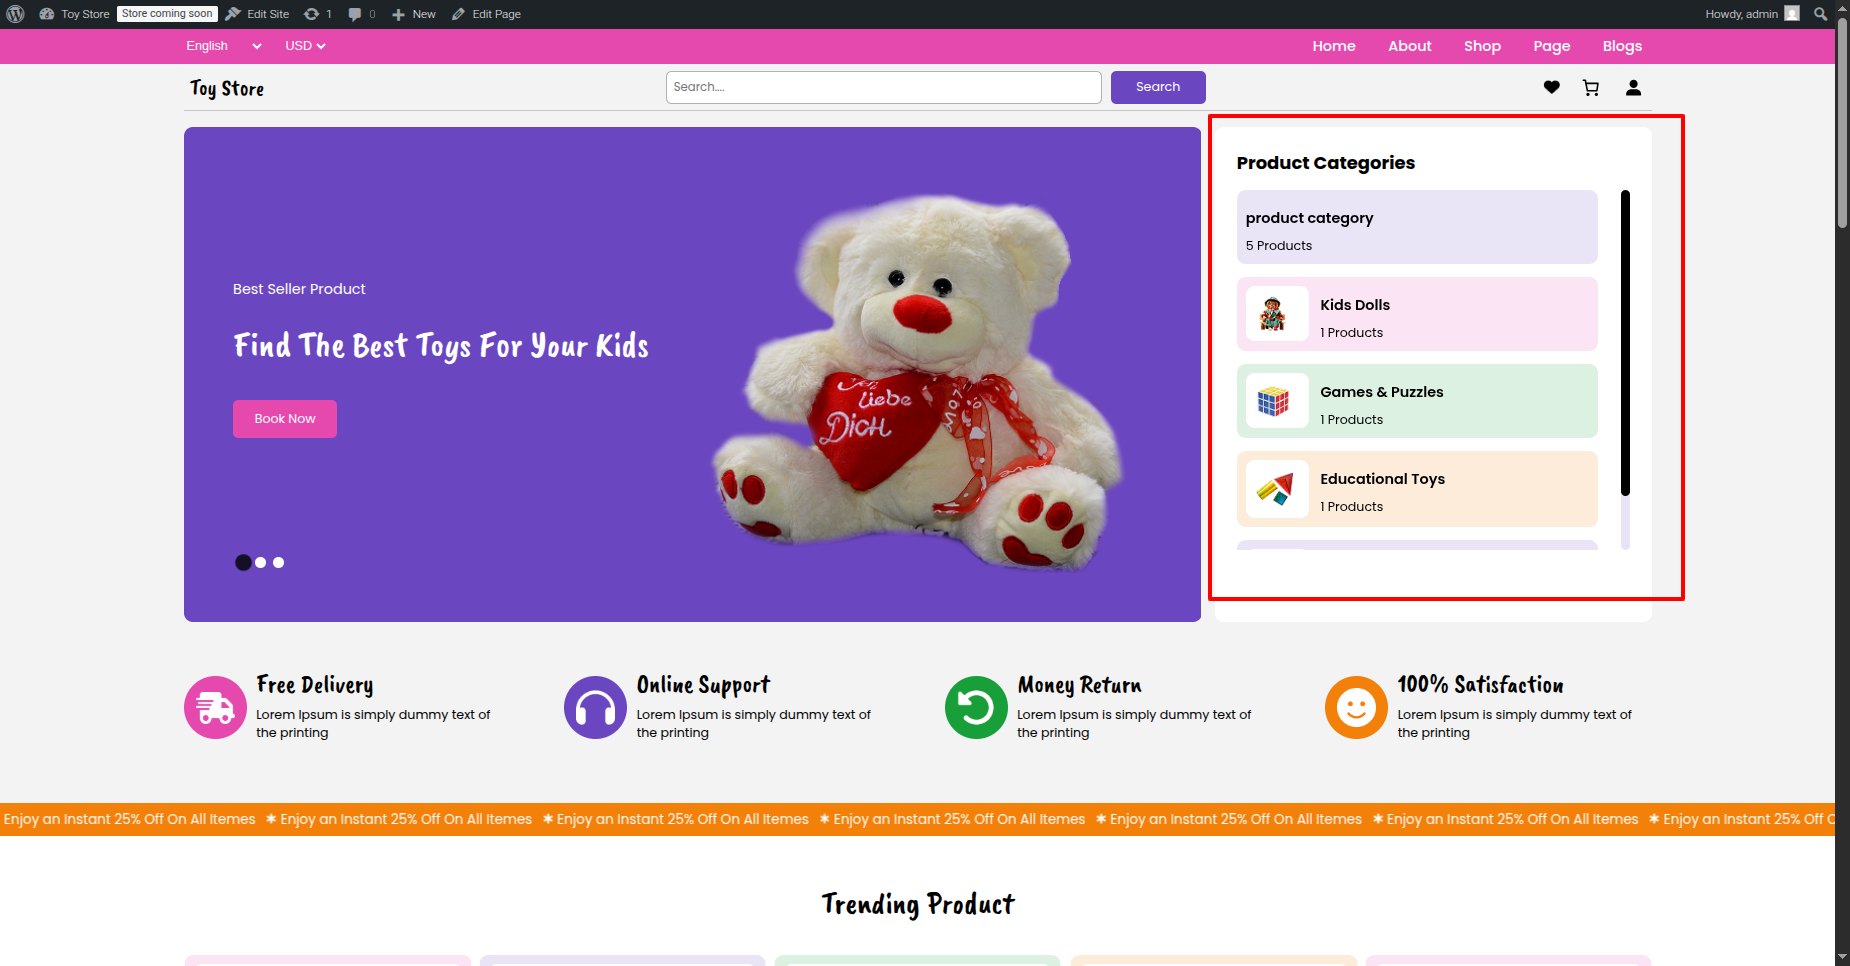
Set up the categories Section according to the instructions below.
Go to Dashboard
Appearance
Editor.
Create Categories
Create product and Assign categories.
This is how you may set up and include the Banner section.
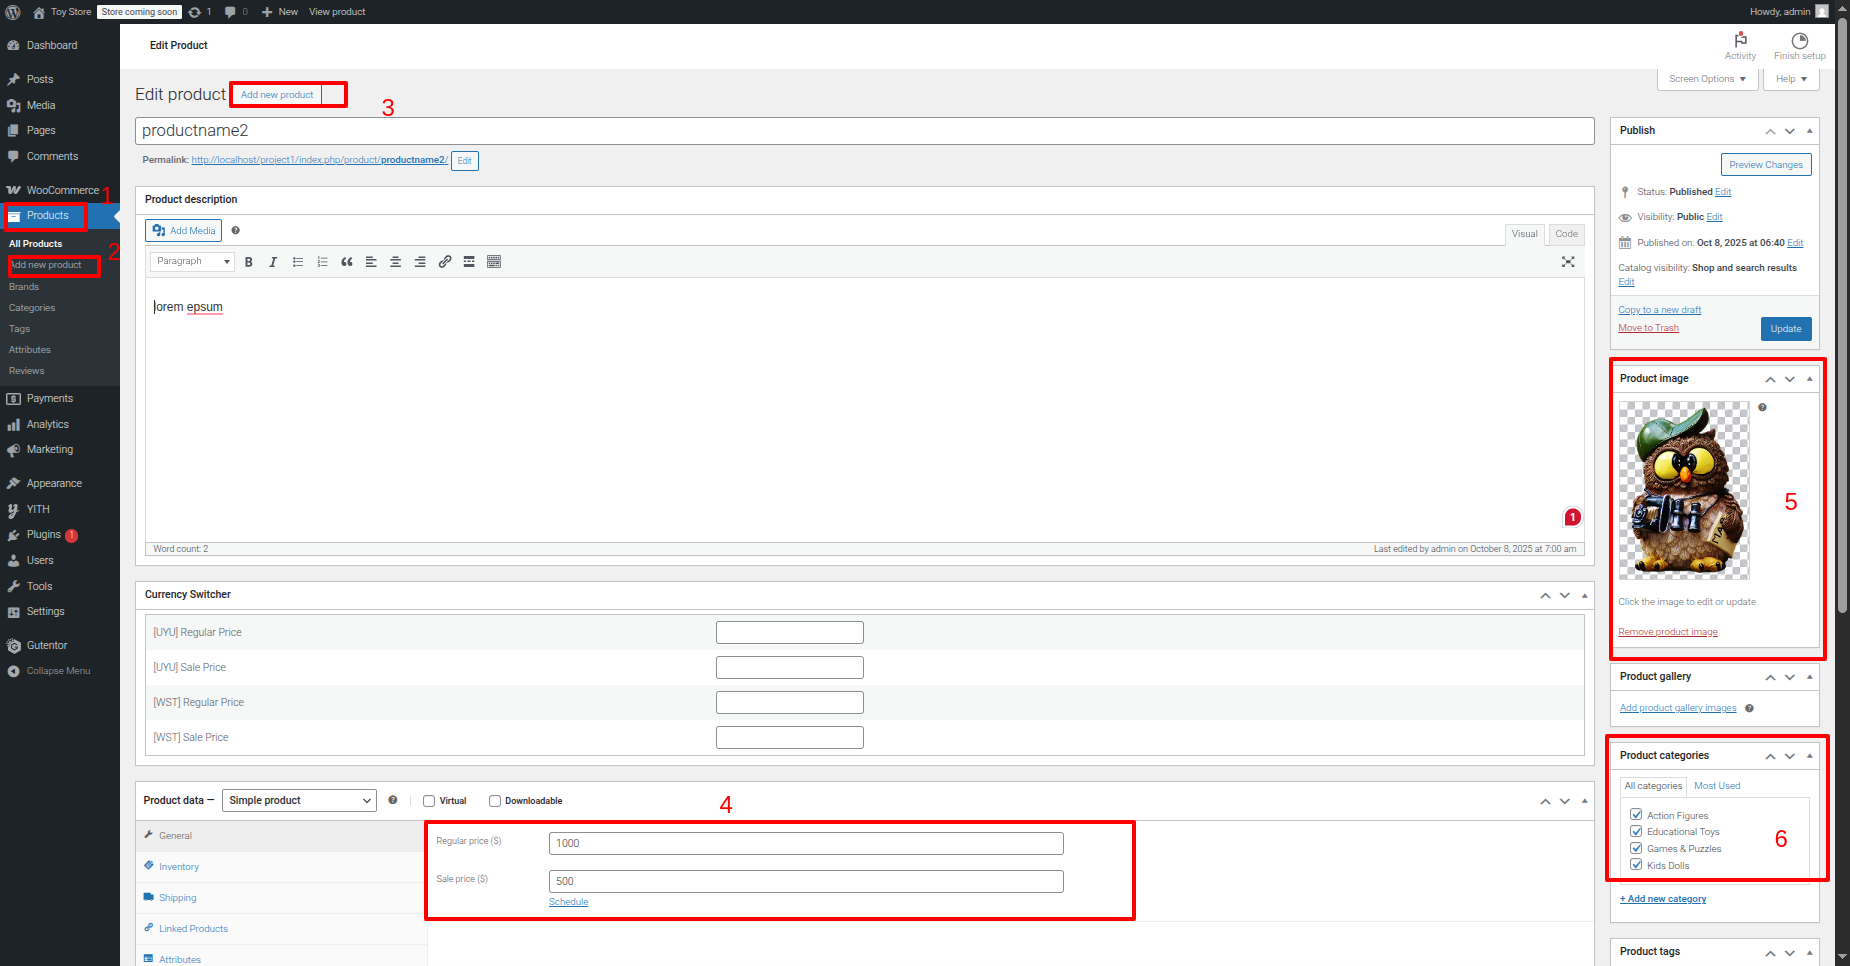
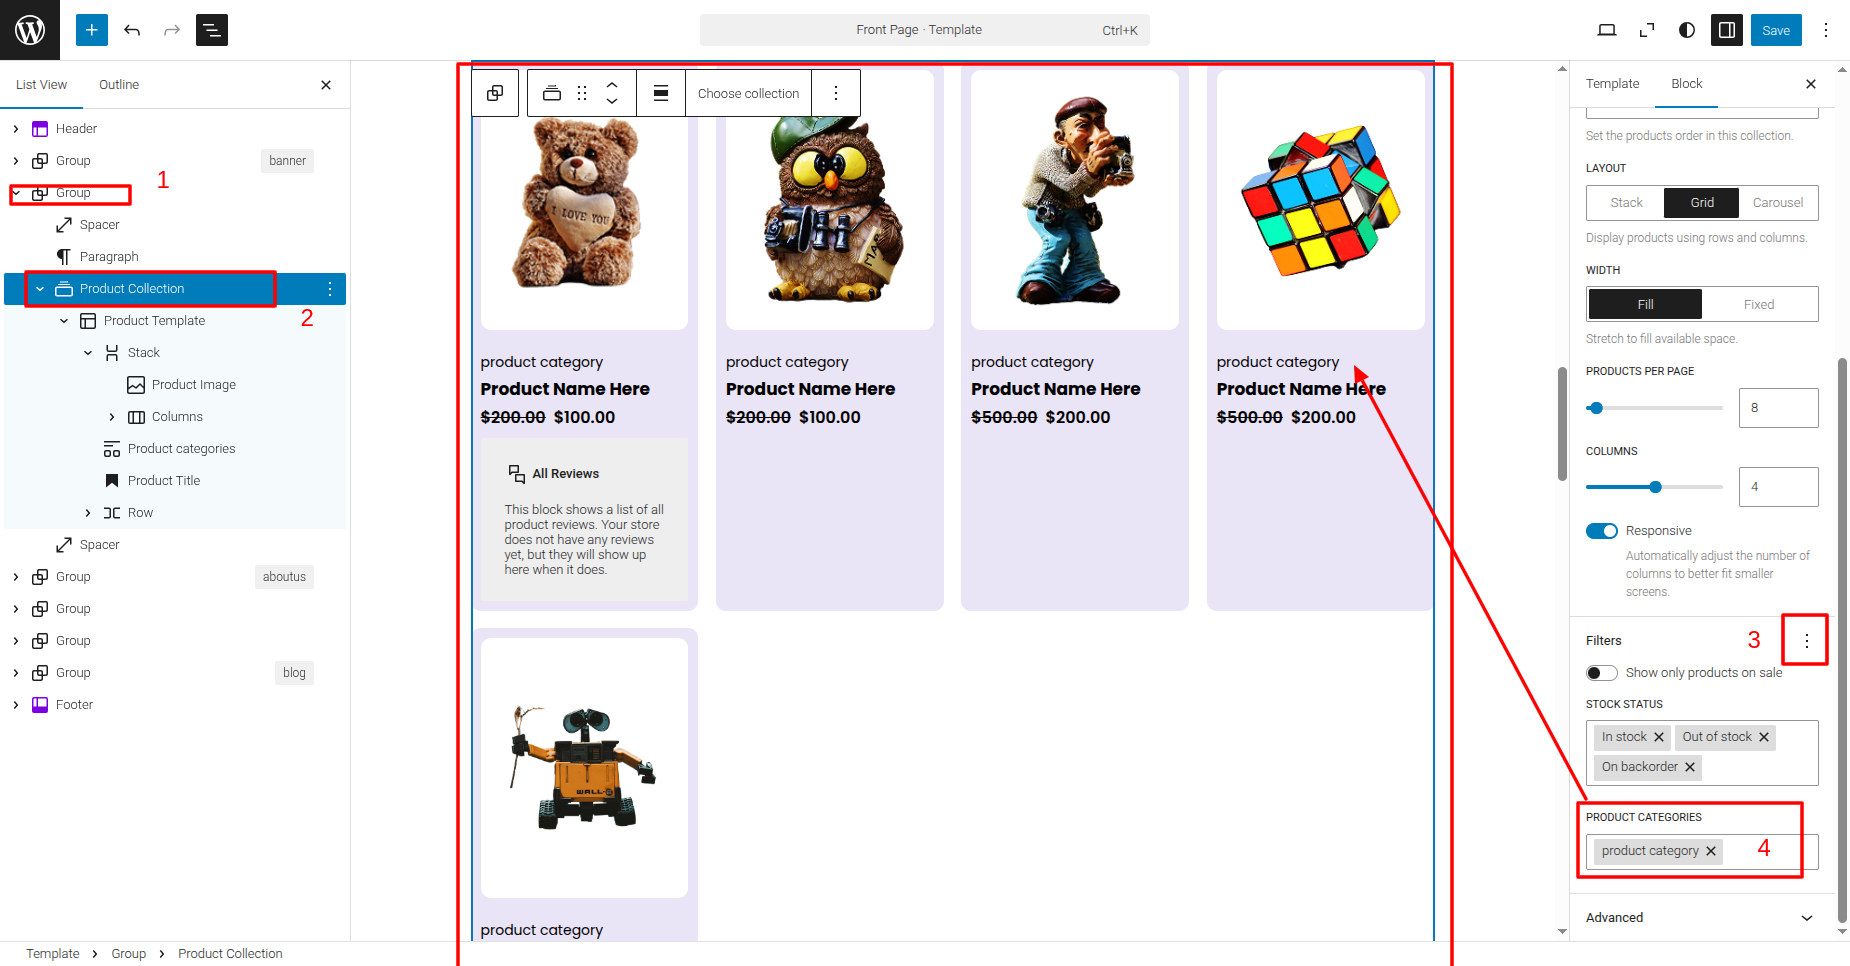
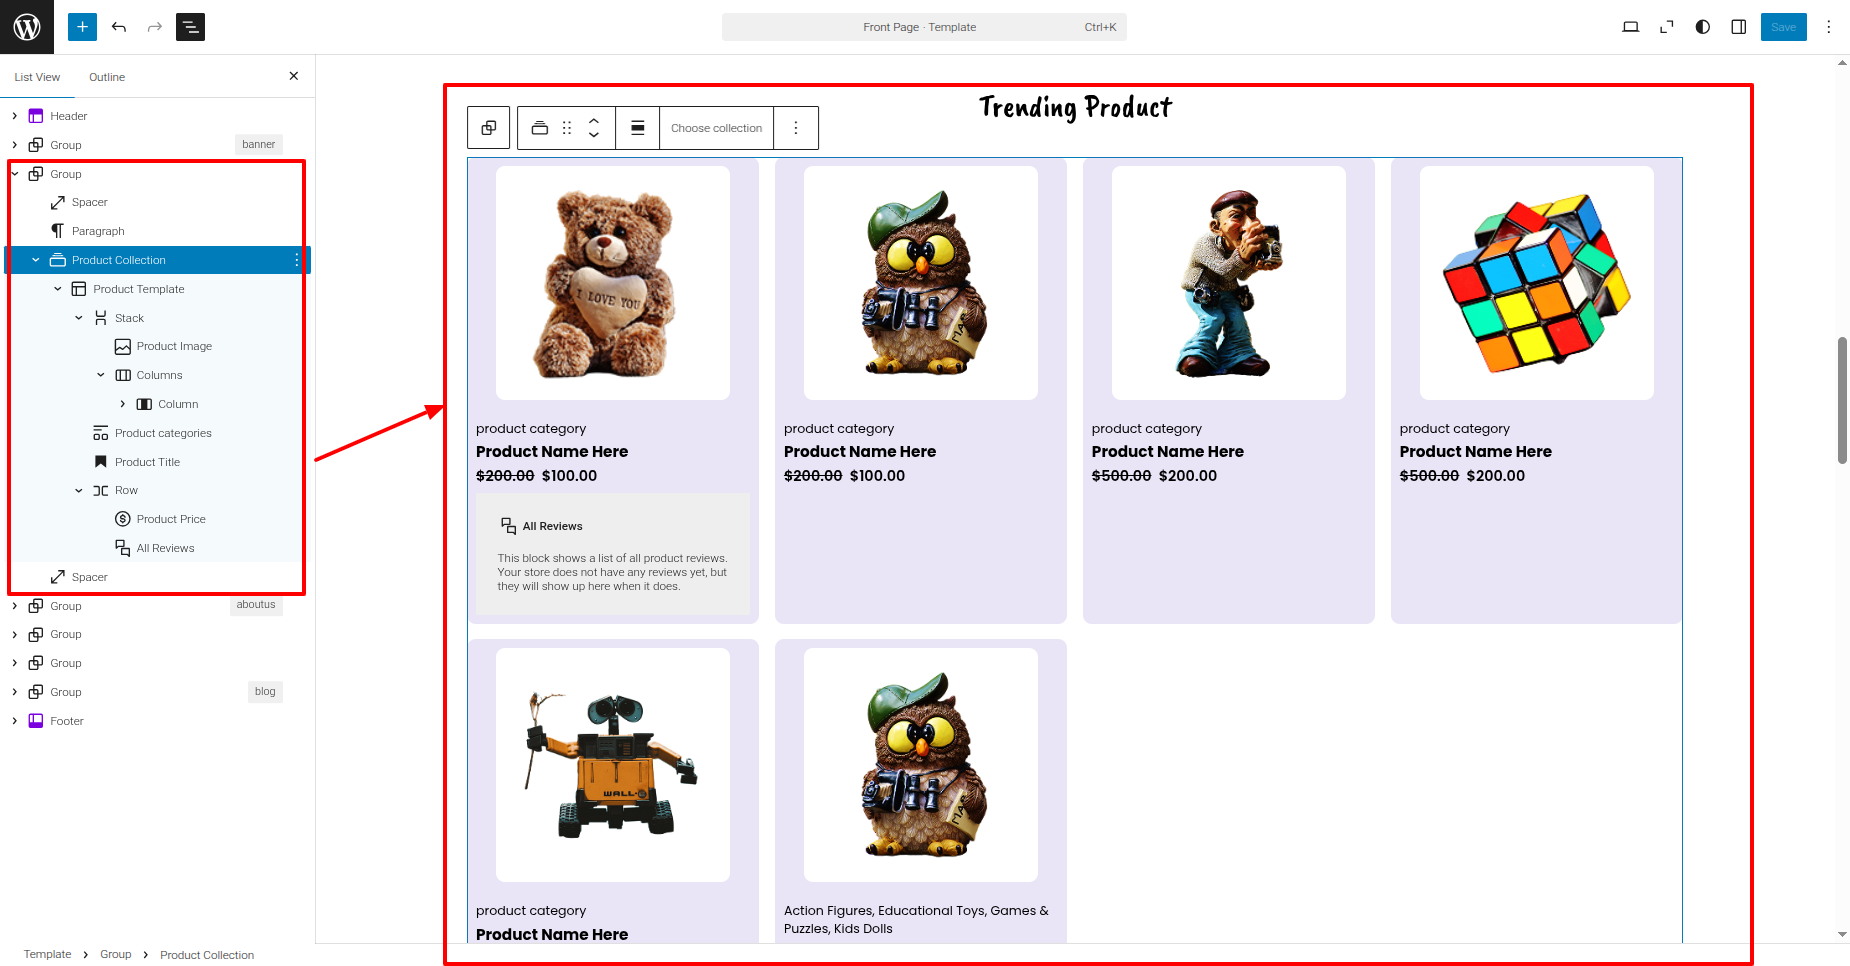
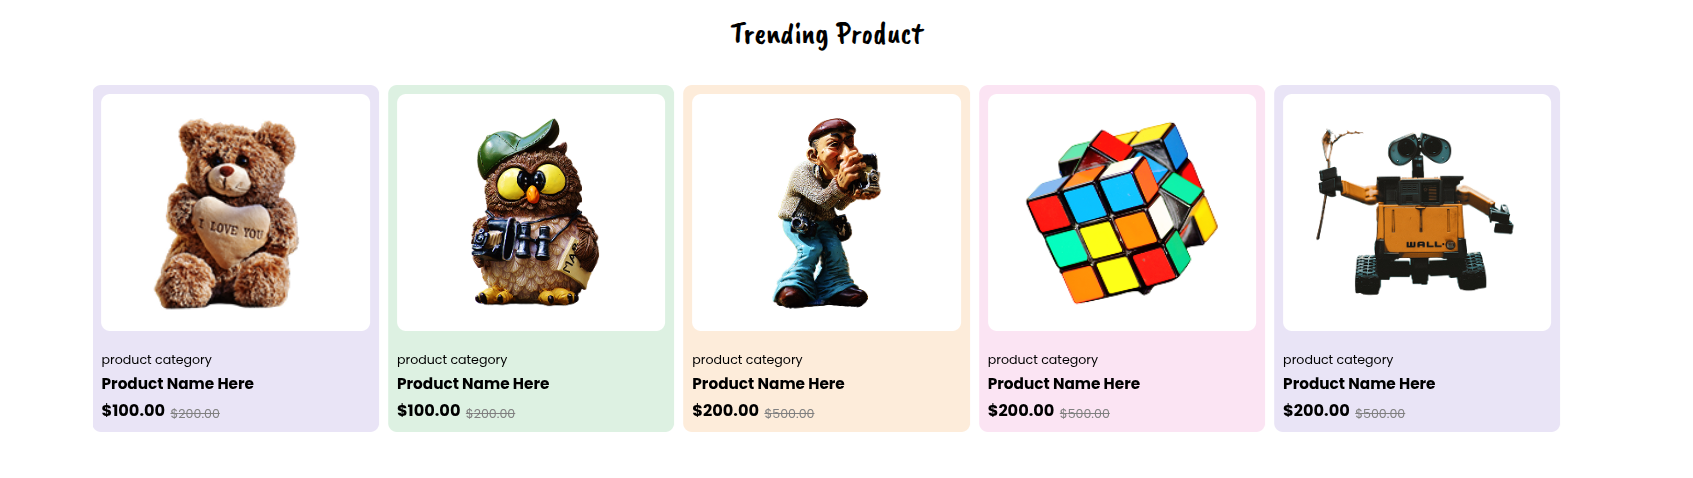
PRODUCT SECTION
Set up the Product Section according to the instructions below.
Go to the Dashboard
Products Add new product.
This is how you may set up and include the Event section.
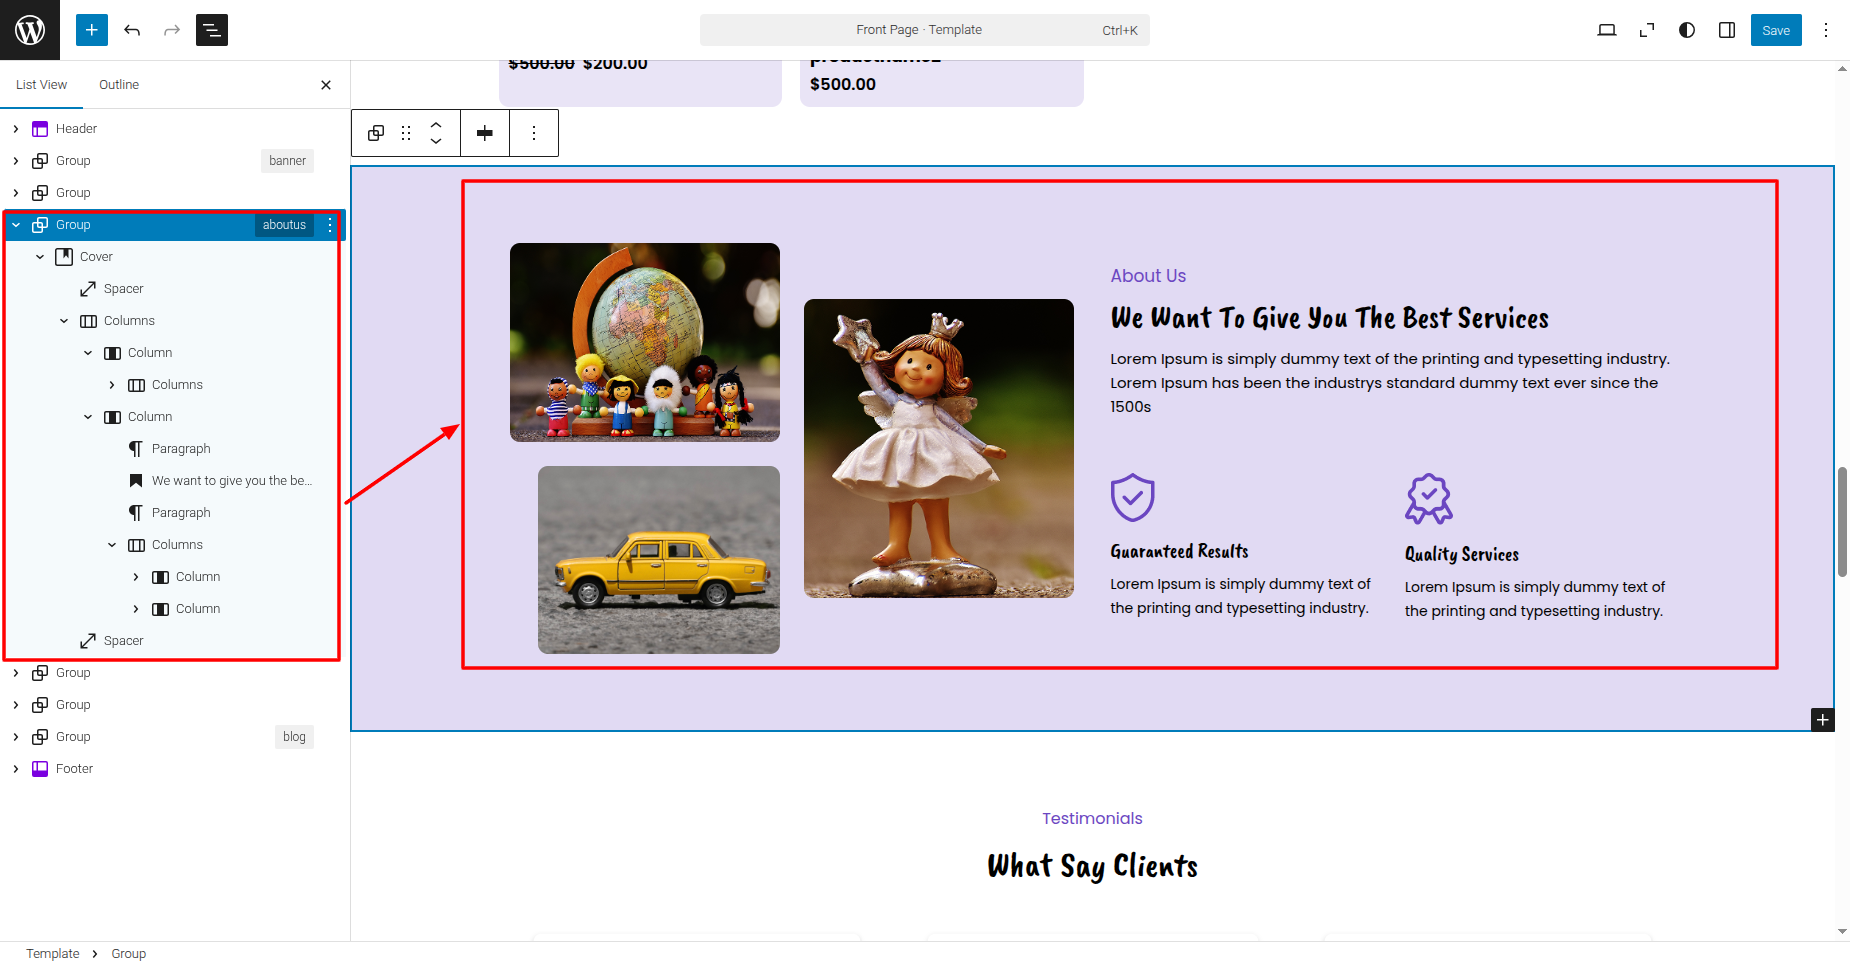
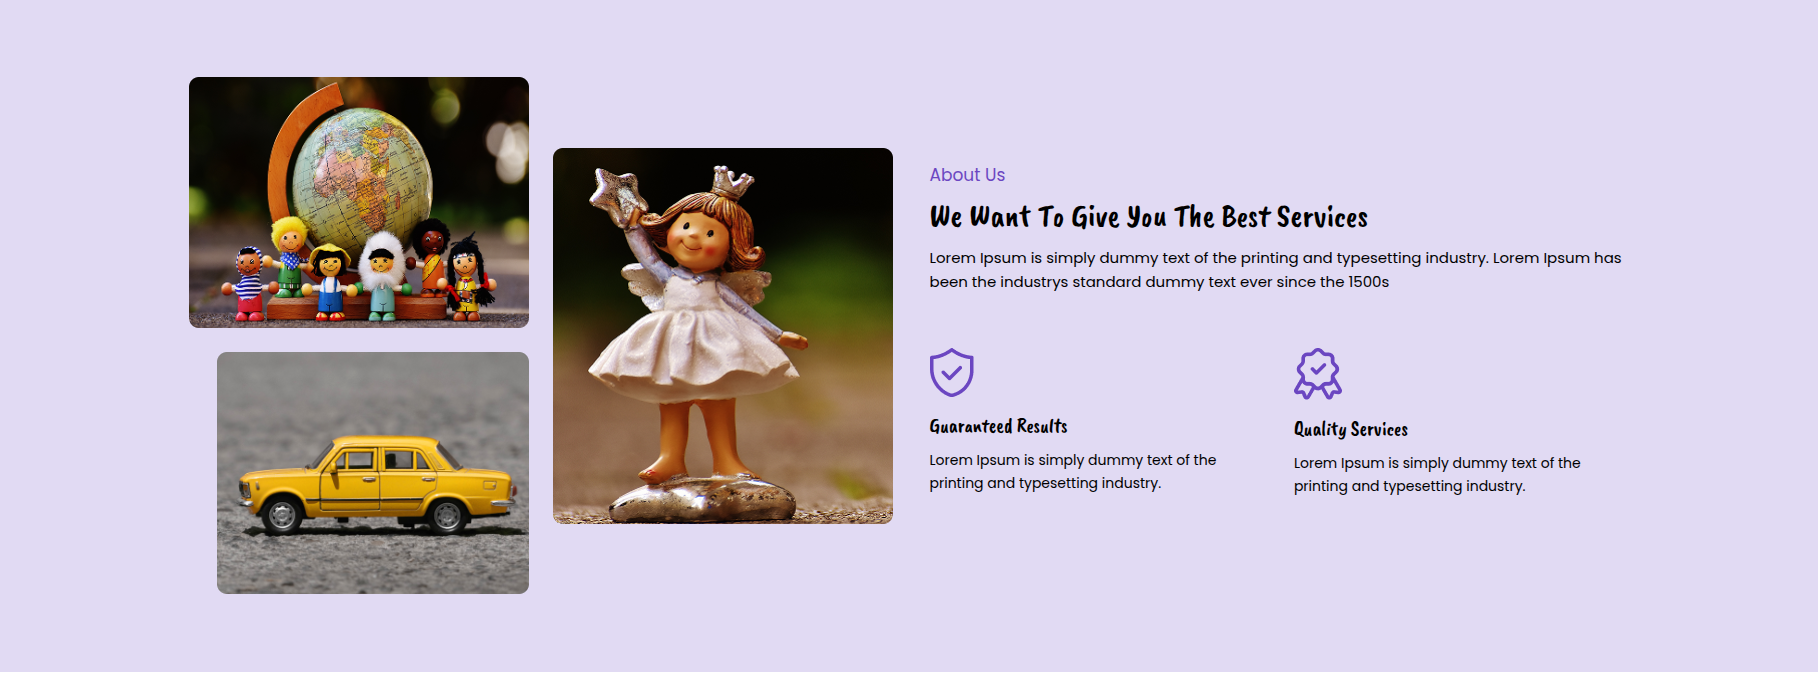
ABOUT US SECTION
Set up the About Us Section according to the instructions below.
Go to the Dashboard Appearance Editor.
This is how you may set up and include the About Us section.
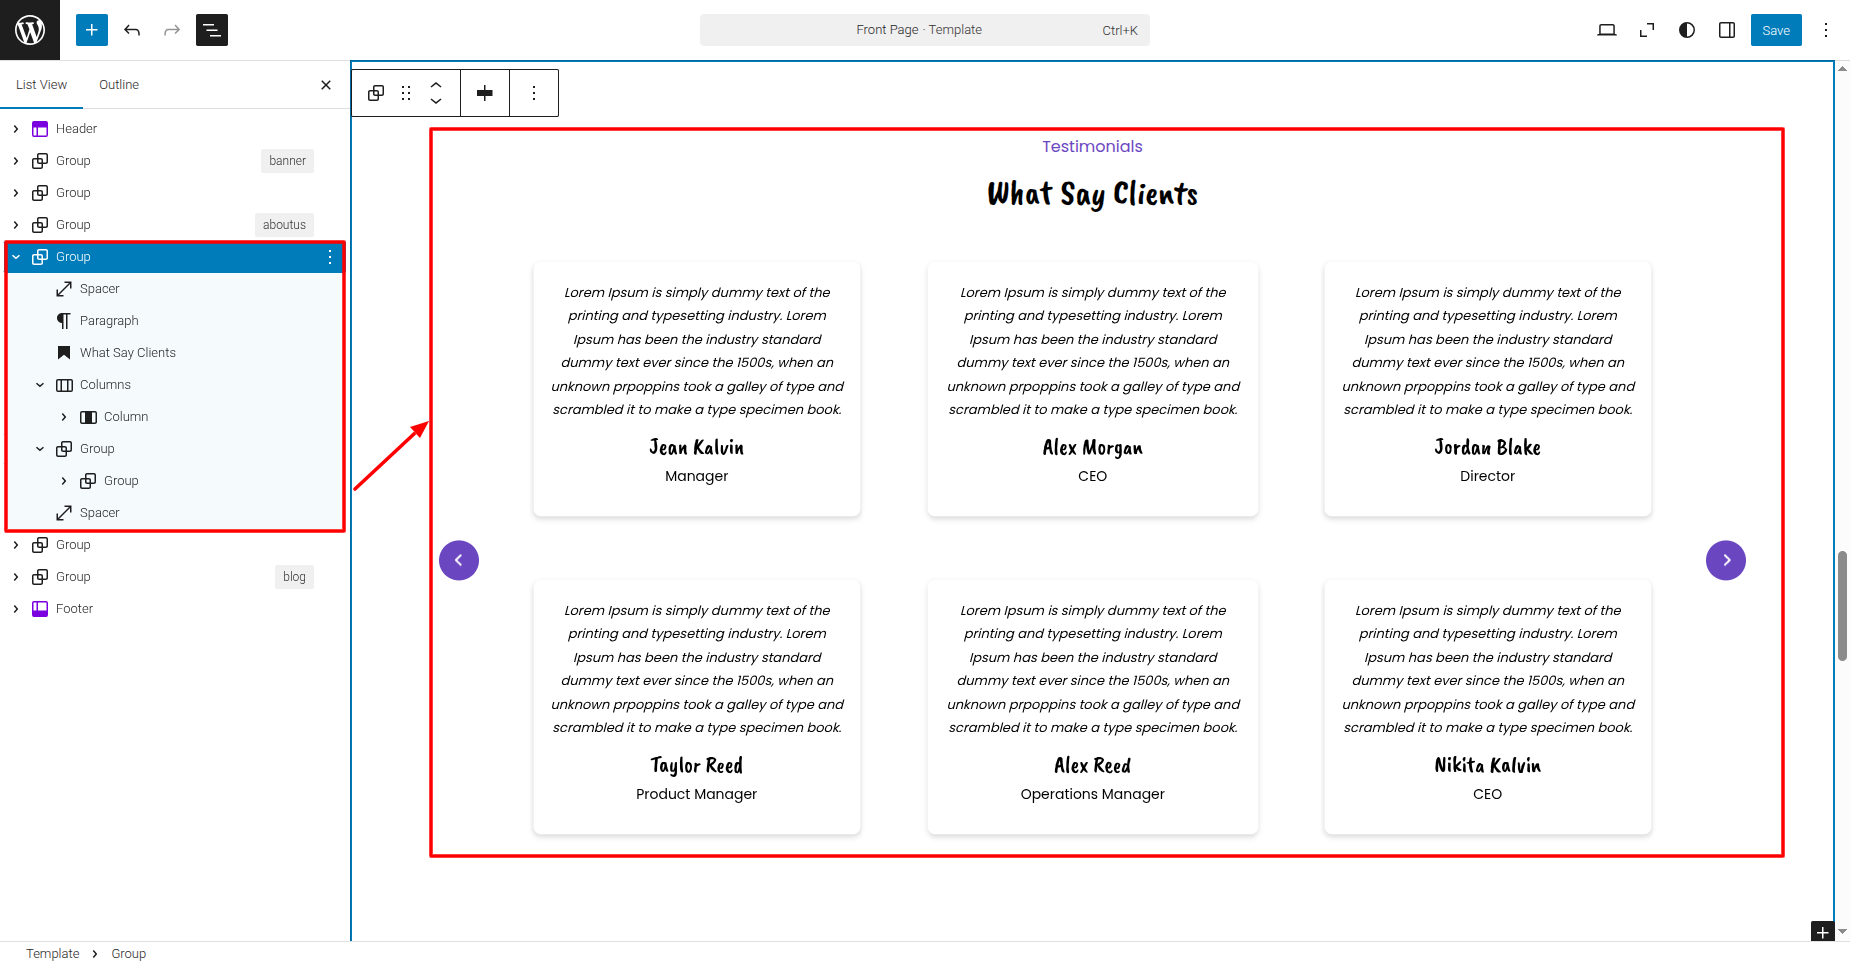
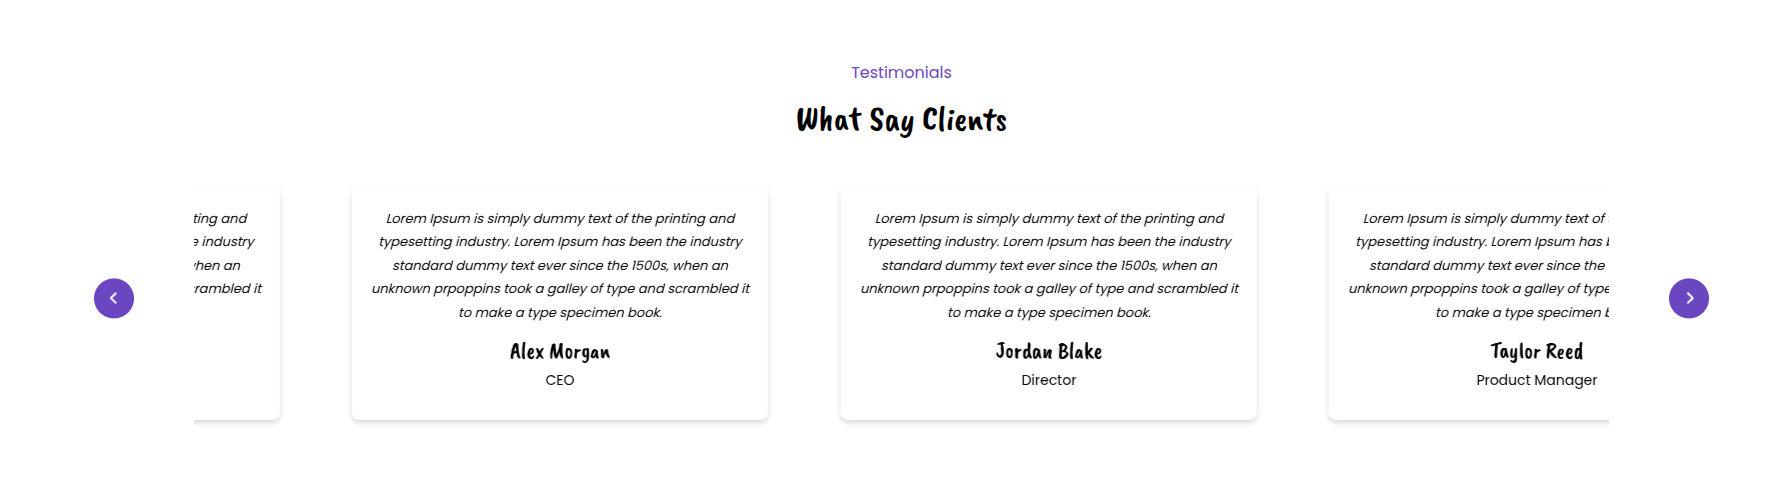
TESTIMONIALS SECTION
Set up the Testimonials Section according to the instructions
below.
Go to the Dashboard Appearance
Editor.
This is how you may set up and include the Testimonials section.
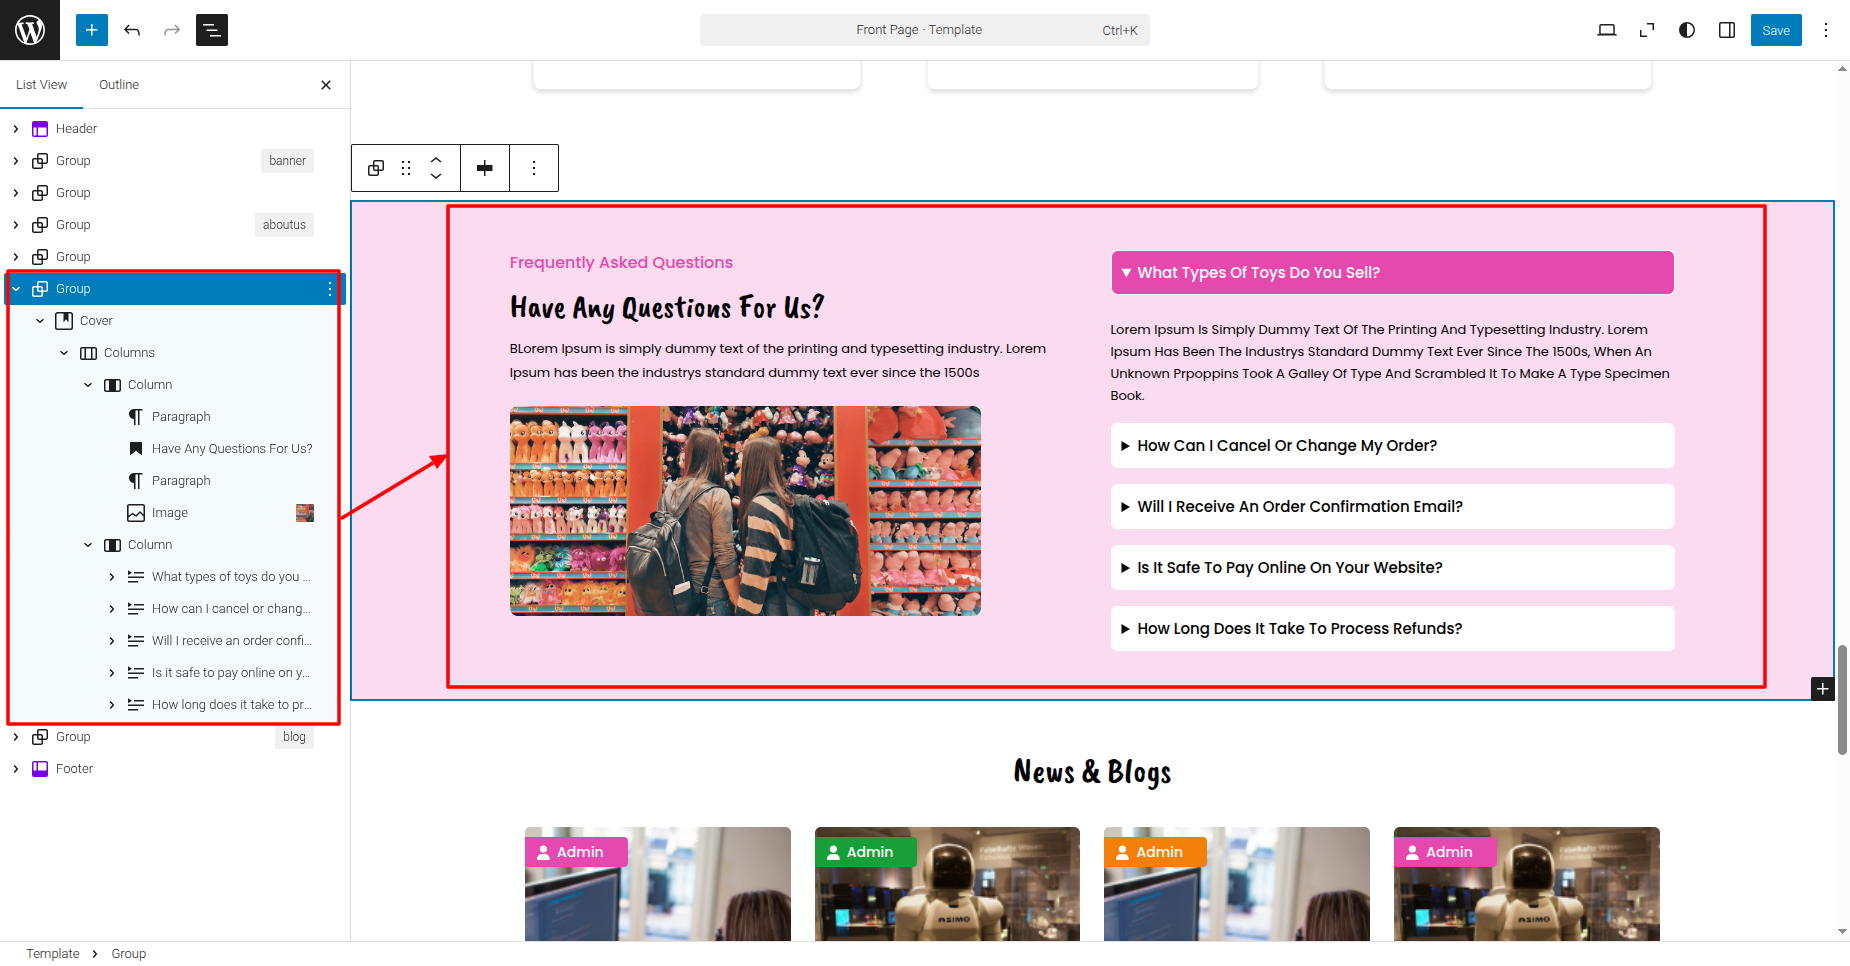
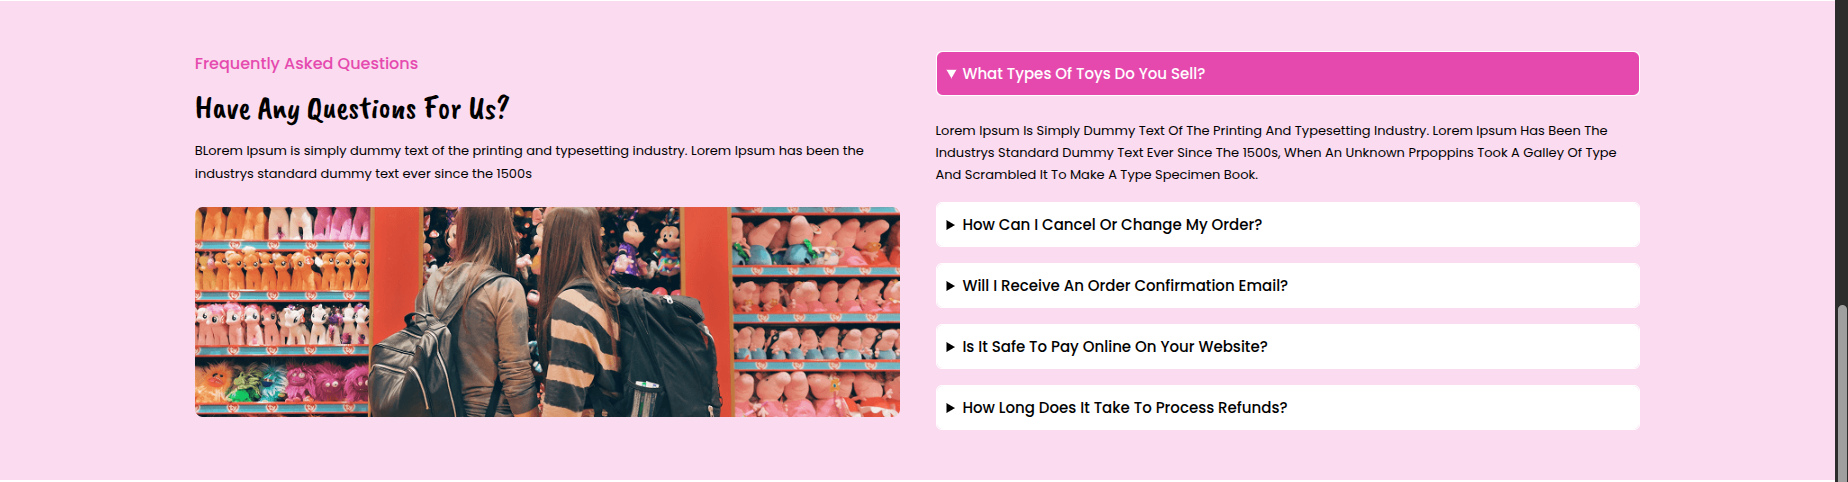
FAQ SECTION
Set up the FAQ Section according to the instructions below.
Go to the Dashboard Appearance
Editor.
This is how you may set up and include the FAQ section.
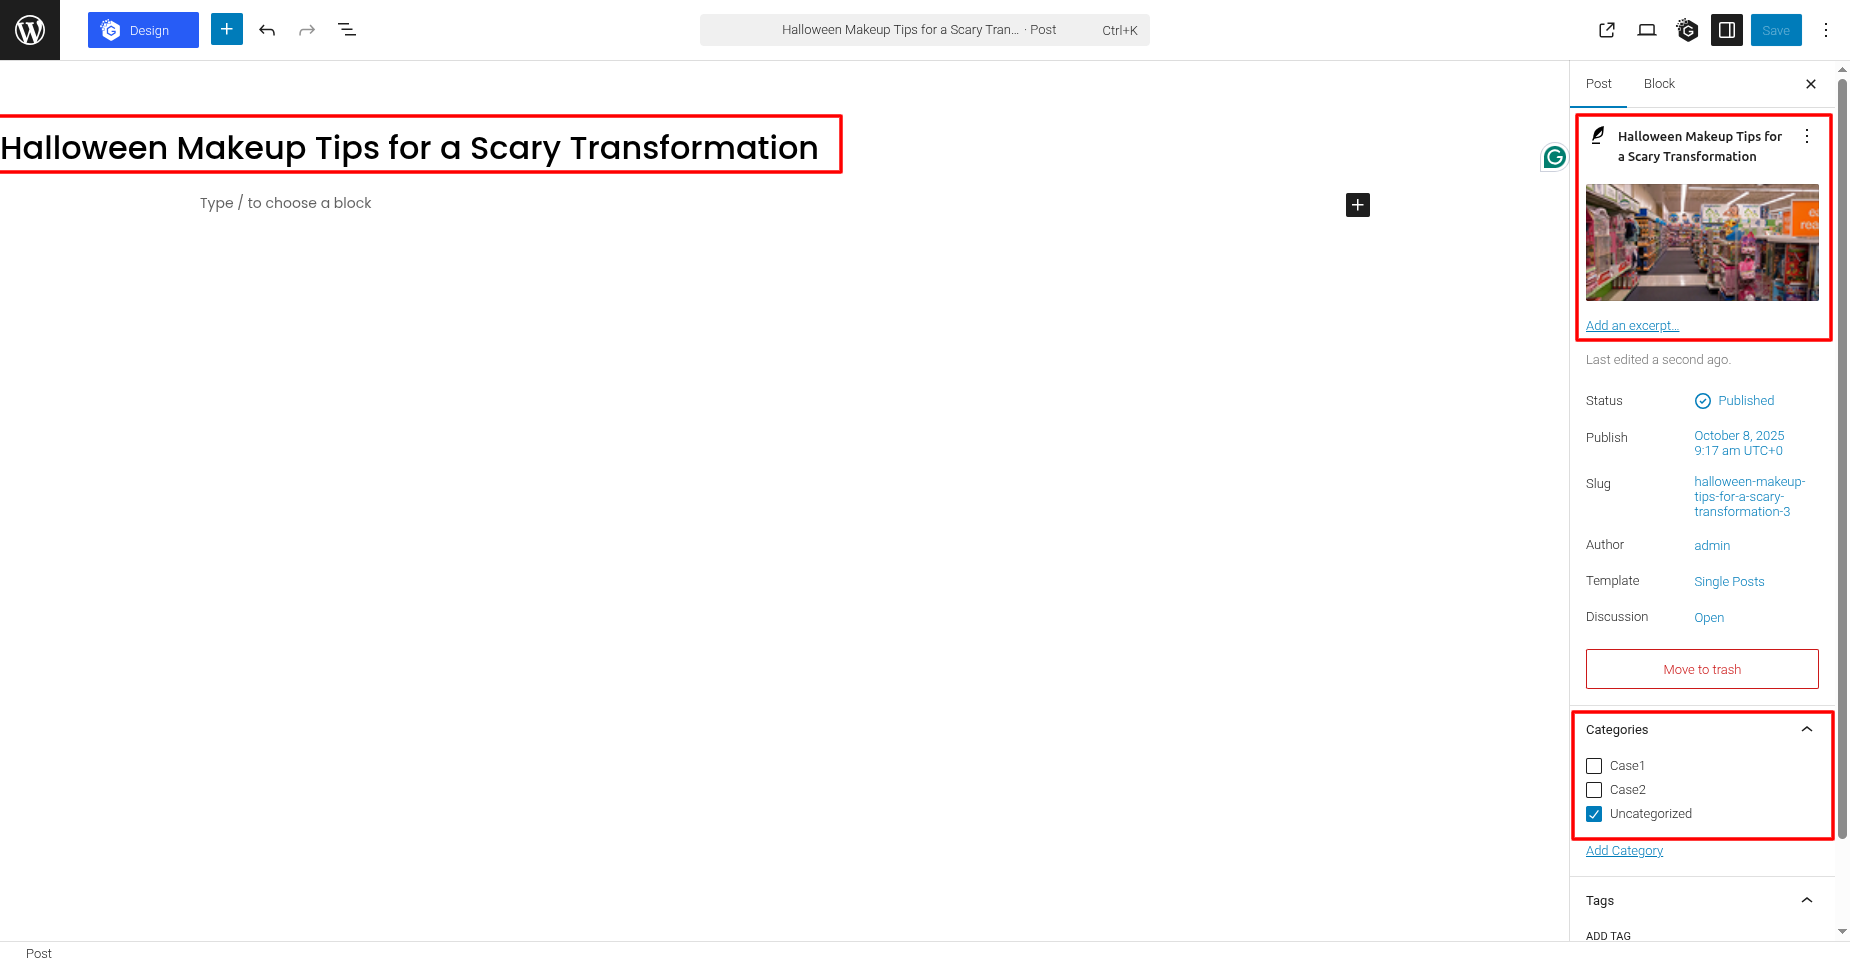
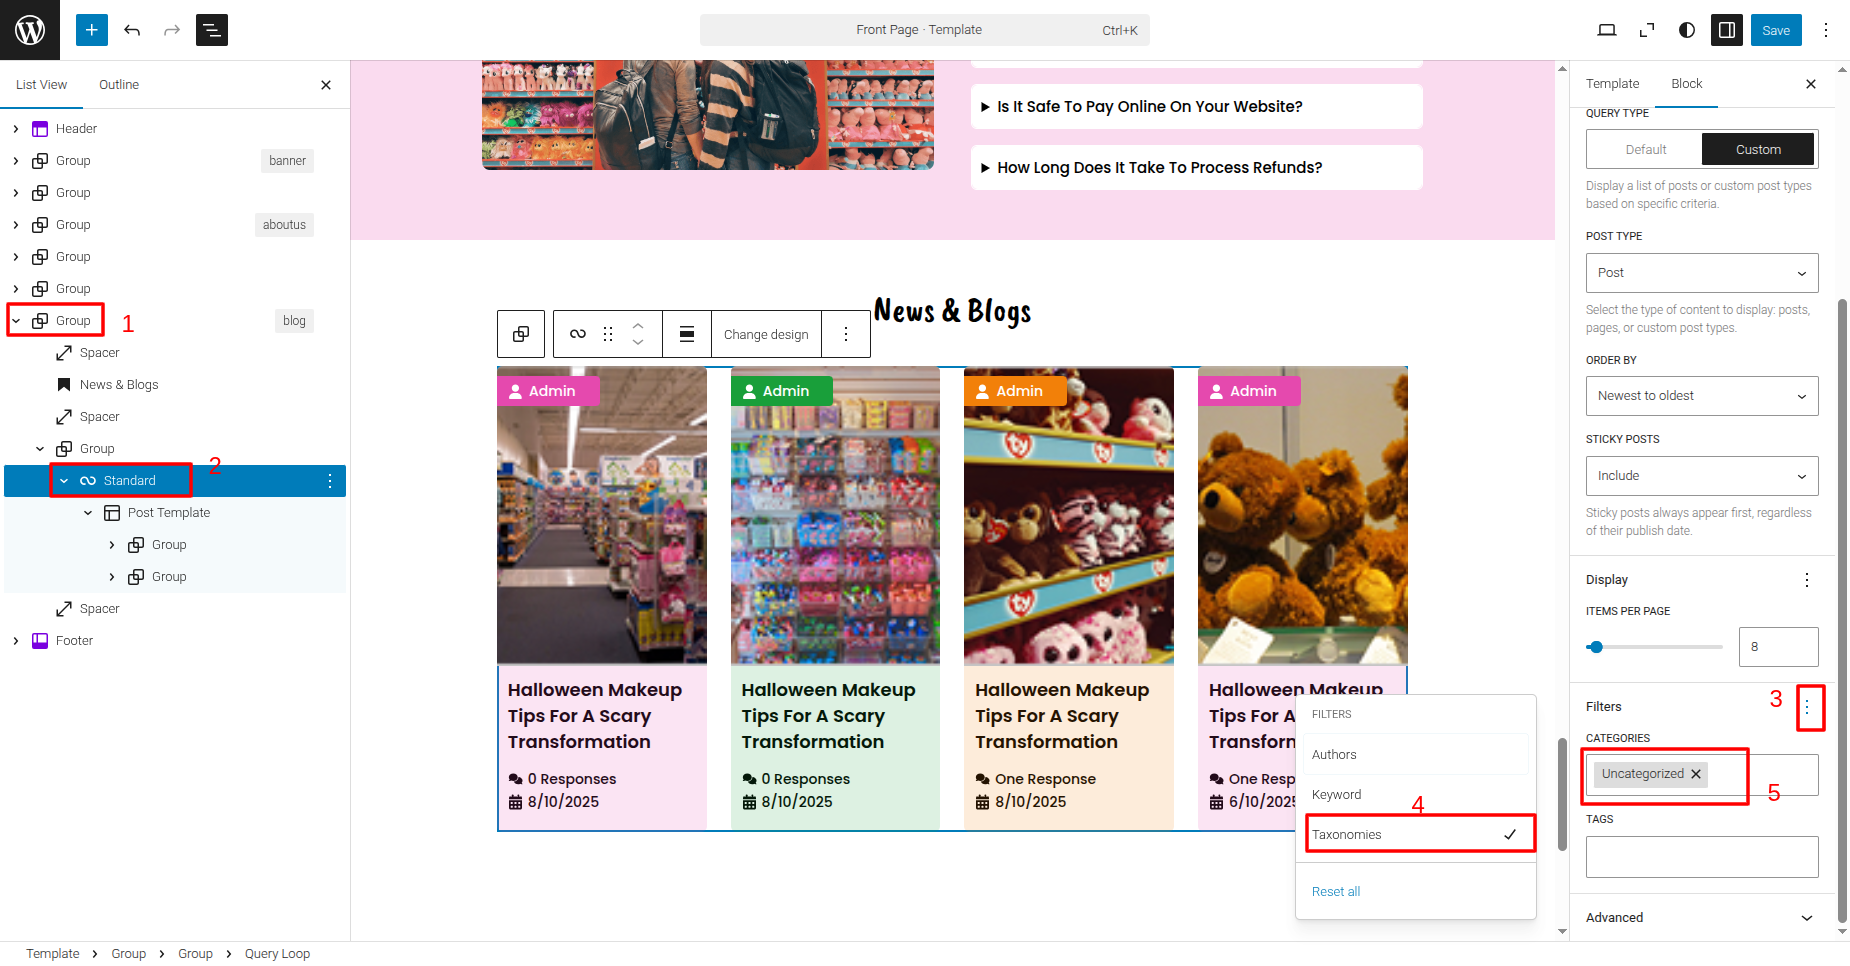
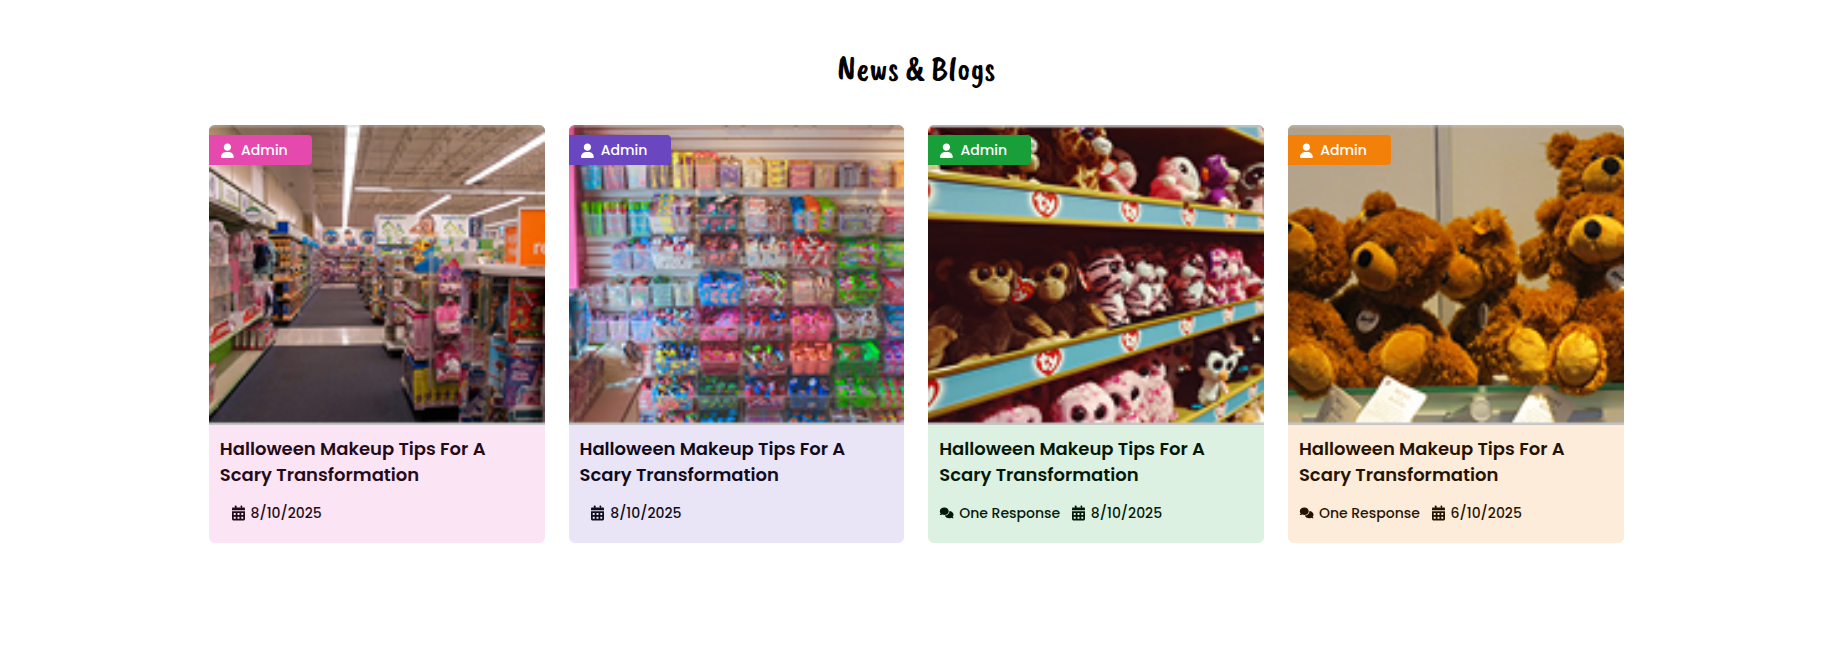
NEWS & BLOGS SECTION
Set up the News & Blogs Section according to the
instructions below.
Go to the Dashboard PostsWordP
Add
New.
Go to the Dashboard
Appearance
Editor.
This is how you may set up and include the News & Blogs
section.